


Till skillnad från andra datorer som använder Windows-operativsystemet ger Mac-enheter ingen direkt rätt för sina användare att skriva filer och mappar från hårddisken, SSD-enheten eller ett flashminne formaterat under Windows på Mac. Det är dock inte svårt för en Mac-användare att förstå funktionen att skriva, redigera eller radera. Han/hon förväntas bara be en magisk sak, NTFS, om hjälp.
Därför kommer den här artikeln att ge en ultimat guide till hur man använder NTFS att skriva, redigera eller radera filer eller mappar direkt på Mac.
För att NTFS-funktionen ska fungera måste Osxfuse och NTFS-3G vara installerade på Mac. Följande del handlar om hur man installerar Osxfuse och NTFS-3G på en Mac-enhet. Läs och installera enligt stegen nedan nu!
ArtikelguideSteg 1. Ladda ner och installera OsxfuseSteg 2. Manuell nedladdning HomebrewSteg 3. Manuell nedladdning av NTFS-3G
Obs: Om du har installerat de två sakerna som nämns ovan kan du naturligtvis hoppa över följande del och gå vidare till att skriva, redigera och radera dina filer och mappar.
Här är stegen:
Steg 1. Ladda ner och installera Osxfuse
Först och främst, ladda ner Osxfuse till din Mac via länkarna nedan:
- Direkt nedladdningslänk: https://github.com/osxfuse/osxfuse/releases/download/osxfuse-3.8.2/osxfuse-3.8.2.dmg
- Officiell nedladdningslänk: https://osxfuse.gåhub.io/
Öppna senare den nedladdade dmg-filen som just nu rullar ner, dubbelklicka på "FUSE for macOS" i dmg och välj att installera Osxfuse.
Följ slutligen dmg-guiden för att installera den på din Mac.
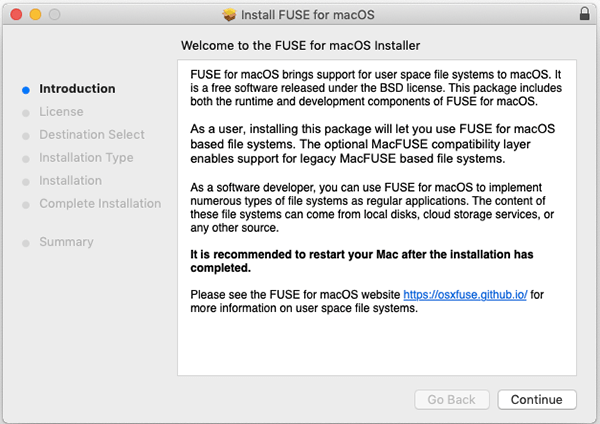
- Läs introduktionen och fortsätt installationen.
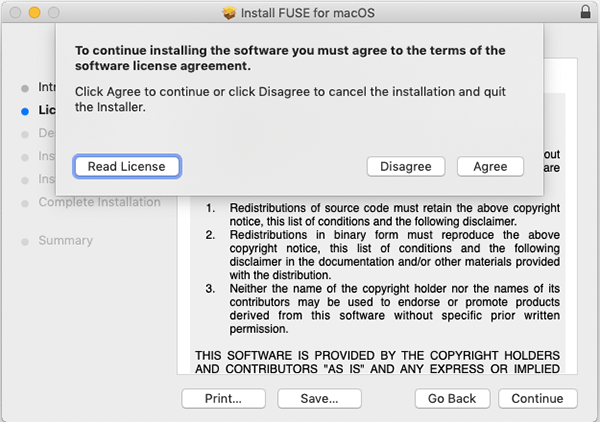
- Snabbläsning av programvarulicensavtalet.

- Godkänn licensen för vidare behandling.
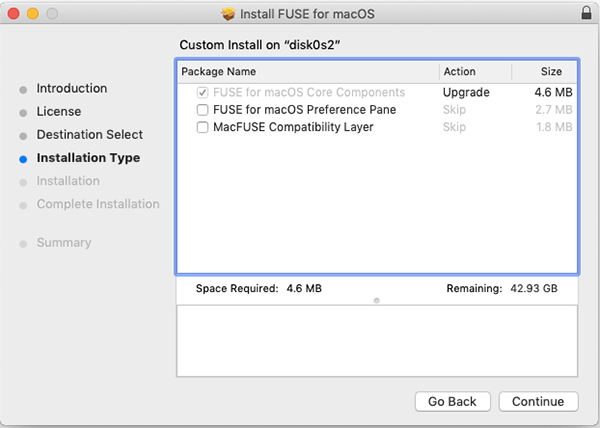
- Markera installationstypen och installera den på din Mac enligt dina önskemål.
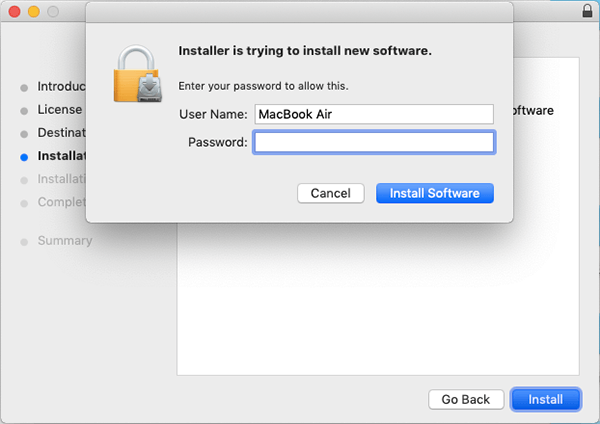
- Ange ditt lösenord för att bekräfta installationen på Mac.
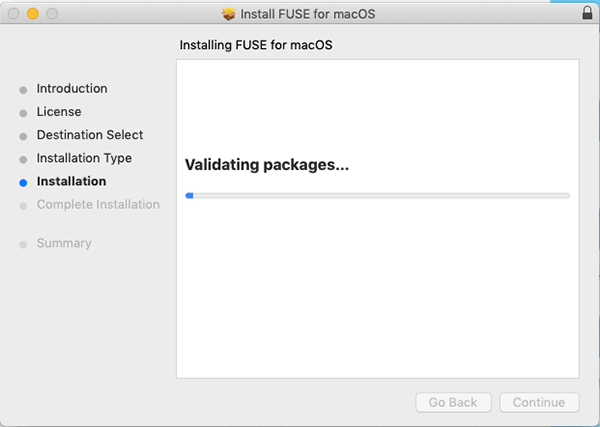
- Ha tålamod och vänta på installationen. Det kan ta några minuter.
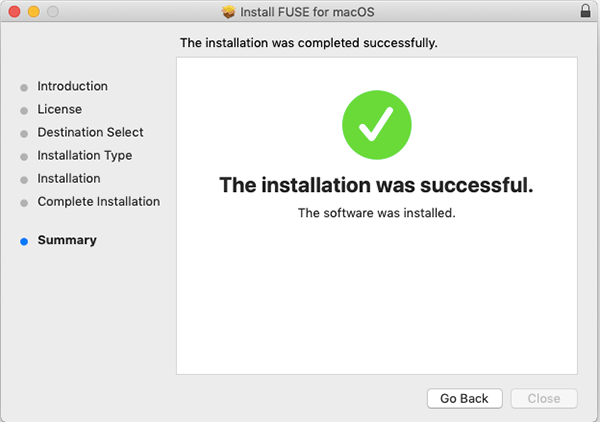
- Nu har du installerat Osxfuse på din Mac.
Steg 2. Manuell nedladdning Homebrew
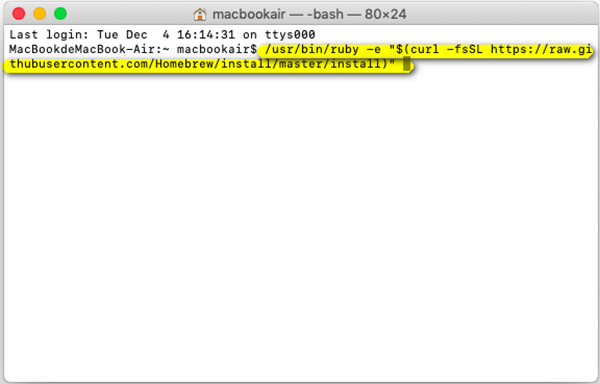
- För att manuellt ladda ner Homebrew på din Mac, öppna Terminalen och ange följande kod för att bearbeta.
Du kan kopiera den med snabbtangenten Command + C och klistra sedan in den med Command + V.
/usr/bin/ruby -e "$(curl -fsSL https://raw.githubusercontent.com/Homebrew/install/master/install)"
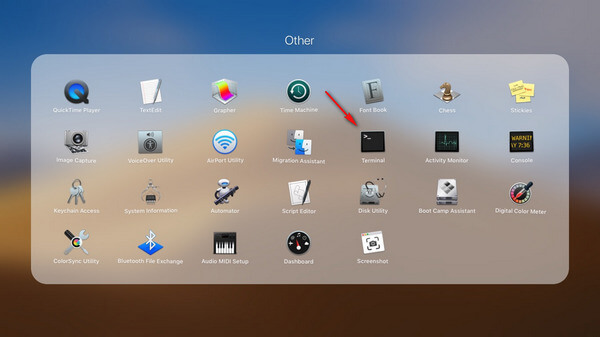
Obs: Du kan öppna terminalen via sökvägen: Launchpad> Other> Terminal.
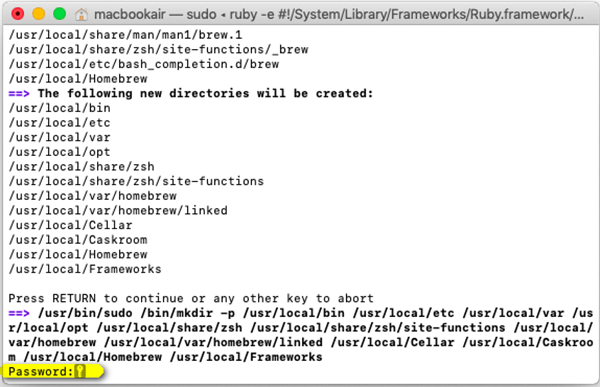
- Ha tålamod och vänta på nedladdningsprocessen. Det kan ta flera minuter. Var försiktig under tiden. Det beror på att du måste trycka på Enter-knappen på tangentbordet och ange ditt lösenord efter att det visas: ”Tryck på RETURN för att fortsätta eller någon annan tangent för att avbryta” i Terminalen.
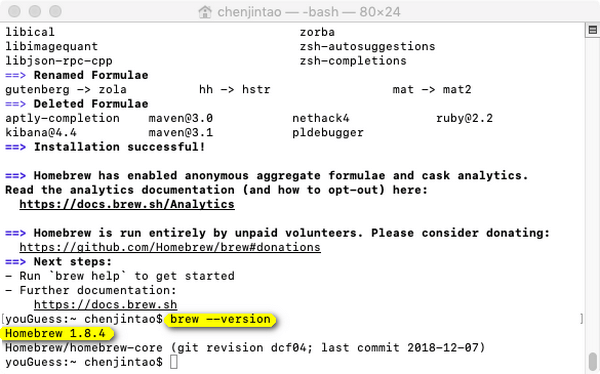
- Om du ser "Installationen lyckades" i terminalfönstret betyder det att installationen är klar.

Så här verifierar du att installationen lyckades:
Kopiera och klistra in koden nedan:
brew --version
If "Homebrew 1.8.0(Homebrew xxx)" inträffar betyder det att den har installerats.
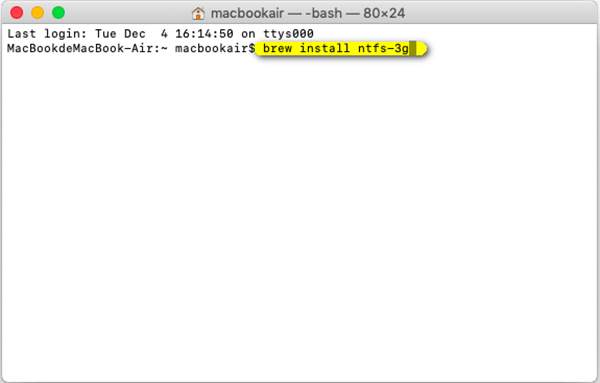
Steg 3. Manuell nedladdning av NTFS-3G
- Öppna terminalen och ange koden nedan för att installera NTFS-3G.
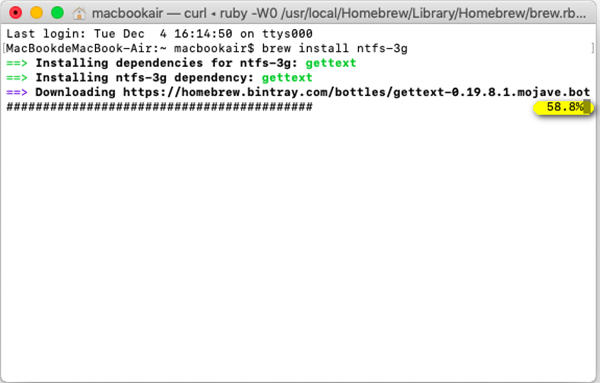
brew install ntf-3g
- Ha tålamod och vänta på nedladdningsprocessen.
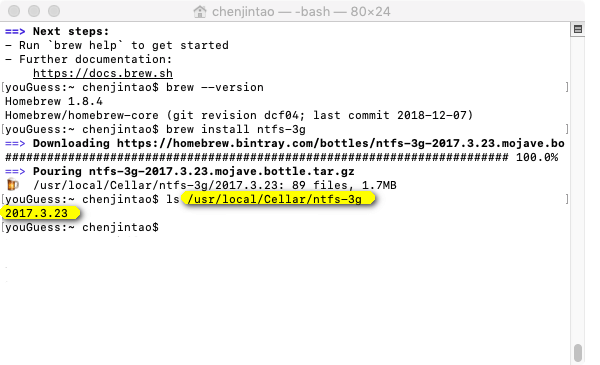
Så här verifierar du att installationen lyckades:
Kopiera och klistra in koden nedan för att kontrollera om installationen lyckades:
ls /usr/local/Cellar/ntfs-3g
Om tidsformatet som visas nedan liknar "2017.3.23", då är din installation framgångsrik.
Nu kan du använda NTFS-funktionen för att skriva filer och mappar från hårddisken, SSD-enheten eller en flash-enhet formaterad under Windows på din Mac.

