


While PuTTY is a widely used SSH and Telnet client originally designed for Windows, its usefulness in securely managing remote connections has led Mac users to seek compatible solutions. Luckily, there are reliable ways to download and install PuTTY for Mac using tools like Homebrew or third-party applications. This guide will walk you through everything you need to know. Let's dive in!
Contents: Part 1. What Is PuTTY?Part 2. How to Install PuTTY on Mac?Part 3. Bonus: Optimize Your Mac for Better ExperiencesPart 4. Conclusion
Part 1. What Is PuTTY?
PuTTY itself is a free, open-source terminal emulator, serial console, and network file transfer application. It supports various network protocols like SSH, Telnet, SCP, and rlogin. These features make PuTTY especially valuable for system administrators and developers working with Linux or Unix servers.
Though macOS includes a native Terminal with SSH support, many users still seek PuTTY for Mac for its GUI-based management features, saved session profiles, and consistent cross-platform interface. For those migrating from Windows to macOS or working in multi-OS environments, it provides a familiar experience that eases the transition.
There is no official PuTTY release from its original developer for macOS, but thanks to open-source communities and package managers like Homebrew, you can install a fully functional version. These versions retain all the core features, including SSH tunneling and key-based authentication. Whether you're connecting to a development server or configuring routers, PuTTY for Mac delivers the reliability and security professionals expect.
Part 2. How to Install PuTTY on Mac?
Installing PuTTY for Mac is straightforward using Homebrew, the most popular package manager for macOS. Follow these steps to get started:
Step 1: If you don't have Homebrew installed, open the Terminal and run: /bin/bash -c "$(curl -fsSL https://raw.githubusercontent.com/Homebrew/install/HEAD/install.sh)"
Step 2: Once Homebrew is ready, install PuTTY by typing: brew install putty
- This command will install PuTTY for Mac along with related command-line tools such as pscp and plink.
Step 3: After installation, you can use PuTTY’s functions directly in the Terminal. For example: putty -ssh user@hostname
For those who prefer a graphical user interface, you can also explore third-party alternatives like iTerm2 or Termius, which serve a similar purpose to PuTTY for Mac but with more modern UI.
Part 3. Bonus: Optimize Your Mac for Better Experiences
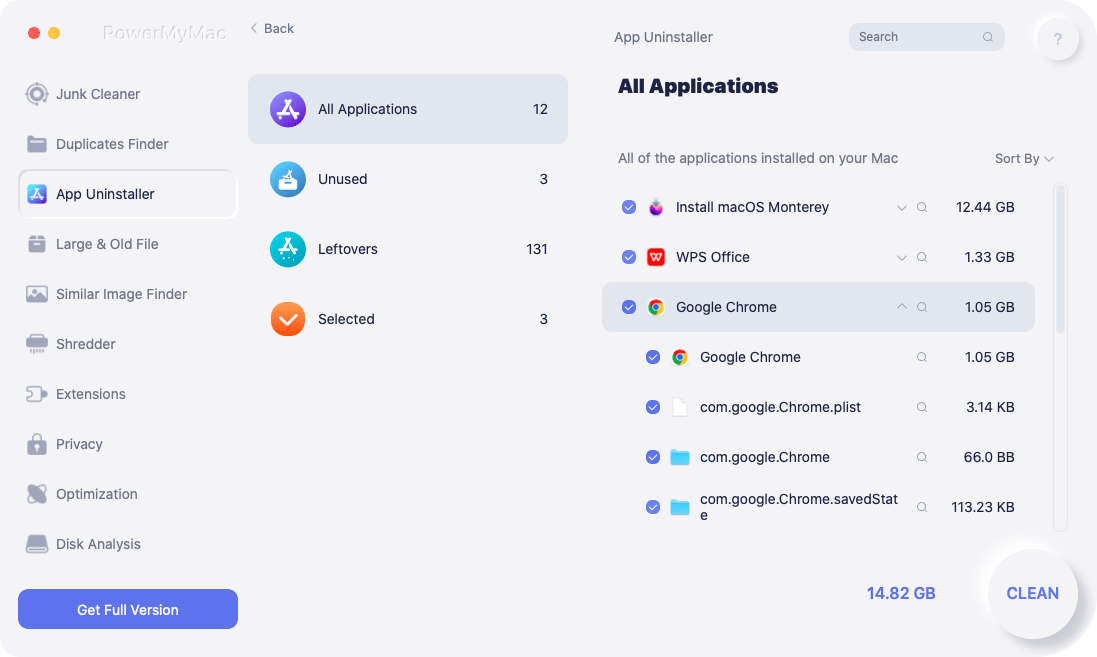
To ensure smooth operation of tools like PuTTY for Mac, it's essential to keep your system optimized. One powerful utility for this purpose is iMyMac PowerMyMac. It helps clear system junk files, free up RAM, and monitor CPU usage—all of which can enhance performance during remote terminal sessions or when managing multiple SSH connections.
Using PowerMyMac before launching PuTTY ensures that your Mac runs efficiently, with minimal background interruptions. It offers a one-click cleanup feature, allowing you to boost memory and storage instantly. You can also use its app uninstaller and startup manager to declutter your system further.
Whether you're an IT admin, a developer, or just a Mac user managing servers, maintaining a well-optimized system improves your experience with PuTTY for Mac and other tools. It’s especially helpful if you often work in virtual environments or connect to remote machines regularly.
Part 4. Conclusion
Though originally designed for Windows, PuTTY is available and easy to install using Homebrew or other third-party tools. It remains one of the most trusted clients for secure remote access. With the help of system optimization tools like iMyMac PowerMyMac, your experience using PuTTY for Mac can be smoother and more efficient. Whether you're troubleshooting servers or transferring files securely, PuTTY gives you the flexibility and power you need—all from your Mac.

