


Zoom is one of the most essential tools for virtual meetings, classes, and remote work. However, many users occasionally run into problems with Zoom not working on Mac—from audio and video glitches to the app not launching at all. These issues can be frustrating, especially when you're on a tight schedule or mid-meeting. The good news? Most Zoom-related problems on a Mac can be fixed quickly with a few targeted solutions. Let’s dive in.
Contents: Part 1. Why Won't Zoom Work on My Mac?Part 2. 8 Fixes for Zoom Not Working on Your MacPart 3. Final Thoughts
Part 1. Why Won't Zoom Work on My Mac?
If you’re dealing with Zoom not working on Mac, the issue could stem from a variety of sources. Common culprits include missing app permissions, outdated Zoom versions, system bugs, or unstable internet connections. In some cases, Mac system updates or changes to privacy settings may interfere with Zoom’s access to your camera or microphone. Another possible cause is corrupted Zoom preferences or a conflict with another background app.
Identifying the source is the first step to solving the issue. The next section covers 8 practical fixes that will help get Zoom working on your Mac again quickly and reliably.
Part 2. 8 Fixes for Zoom Not Working on Your Mac
1. Restart Your Mac
Sometimes the simplest fix is the most effective. Restarting your Mac can clear system cache, reset background processes, and fix temporary bugs. If you're experiencing Zoom not working on Mac, try quitting all apps, saving your work, and restarting your device. Once your Mac reboots, launch Zoom again and test your camera, microphone, and connectivity.

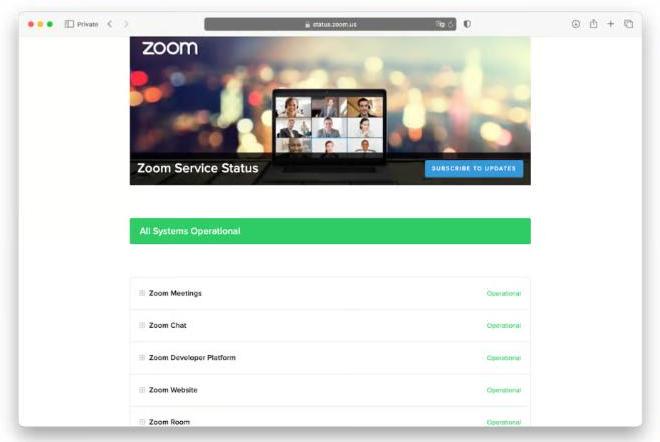
2. Check Zoom’s Server Status
Zoom may not be working because of a service outage on their end. Visit [https://status.zoom.us] to check if Zoom’s servers are operational. If the system shows degraded performance or downtime, there’s nothing wrong with your Mac—just wait until Zoom resolves the issue. This step is often overlooked when troubleshooting Zoom not working on Mac.
3. Check for macOS Updates
Running outdated macOS software can cause compatibility issues with apps like Zoom. Go to System Settings > General > Software Update and check for available updates. Updating your system may resolve bugs that affect camera access, screen sharing, or audio.
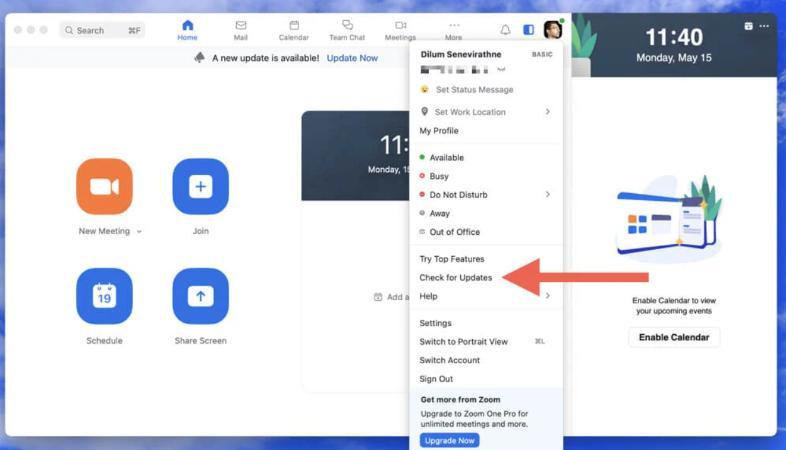
4. Update Zoom to the Latest Version
Outdated Zoom versions may not work properly with newer macOS updates. To update Zoom, open the app, click zoom.us > Check for Updates, and follow the prompts. If you’re facing persistent Zoom not working on Mac issues, updating to the latest version can often resolve bugs and introduce performance improvements.
5. Uninstall and Reinstall Zoom
Corrupted Zoom installations may lead to freezing, crashing, or failure to open. Uninstalling and reinstalling often fixes recurring issues tied to Zoom not working on Mac. However, simply deleting the app icon leaves behind hidden support files, caches, and logs that can continue causing issues. You need to track all those files down and get rid of them, too. You can do that manually, but it’s time-consuming and difficult, especially if you’re not sure where to look.
Thankfully, you don’t have to do it manually! iMyMac PowerMyMac can do it for you. With just a few clicks, it can uninstall any app and remove leftover files that weren’t uninstalled properly. With just a few clicks, it also scans your system for junk files, large old files, and unused apps, helping you free up storage space and speed up your Mac.
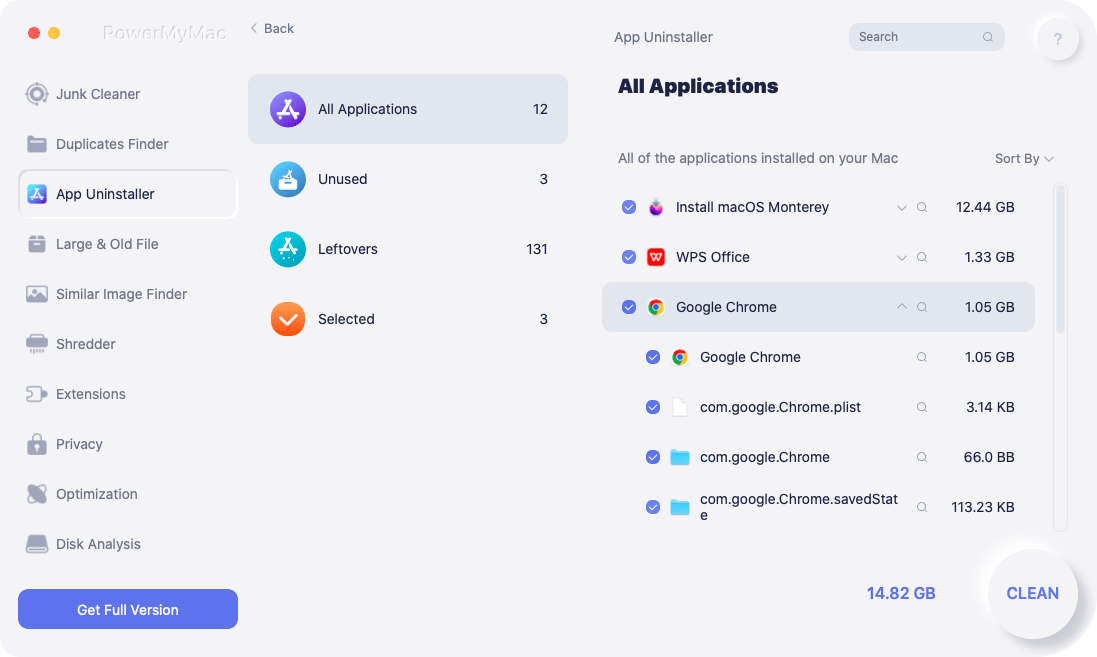
- Download and install PowerMyMac. Open it, from the main interface, select “App Uninstaller” from the left sidebar.
- Click "SCAN," PowerMyMac will scan your system for installed applications. Once the scan is complete, you will see a list of applications displayed.
- Locate Zoom from the list of applications and check the box next to it.
- Click on the “CLEAN” button at the bottom right corner of the window to initiate the uninstallation process. PowerMyMac will uninstall Zoom from Mac, including its associated files and folders.
Now, go to the official website and download Zoom again. Install the app and see if it works.
6. Check macOS Permissions
Zoom needs access to your camera, microphone, and screen recording. If it’s blocked, you’ll run into Zoom not working on Mac symptoms like no video or muted audio. Go to System Settings > Privacy & Security, then enable Zoom under:
- Camera
- Microphone
- Screen Recording
Make sure the toggles are turned ON.

7. Check Your Internet Connection
Zoom relies on a stable internet connection. If Zoom is lagging, freezing, or not connecting, your Wi-Fi might be the issue. Restart your router or switch to a wired Ethernet connection for better stability. You can also try using your phone as a hotspot to see if it’s a network-related problem.
8. Reset Zoom Preferences
Sometimes, Zoom's preference files get corrupted. To reset them:
- Quit Zoom.
- Open Finder, press Command + Shift + G, and type:
~/Library/Application Support/zoom.us - Delete this folder (it will regenerate upon restart).
Restart Zoom and log in again. This can fix weird behavior, like settings not saving or the app crashing—key causes of Zoom not working on Mac.
Part 3. Final Thoughts
Dealing with Zoom not working on Mac can be frustrating, but in most cases, the solution is simple. Whether it’s a permissions issue, outdated software, or network glitch, one of the fixes above should get Zoom back on track. For persistent problems, consider using tools like PowerMyMac to optimize your Mac’s performance. With these steps, you’ll be ready for smooth, stress-free Zoom meetings every time.

