


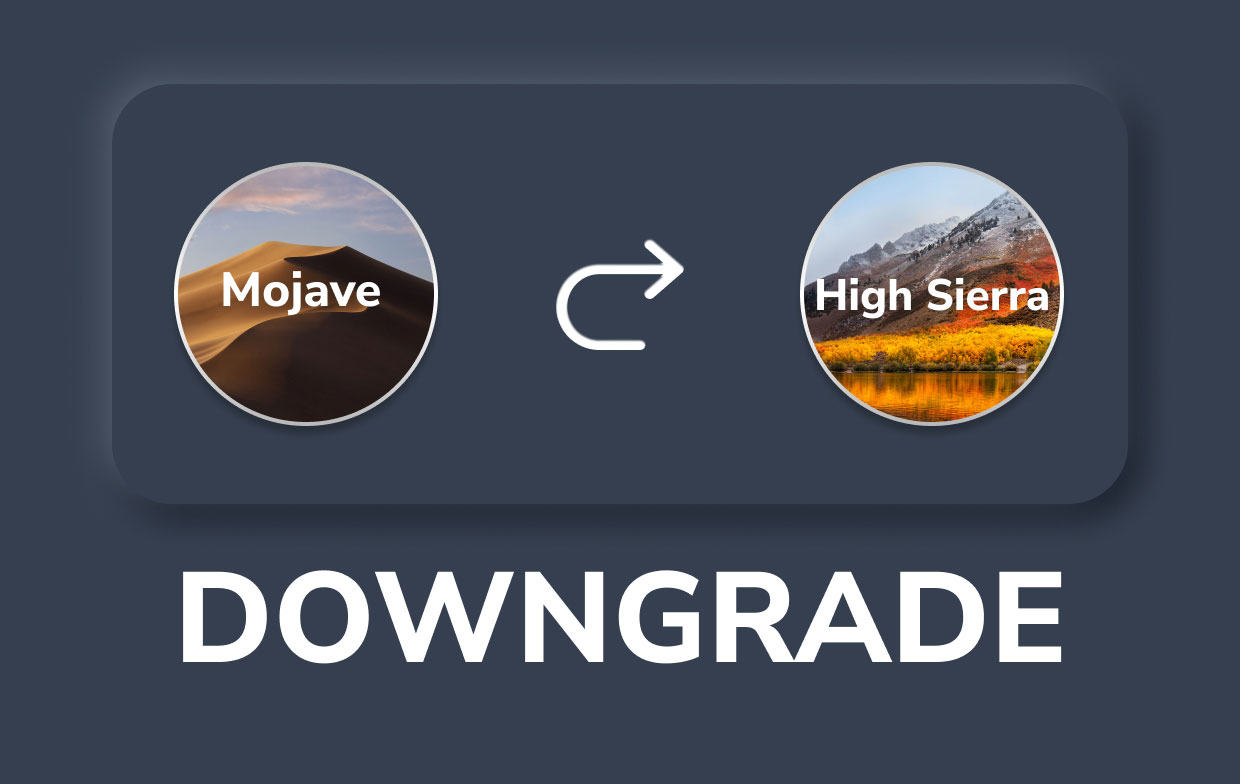
Whenever you downloaded macOS Mojave just give this a try as well as determined you didn't like this one, otherwise it didn't function with almost related together with certain of your applications, but also you just wanted to downgrade back Mojave into High Sierra, this same excellent news seems to be that while you can.
Unfortunately unfortunate thing was that this was a lengthy procedure with far too many distinct phases. Because once you begin, we urge recommended you actually bothered to read the guidelines beneath on how to downgrade from Mojave to High Sierra.
Contents: Part 1. How to Downgrade from Mojave to High SierraPart 2. How to Downgrade from Mojave to High Sierra Using Time Machine BackupConclusion
Part 1. How to Downgrade from Mojave to High Sierra
Once you've planned to return to High Sierra, proceed with the procedures below on how to downgrade from Mojave to High Sierra. Also, bear in mind that perhaps the downgrading procedure seems to be extremely difficult as well as time-consuming, therefore remain patient.
- Backup on your Mac. You must always make a backup of your Mac prior to actually beginning anything significant operation, and ideally, you did first before installation Mojave. But, such items you've used before worked on after installing Mojave will be out of order upon the backup, so you'll need to upload them toward a cloud server such as iCloud or otherwise Dropbox. Do not proceed till you have saved all files.
- Have a Notes. Downgrading erases all that on your hard disk, containing passwords, licensing codes, as well as settings. Provided you had a backup onto your Mac since well before upgrading towards Mojave, you ought to be capable of transferring much more of the information over to your Mac whenever High Sierra has been reinstalled. Nonetheless, this is a great notion to keep a record of most of the essential passcodes, settings, license keys, as well as other information you're probably to really need. You would have to use a strong password which thus matches up across multiple devices that would save all of the info you require.
- Delete now Mojave. This is appropriate to delete Mojave even after you've stored up any data you've focused forward previously installing Mojave as well as built the boot installers.
- You must ensure that your Mac has internet access.
- Now, press on the Apple menu then selects the "Restart" option.
- Then, to reboot in the recovery mode you must press on
command + option + shift + Rorcommand + R. Yet, insertingoption + shiftwould then let you reinstall on macOS High Sierra. - Afterward, press on Disk Utility.
- Upon that, choose on disk alone with Mojave.
- Select Erase.
- Make a name for the disk and select a file format either APFS or macOS extended.
- Select Erase once more.
- Then, leave the Disk Utility.

- Reinstall now the High Sierra. You just need to head over to the Apple menu, then select Restart. After that, press down the key "Option", then select the installer disk that you have created. From there, High Sierra would then proceed with the installing. After that, your Mac would then restarting and then the Startup would then be displayed. You just need to do was to proceed with the steps that setups your entire Mac.
- Whenever you generated non-Time Machine backups onto your Mac prior to actually installing Mojave, you could utilize the backup utility to recover everything related to the condition that it was once the backup was created. However, you'll have to manually reinstall programs, by using the information you took previously to enter licensing codes as well as reestablish settings. You may also restore records that you backed up while operating macOS Mojave.
Part 2. How to Downgrade from Mojave to High Sierra Using Time Machine Backup
You're fine favor provided you created a backup onto your Mac prior to actually installing Mojave. Something which may be used to restore High Sierra. Because once you begin, ensure your Time Machine drive has been linked into your Mac, whether manually or via a system.
- As previously mentioned, delete your starting disk.
- Select “Restore” using Time Machine Backup again through the macOS utility menu.
- Choose the external drive provided your backup has just one. Pick then select Connect with Remote Drive when it's either a Time Capsule or perhaps even an internet disk.
- Once required, provide your username as well as the passcode for such disk.
- Choose the time and date of such backup toward which you wish to recover.
- Adhere to the guidelines upon that screen.
Conclusion
This article has tackle how to downgrade from Mojave to High Sierra. We have listed briefly the steps on how to do it because then it really does takes up a lot of time and patience. In accordance with this, we tend to downgrade systems because sometimes they may go sluggish or not really working at all. We do recommend making use of the PowerMyMac which is a really great help to remove unneeded apps with all the leftovers and residues that make your Mac go slower. It is a powerful All-in-one tool to optimize your Mac with privacy protection. We do hope that this would then help you. Have a great and safe day ahead.

