


Whenever a disk fails to function correctly on the Mac, typically users will launch Disk Utility as well as execute First Aid to also fix that as well. Once First Aid failed to really fix such disk, an error notification "macOS can't repair the disk" displays. Although this is inconvenient, it should not necessarily imply that you would end up losing all of your information.
Disk Utility within macOS seems to be a fantastic tool that fixing disk issues off your Mac, but somehow, unfortunately, can't cure it all, but then what should you except to do whenever it shows a notice indicating that MacOS can't repair the disk? Continue reading to find out.
Contents: Part 1. Disk Utility: An OverviewPart 2. How to Find Out Whether You Have to Repair Your DiskPart 3. How to Fix macOS Can’t Repair the DiskConclusion
Part 1. Disk Utility: An Overview
Disk Utility has always been a disk wiping, formatting, as well as repairs utility integrated into macOS. It seems to be extremely important not only with the troubleshooting as well as fixing issues, as well as for reconfiguring drives, safely deleting files, especially establishing a device that perhaps the Finder has been finding difficulties accessing. This is located throughout the Applications directory under the Utilities directory.
Part 2. How to Find Out Whether You Have to Repair Your Disk
There might be quite a few indications when your hard disk or otherwise SSD might require repairs.
- The data files had already gotten corrupted.
- Several applications exited at the same time.
- The disk drive begins to make unusual snapping as well as buzzing tones.
If you've been experiencing either of these issues with such a disk drive onboard you’re Mac, regardless of whether it was the starting disk or perhaps an external storage disk or perhaps even SSD, that the very first place you should look was the Disk Utility. This Disk Utility seems to be quite effective at finding as well as fixing issues. But even so, it is not capable of resolving all issues.
Part 3. How to Fix macOS Can’t Repair the Disk
Keep in mind: Whenever that disk you're attempting for fixing contains your startup disk drive, you'll really do have to reboot onto Recovery Mode as well as select Disk Utility within this same startup display. To enter Recovery Mode, relaunch your Mac while continuing to hold the key "Command+R".
- To get started into the fixing, you must first head into the Applications, then into the Utilities, right after that, you must now click on the Disk Utility so that it would then open.
- Press on the option “View”, then after which select the option “View all Devices” right from the left side part of the screen.
- Then, from that, you must now choose on a disk or perhaps a volume from the sidebar section.
- Thereafter. You must now press on the option “First Aid”.
- Lastly, you have to hot on the option “Run” then you continue.
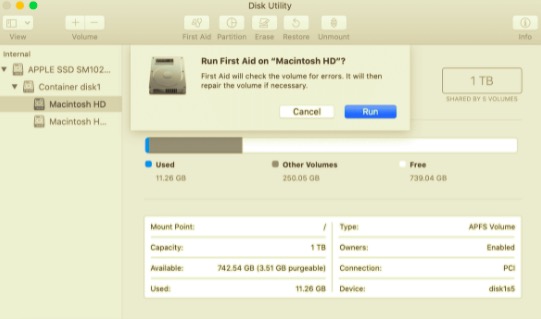
Whenever you receive a warning indicating that perhaps the disk might be about to crash, backup everything up straight away. Whenever you view a notice stating that Disk Utility has been unable to fix the damaged disk, attempt once more.
Make A Backup Already When Things Worsen
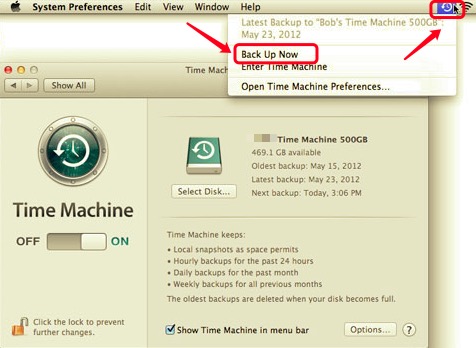
Whenever Disk Utility has been unable to fix "macOS can't repair the disk" issues that next time you attempt anything, you would need to take further steps. But first, make a backup of your drive. One simplest method to accomplish this is to utilize Time Machine, which is the built-in backup utility within your macOS system.
- You must head into Apple Menu, then after that, you should select the option “System Preferences”.
- Upon that, choose the Time Machine.
- From there, you must now click and then after which select on the disk you needed to have a backup on.
- Now, from the menu window, you must click on the box to check on the Time Machine.
- Lastly, you must do now was to press on the Time Machine right from the meu window, then after that, select on the option “Backup Now”.
Unless you do not wish to utilize Time Machine, you must utilize a third-party program for backup or otherwise copy the disk producing this same error notice. Whether it failed, you'll get a backup with all of your files and data.
Conclusion
As been tackled into this article about how to fix macOS can’t repair the disk. Alongside the main pinpoint of the article, we have also given a short insight into what was really disk utility we have been fixing on. In addition to that also, we give the main aspects of how to determine when you really have to fix your disk.
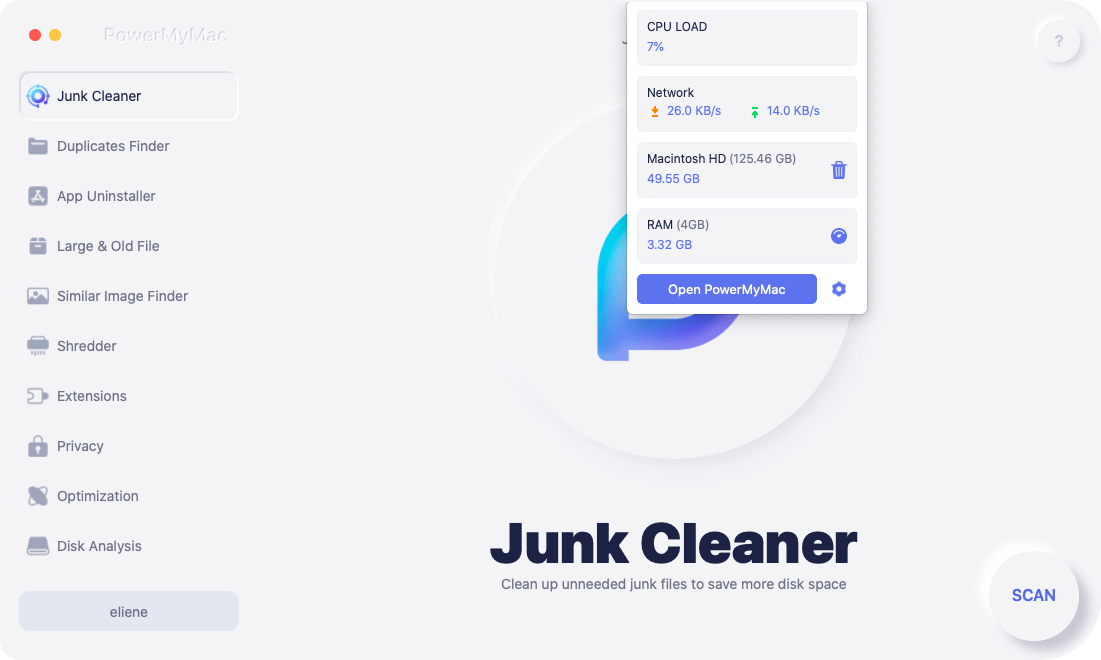
Also, it is important to pay attention to your Mac's health. We recommend you to use this professional tool- PowerMyMac to keep your Mac performing well. It not only frees up your Mac storage space Smartly but also speeds up your Mac and protects your privacy.
We hope that these guides will later help you fixing your macOS disk. Hope you have a nice and cozy day ahead.

