


When we talk about videos, we want to watch them to a point where we wish that they appear good to our eyes. That’s why video makers must make sure they have the best video quality enhancer available. In this way, they can let their viewers watch top-notch videos that they make.
Having a great video quality enhancer is a tricky thing. It must have the right features to help you improve your videos. Of course, you want to make sure that your viewers get entertained by your movie, show, or video, among others. That’s why you have to ensure that you get a video quality enhancer that will help you get the job done.
Here, we will discuss the best quality enhancer for videos that will help you make sure that your media file looks stunning. We will first talk about the features you will need to help you edit your videos to make them appeal to your audience.
Contents: Part 1. How Can I Improve Video Quality?Part 2. The Best Video Quality EnhancerPart 3. Conclusion
Part 1. How Can I Improve Video Quality?
Choosing a video quality enhancer is no joke. It will make or break your video. It can help you evoke the emotions that you want from your audience. For instance, if you have a video channel that appeals to kids, you must have the right tools at your disposal in order to get the video that you want.
Here, we will discuss the basic things to look for in a video quality enhancer. This will help you gauge if the best video quality enhancer you’re looking at will give you the tools and features that you need in such a tool. So, some of the features you should look for to help you enhance your videos include the following:
Upscaling Its Video Resolution
What do you mean by upscaling a video resolution? This means that you make sure that the quality of your videos is good by making a low-resolution video fit a higher resolution screen. This is one thing to use if your videos are overexposed, dark, or shaky.
Adjusting Certain Settings
If you want certain adjustments made to the settings of your video, you should be able to do it in a video quality enhancer. This includes adjusting hue, brightness, contrast, saturation, and volume levels. Other adjustments can be made as well.
Clipping
Clipping refers to making your video smaller by dividing it into smaller segments. The video quality enhancer should have this basic capability. This is a great way to get certain parts of the video that you need for your project or homemade media file.
Combining
This refers to merging different videos into a single media file. The video enhancer should have this ability. For instance, in case you shot different parts of the scenery, you can combine this into one full-fledged video file for your audience to look at.
Cropping
This refers to removing a certain portion of the video. For instance, if your video has blank edges that are colored black, you can remove these portions where the actual video isn’t included. It’s a great way to make sure your audience is focused on the video and its images alone.
Rotating
If you have shot your video upside down, you can use the rotate feature to make sure the right side is up. Or, if you want your audience to have a different angle or viewpoint of your video, you can rotate it to make sure it evokes the imagery you want.
Putting A Watermark
Putting a watermark is a great way to make sure your video is protected. If you’re uploading to video platform, you may want to put a watermark of your logo on the video. This ensures that no one will steal your video or that you get credited for your work.
Adding Subtitles
Adding subtitles is a feature that’s a must-have for a video quality enhancer. This allows you to add the subtitles to your video and make sure they are in sync. In addition, other tools can help you add multiple subtitles for different languages.
Adding External Audio Tracks
Again, you may want to add other audio tracks to your video. In this way, a movie will have different languages that the actors speak. Or, your homemade video will have audio effects that will enhance its appeal.
Having The Ability To Preview
Having the ability to preview your videos before they are made or converted is a great way to make sure it is picture-perfect. This allows you to make adjustments as necessary. It will help you create a great video that will enable you to wow your audience.

Part 2. The Best Video Quality Enhancer
Here, we will discuss the best video quality enhancer. This is in the form of iMyMac Video Converter. It acts as the best video quality enhancer that will allow you to make sure your videos look picture-perfect. In addition, it works as an audio and video conversion tool to help you convert files from one format to another. In addition, it supports NVIDIA CUDA, AMD, NVENC, and Intel HD Graphics and their hardware acceleration technology to help you convert video files faster. Speed is about six times quicker than the average conversion tool. The conversion process happens without re-compression and quality loss.
The tool supports different devices as well. 3D conversion is available through the tool. In addition, it supports different resolutions including UHD (4K), FHD (1080p), HD (720p), and SD (480p). It is possible to select the particular resolution of the converted video in order to meet your preferences. Playback incompatibility issues won’t happen with iMyMac Video Converter. This is because it offers different preset profiles that have high-quality video settings. Devices supported include iPhone, iPad, iPod, Blackberry, Samsung Galaxy, Google Nexus, Kindle Fire, Moto X, and Nokia Lumia, among others.
Some of the features and capabilities of iMyMac Video Converter as a video quality enhancer include the following:
- 3D Conversion. It has the ability to convert 2D videos to 3D videos. This can be done easily by using the tool. In addition, this will help give your viewers a more realistic viewing experience of your videos.
- Adjust Contrast And Brightness. It isn’t necessary to manually adjust the contrast and brightness of your video. The tool will optimize contrast and brightness automatically to give you the best results. With a simple click of your mouse, your video’s settings will be enhanced.
- Upscale Your Video Resolution. iMyMac Video Converter gives you the best way to upscale a low-resolution video into a higher one. For instance, conversion from 480p to that of 1080p is possible. Conversion to 4K ultra high definition resolution is possible as well. This is a great way to fix videos that are shaky, dark, and overexposed.
- Adding External Audio Tracks. For instance, you can add background music or you can place audio effects on your videos.
- Rotate Videos. You can rotate your videos to have the best angle for your viewers. For instance, you can place the videos upside down if you took them on the wrong side with your video camera. This gives another view of what you’re trying to convey.
- Crop Videos. You can also crop videos if you want to. If there are blank portions of the video that’s not part of the entire scene, then you can remove them. It’s a great way to help viewers focus on the true message of the video.
- Modifying Audio And Video Parameters. There are different audio and video parameters you can adjust with iMyMac Video Converter. This is a feature you can get as a video quality enhancer. For instance, if volume levels are too low or too high, you can adjust them. Brightness can be adjusted if the video is in dim lighting. This will make your videos more clear. In addition, you can edit contrast to make sure videos appear comfortable to the eyes. Saturation will help you make sure your video colors are close or far to the real colors. Finally, the hue will help you adjust between cool and warm tones.
- Adding Watermarks. To make sure your videos are protected from theft, you can add a watermark of your logo, image, or text on the videos. In this way, other people won’t have the ability to use your videos for personal or commercial purposes.
- iMyMac Video Converter allows you to preview your videos before they are converted. This is another way to make sure that they look good before you actually start converting them in real-time. It helps you know that you have made the right edits, right effects, and right audio tracks to your videos.
Here are the steps to use iMyMac Video Converter as a video quality enhancer:
Step 01. Download, Install and Open The Tool
The first step is to download the video quality enhancer called iMyMac Video Converter from its official website. You can click the Buy Now button to purchase it or click the Free Download button to get a free trial of the tool before purchasing it outright. Then, use the downloaded DMG file to open the installation file. Follow the prompts on the screen in order to install the tool on the Mac computer. After the installation process, open the tool on your Mac.
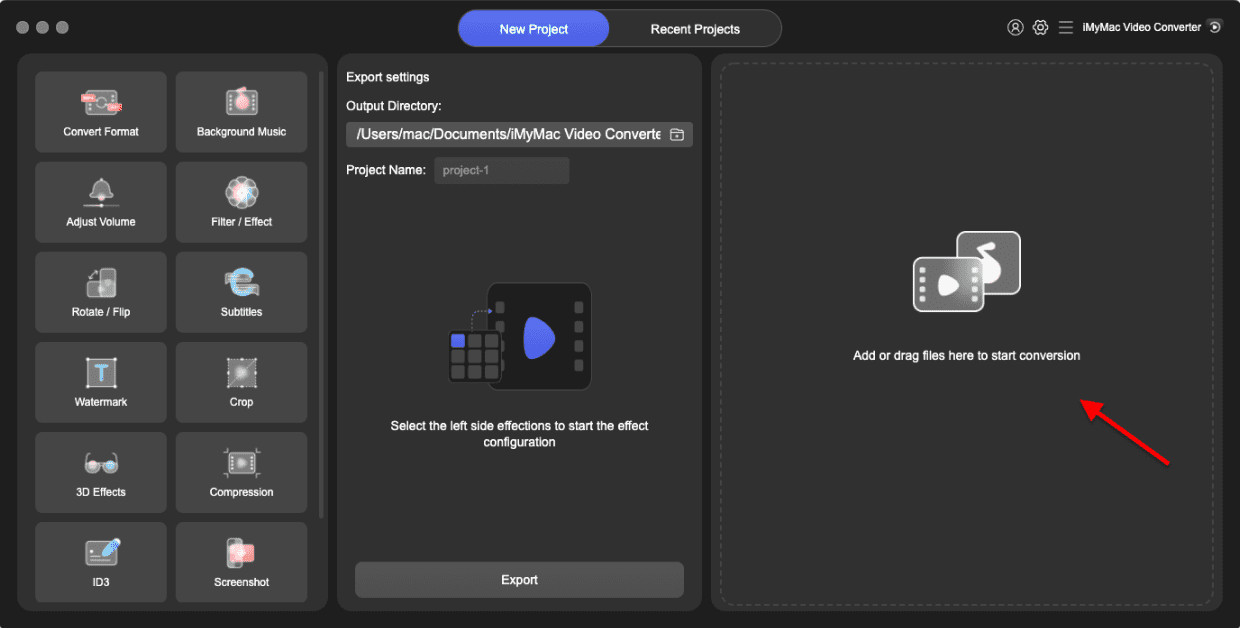
Step 02. Add Files
Add the video files by clicking the Add Multiple Videos or Audios button that locates on the left side of the interface. Then, look for the files on your hard drive and add them.
Step 03. Make Necessary Tweaks As A Video Quality Enhancer
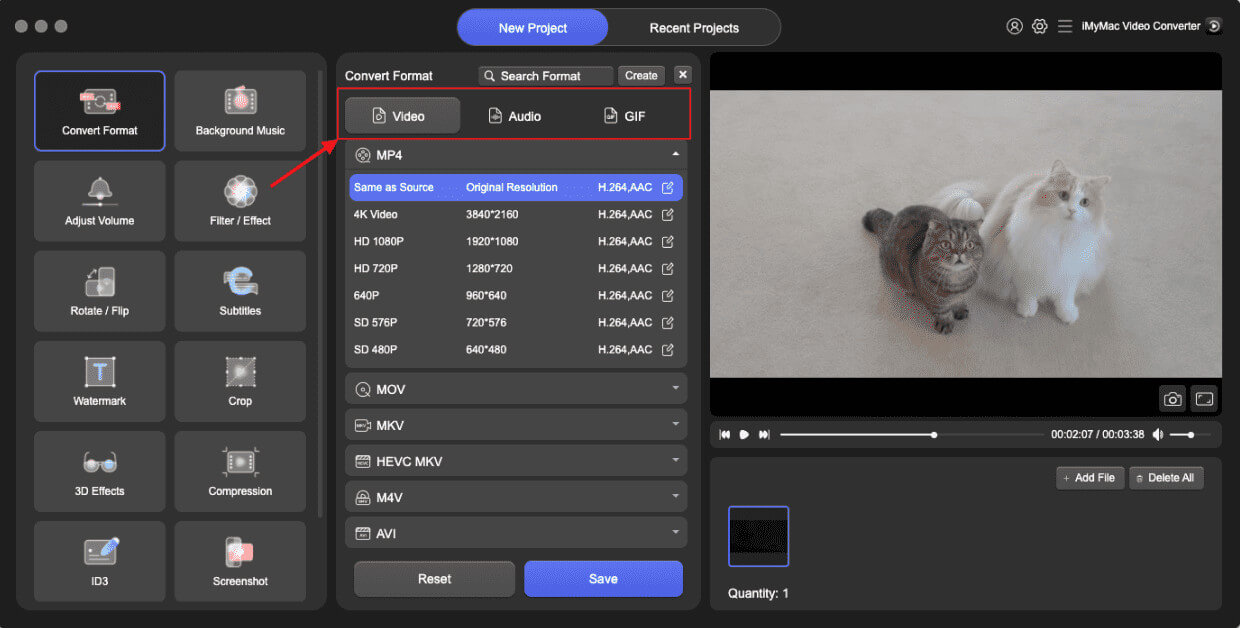
The third step is to make the necessary tweaks to your video. You can click the “Subtitle” menu to add subtitles. You can click Watermark in order to add a watermark for protection.
You can also click Filter/Effect to add different effects to your video file. The crop is clicked in order to remove certain parts of the video that you do not want. You can also choose an output format. We recommend that you use MP4. A resolution can be chosen as well. If you want the best one, you can go for the 4K (UHD) resolution. Do not forget to click Save for your settings.
Step 04. Preview
You can preview your videos after edits have been made. To do this, click the Play button under the video you have edited. This will allow you to check if you made the right edits to the videos you own. You will also be able to check and change each edit you make from "Effect Setting Record".
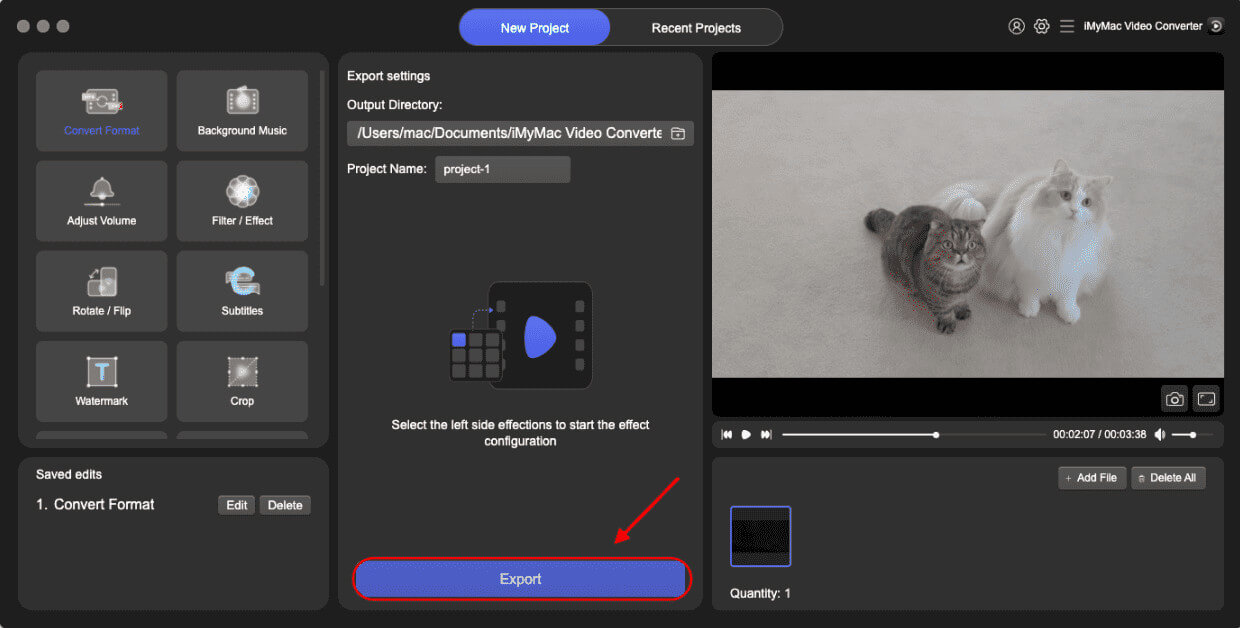
Step 05. Convert Your Videos
Then, choose a destination folder where the output files will be saved. Finally, convert and finish your video file by clicking the “Convert” button. This is located on the right side of the interface.
Part 3. Conclusion
We have given you an article on the best video quality enhancer that you can get. In this case, we’re talking about iMyMac Video Converter. Some of the features of the tool include upscaling video resolution, adjusting hue (or brightness, saturation, contrast), clipping, combining, cropping, rotating, putting a watermark, placing external audio tracks, and adding subtitles.
Before you actually make your video final, you can also use iMyMac Video Converter to view the edits you have made. This will help you decide whether the video is okay to go or not. This will make sure that you have an eye-candy video that your viewers will love. It is also a video and audio conversion tool. Apart from being a video quality enhancer, it can help you convert audio and video into other file formats. This is a great tool you should grab today!
