


As your digital files grow, having reliable and expandable storage becomes essential. If you're a Mac user looking for centralized storage for photos, videos, backups, or team collaboration, a NAS (Network-Attached Storage) is a smart solution. But not all NAS systems are Mac-friendly. In this guide, we’ll help you find the best NAS for Mac based on compatibility, performance, and ease of use. Plus, we’ll show how to keep your system optimized while working with NAS devices.
Contents: Part 1: What Is a NAS and Why Mac Users Need OnePart 2: Best NAS for Your Mac – Top RecommendationsPart 3: How to Set Up a NAS on macOS?Part 4: How to Improve Your NAS Workflow?Part 5: Final Thoughts
Part 1: What Is a NAS and Why Mac Users Need One
A NAS (Network-Attached Storage) is a device connected to your network that acts as a personal cloud. Unlike external drives, NAS systems allow multiple devices, including your Mac, to access files wirelessly, manage backups, and share media from one central hub.
Here’s why choosing the best NAS for Mac matters:
- Time Machine Compatibility: For automatic backups
- File Sharing Across Devices: Mac, iPhone, iPad, and even Windows
- Remote Access: Access files securely from anywhere
- Media Streaming: Watch videos or access photos directly from NAS
- Expandable Storage: Add more drives as your storage needs grow
The best NAS for Mac should offer native support for HFS+/APFS file systems or seamless integration through macOS file sharing protocols like SMB or AFP.
Part 2: Best NAS for Your Mac – Top Recommendations
Here are some of the best NAS options tailored for macOS users:
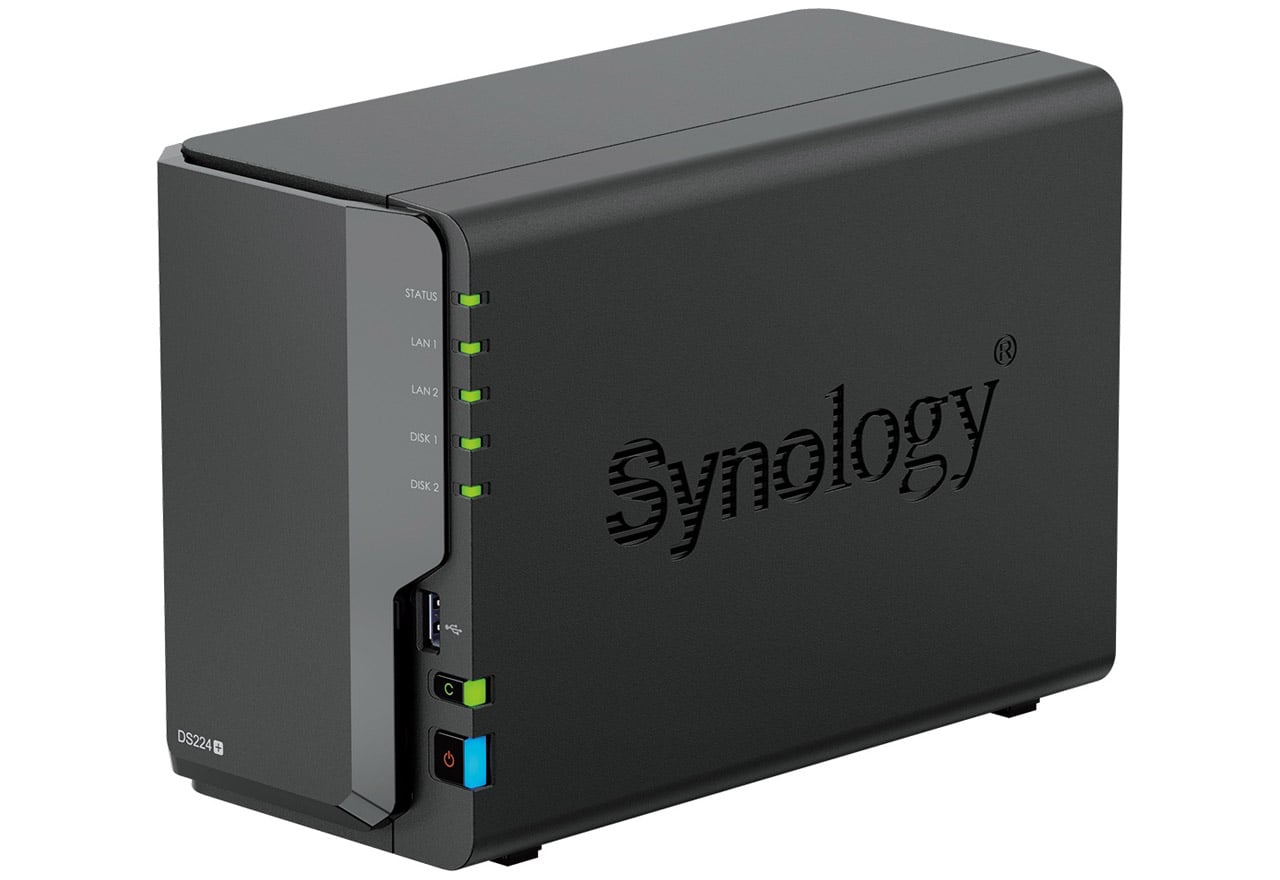
1. Synology DiskStation DS224+
One of the top contenders for the best NAS for Mac, the DS224+ offers dual-bay storage with easy macOS integration. It supports Time Machine over SMB, offers a user-friendly OS (DSM), and can run apps for media streaming, backups, and syncing.
- Great for: Personal backups, file storage, and Plex media server
- macOS Compatibility: Excellent Time Machine support and QuickConnect for remote access
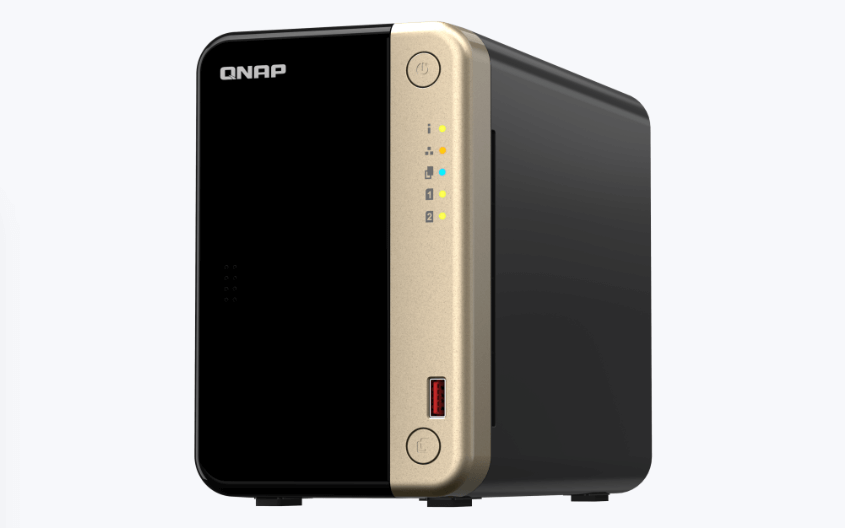
2. QNAP TS-264
This 2-bay NAS comes with a powerful Intel processor and supports macOS backup and file transfer protocols. With QTS 5.0, it offers advanced features like virtualization, media streaming, and file syncing.
- Great for: Professionals and home office setups
- macOS Compatibility: Time Machine-ready, Finder access via SMB
3. Western Digital My Cloud EX2 Ultra
For those new to NAS setups, the My Cloud EX2 Ultra is one of the most user-friendly choices. It offers automatic backups, remote access via MyCloud app, and plug-and-play setup.
- Great for: Beginners and home users
- macOS Compatibility: Supports Time Machine, iTunes Server, and mobile backup options
4. Asustor Drivestor 2 Pro
A solid choice for budget-conscious users, this NAS offers 2.5GbE speed and supports macOS with AFP and SMB. Asustor ADM software provides backup tools and file sharing features.
- Great for: Budget media storage and Time Machine backups
- macOS Compatibility: Reliable performance with simple setup
Tips for Choosing the Best One
When shopping for the best NAS for Mac, keep the following in mind:
- macOS Compatibility: Ensure it supports Time Machine and Finder-based access
- Drive Bays: More bays = more storage and redundancy options
- Processor and RAM: Faster performance for multiple users or media streaming
- Apps and OS Support: Look for useful features like photo sync, mobile apps, and encryption
- RAID Support: Protect your data with redundancy (RAID 1, 5, etc.)
Choosing the best NAS for Mac depends on your workflow, casual users may need simplicity, while professionals should focus on performance and scalability.
Part 3: How to Set Up a NAS on macOS?
After selecting the best NAS for Mac, setting it up is straightforward:
Step 1: Connect the NAS to Your Network
Use Ethernet for best performance. Ensure your Mac and NAS are on the same Wi-Fi or LAN.
Step 2: Access the NAS Setup Interface
Usually via browser (e.g., http://find.synology.com or http://your-nas-ip), where you configure user accounts, shared folders, and backup destinations.
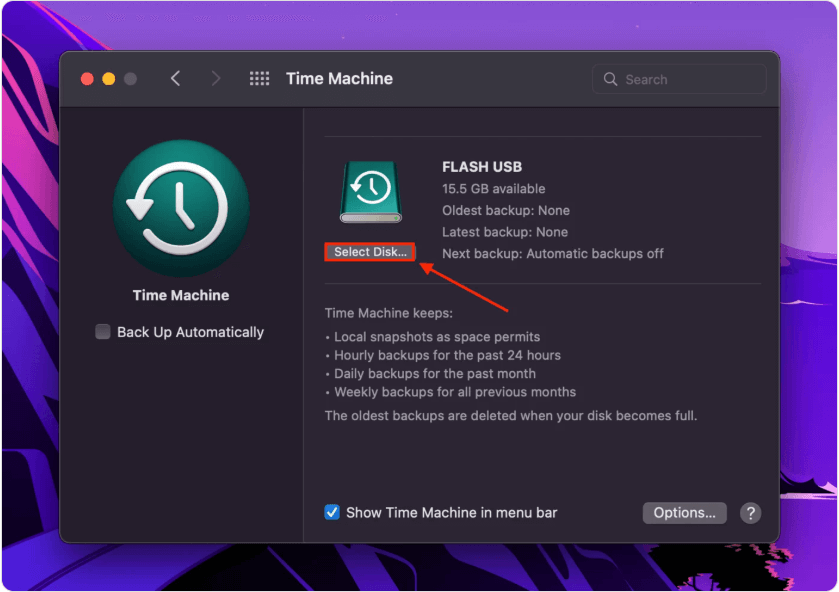
Step 3: Enable Time Machine Backups
- On your NAS: Create a shared folder and enable Time Machine
- On your Mac: Go to System Settings > Time Machine > Select Disk and choose the NAS volume
Step 4: Map the NAS in Finder
Use Go > Connect to Server and enter the address (e.g., smb://192.168.1.100/SharedDrive) to mount your NAS for easy drag-and-drop access.
This setup ensures your best NAS is fully integrated for backup, storage, and daily use.
Part 4: How to Improve Your NAS Workflow?
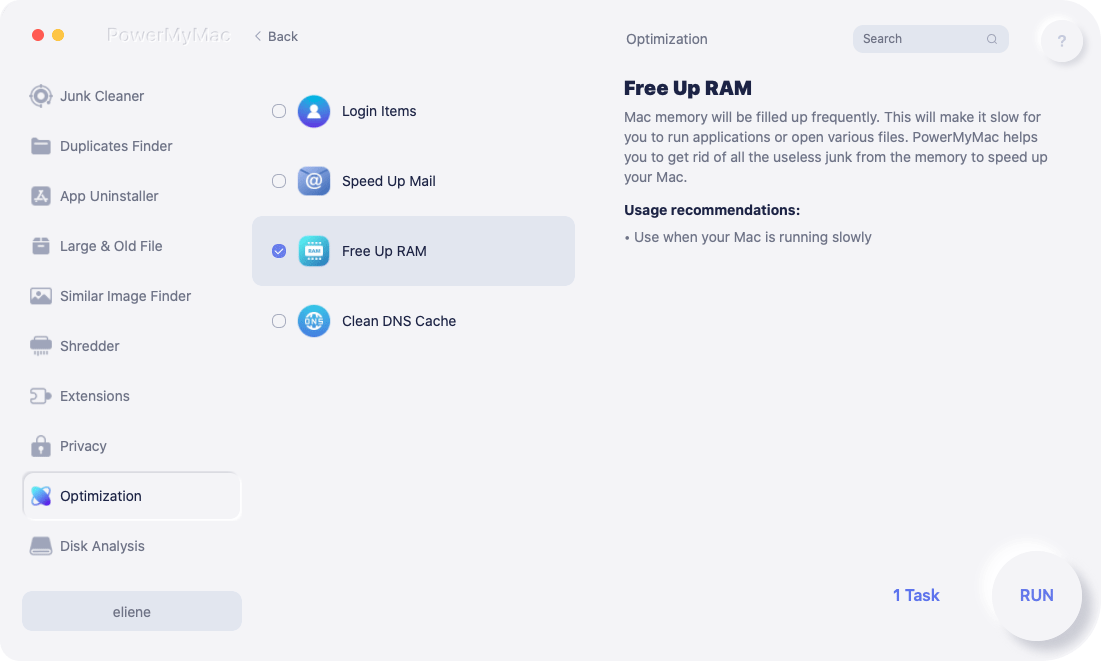
Working with a NAS requires a responsive and well-optimized Mac system. This is where iMyMac PowerMyMac can make a noticeable difference. With iMyMac PowerMyMac, your Mac remains fast and efficient, making interactions with the best NAS for Mac seamless and hassle-free.
Here’s how it supports your NAS usage:
- Smart Cleaner: Clears system junk, cache, logs, and temporary files that may slow down NAS access via Finder
- Memory Monitor: Keeps RAM usage in check when transferring large files between your Mac and NAS
- Uninstaller: Helps you remove old backup software or failed NAS drivers cleanly
- Duplicate Finder: Identifies and removes duplicate photos, documents, and downloads that silently eat up storage
- Performance Booster: Speeds up your Mac’s responsiveness when working with high-capacity NAS storage or running Time Machine backups
Part 5: Final Thoughts
The best NAS for Mac is more than just extra storage, it’s a complete solution for backups, file sharing, and productivity. Whether you're a casual user or a pro handling media projects, the right NAS can transform how you manage your data. Combine it with an optimization tool like iMyMac PowerMyMac, and you'll enjoy better system performance and fewer technical hiccups.

