


Ever accidentally deleted a file or made changes to a document you wish you could undo? Learning how to go back in time on Mac allows you to retrieve lost files, restore your system to an earlier state, and avoid catastrophic data loss. In this guide, we’ll show you multiple ways to access your Mac’s built-in backup features, as well as smart tips and tools to manage your data more effectively.
Contents: Part 1: What Does “Go Back in Time” Mean on a Mac?Part 2: Use Time Machine to Go Back in Time on a MacPart 3: Restore Using Local Snapshots (No External Drive Needed)Part 4: Recover Earlier Versions of Documents (Without Time Machine)Part 5: Use iCloud to Restore Recently Deleted FilesPart 6: Bonus Tip — Keep Your Mac Running SmoothlyPart 7: Conclusion
Part 1: What Does “Go Back in Time” Mean on a Mac?
Before we dive into solutions, let’s define what it means to go back in time on Mac:
- Restoring deleted or altered files
- Recovering earlier versions of documents
- Rolling back to a previous macOS state
- Retrieving lost data after system failure or crash
macOS has a native solution called Time Machine, but there are other methods as well. Understanding the tools available will help you make informed choices and maintain peace of mind.
Part 2: Use Time Machine to Go Back in Time on a Mac
How to go back in time on Mac? Time Machine is Apple’s built-in backup utility, designed precisely for users who need to go back in time on Mac.
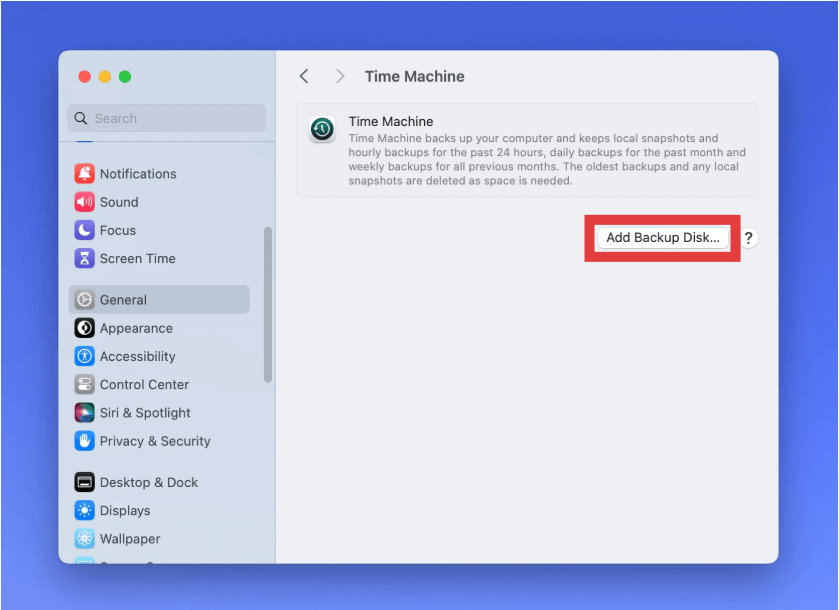
Set Up and Use Time Machine
- Connect an External Drive (HDD/SSD)
- Open System Settings > General > Time Machine
- Click Add Backup Disk and select your drive
- Time Machine will start automatic hourly backups
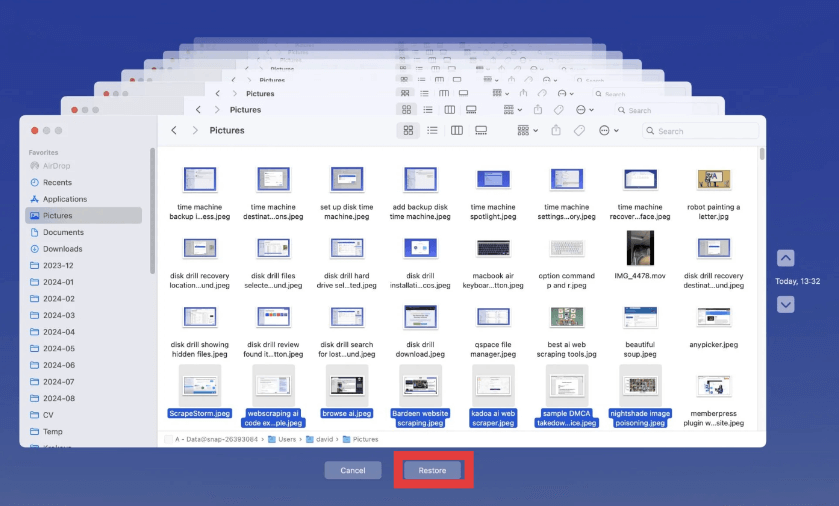
To Restore Files:
- Open the folder where the lost file used to be
- Click the Time Machine icon in the menu bar
- Navigate the timeline on the right
- Select a version to restore
Using Time Machine is one of the most reliable ways to go back in time on Mac with minimal effort.
Part 3: Restore Using Local Snapshots (No External Drive Needed)
Did you know that even without a backup drive, your Mac automatically saves local Time Machine snapshots?
How to Access Local Snapshots:
- Open Terminal
- Run:
tmutil listlocalsnapshots / - Identify snapshot names and dates
- Reboot into macOS Recovery (Command + R)
- Use Restore from Time Machine Backup
These local snapshots are stored on your Mac’s internal drive and can be a lifesaver if you haven't connected your external backup recently.
So if you ever panic about lost data, remember: there’s still a way to go back in time on Mac, even without a connected Time Machine drive.
Part 4: Recover Earlier Versions of Documents (Without Time Machine)
How to go back in time on Mac? Some macOS apps (like Pages, Numbers, and even Microsoft Word) include version history, which allows you to revert to earlier versions of your work. This is an easy way to go back in time on Mac when you're working with documents, without restoring the entire system.
- Open the file in its app (e.g., Pages)
- Click File > Revert To > Browse All Versions
- Scroll through the timeline interface
- Select the version you want and click Restore
Part 5: Use iCloud to Restore Recently Deleted Files
How to go back in time on Mac? iCloud Drive users can also recover deleted files within 30 days. It’s a lightweight but effective way to go back in time on Mac, especially if you store your documents and media in the cloud.
- Go to iCloud.com
- Log in and click Drive
- Click Recently Deleted on the sidebar
- Select the file and click Recover
Part 6: Bonus Tip — Keep Your Mac Running Smoothly
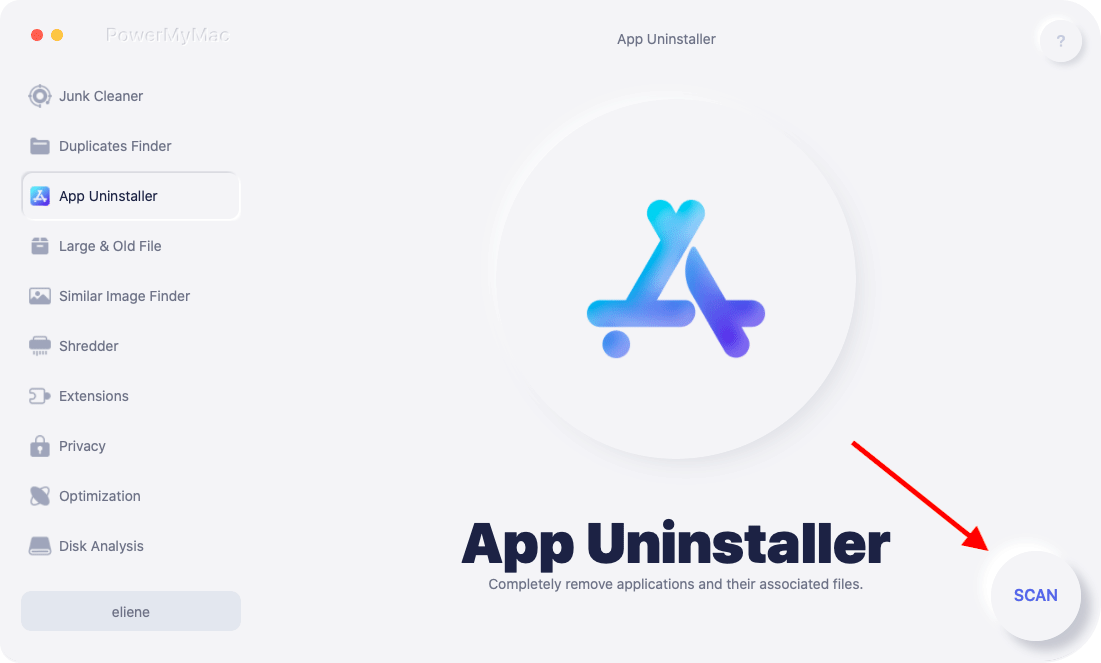
While not a backup tool itself, iMyMac PowerMyMac is an all-in-one Mac utility that enhances system performance, ensures disk health, and helps you clean up space, making your Mac more stable and less prone to errors that could result in data loss.
- Memory Cleaner: Frees up RAM in real time, ensuring your Mac is fast and responsive.
- App Uninstaller: Completely removes unused or duplicate apps that clutter the switcher and slow down your Mac.
- Duplicate Finder: Eliminates redundant files to free up storage, making room for app updates and smoother processes.
- Startup Manager: Disables unnecessary login items, so your Mac boots faster.
- Smart Cleaner: Deletes logs, caches, and temporary files that consume space and impact overall system performance.
Keeping your Mac optimized with iMyMac PowerMyMac can indirectly support your goal of being able to go back in time on Mac, by keeping backups cleaner, preventing system crashes, and maintaining overall macOS health.
Part 7: Conclusion
Knowing how to go back in time on Mac is essential for every Mac user. Whether it’s recovering a single file or restoring your entire system, macOS gives you flexible tools like Time Machine, local snapshots, iCloud, and version history to protect your data. With the added benefit of optimization software like iMyMac PowerMyMac, your Mac stays faster, safer, and more resilient.

