


One of the best features that Apple offers to its consumers is the ability to connect different devices from the same company. If you have a lot of Apple devices, you can share a lot of different features from one device to another. With the proper configuration, you can allow your Mac and your iPhone to share messages and even phone calls. Thus, cellular voice and message connection is possible with both devices.
In this article, we’ll teach you how to connect the two in order to have voice calls connected between your iPhone and Mac computer. While we teach you how to do it, you’ll also solve the error that says “Your iPhone Is Not Configured to Allow Calls Using This Mac”. Let’s get started.
Contents: Part 1. How Does the Make Calls Using Mac Process Works?Part 2. Fixing iPhone Is Not Configured to Allow Calls Using This MacPart 3. How to Dial Phone Calls Using the MacPart 4. To Wrap It All Up
People Also Read:How to Clear System Storage on Mac EffectivelyHow to Use Siri on Mac?How to Right Click on Macbook?
Part 1. How Does the Make Calls Using Mac Process Works?
If your Mac computer and your iPhone are connected to the same Wi-Fi network, you can make voice calls utilizing your Mac using the iPhone that you have. Mac’s speaker and microphone devices will be used in order to make a call.
So, how does it work? Your iPhone’s cellular package will be used to transmit data to your Mac with regards to the call. This is possible not only on FaceTime calls. Using this particular method, you can make standard voice calls to that of landline phones and cellular phones everywhere.
The microphone would be a bit farther from your face compared to using your iPhone. Thus, the sound quality will be similar to that of using Skype or using a speaker on your phone. If you use your earphones to plug into your Mac, the sound quality will be better compared to using the actual mic of the Mac computer.
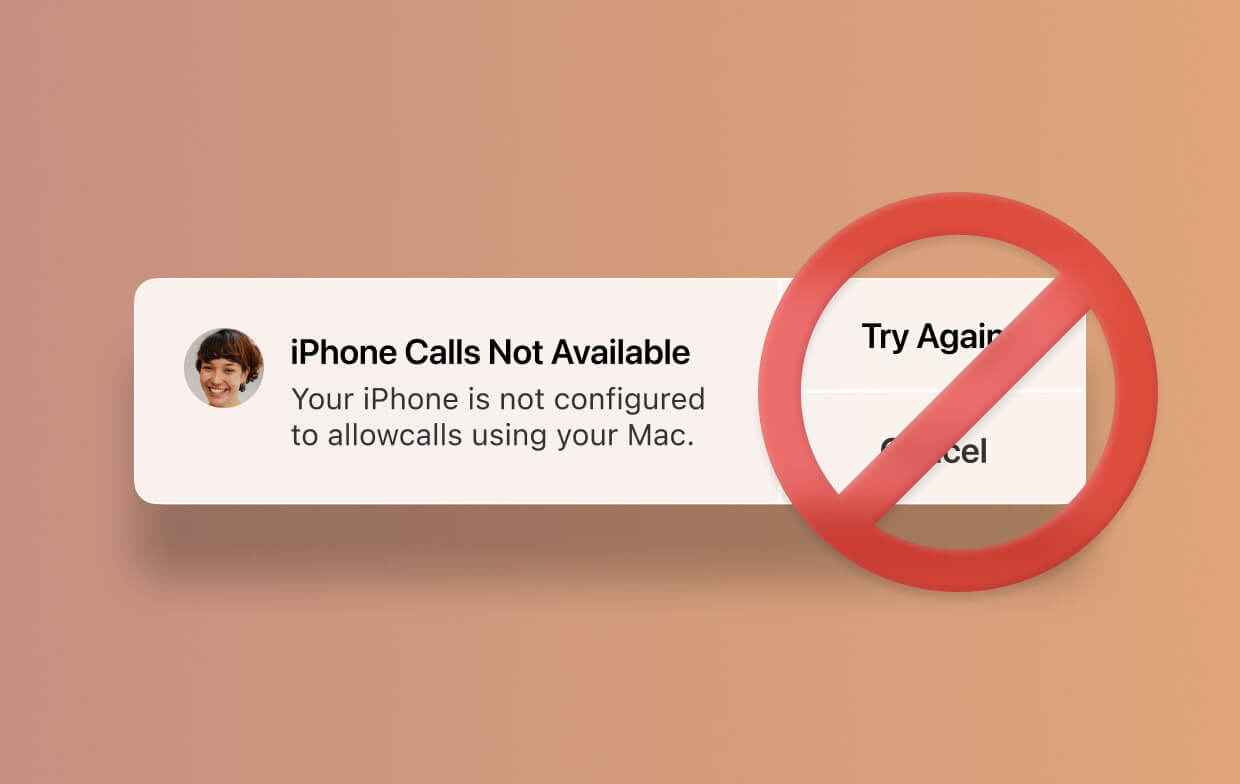
Thus, once you have set up all configurations necessary, you won’t have the error that says “Your iPhone Is Not Configured to Allow Calls Using This Mac.” You will now be able to receive calls with your computer.
When you receive phone calls, both the iPhone and the Mac will ring at the same time. This might lead to confusion and loud ringtones everywhere. However, it can be helpful as well. We are hoping that Apple will modulate or fix this kind of feature within the near future. But, at present, you will have a lot of ringtones blasting throughout your place once you get a call.
Before you fix the error wherein it says “iPhone is not configured to allow calls using this Mac,” you will need to configure both your iPhone and your corresponding Mac computer first. It’s actually a very convenient feature.
For instance, if your iPhone is within your backpack or buried down a pile of things with your purse, you can receive calls made to your iPhone from your Mac. Thus, it can be very convenient especially if you can’t use your iPhone for whatever reason.
The next section will involve the various steps you should follow in order to make configurations to your iPhone enabling it to make phone calls using your Mac computer.
Part 2. Fixing iPhone Is Not Configured to Allow Calls Using This Mac
This section involves two major steps. The first major step involves configuring the iPhone. Then, obviously, the next step would involve making changes to your Mac computer.
Simply follow the steps below to fix the error statement “Your iPhone is not configured to allow calls using this Mac”:
- Configuring Your iPhone: launch Settings > press Phone > press Wi-Fi Calling > toggle on Wi-Fi Calling On This Phone > press Calls On Other Devices > toggle on Allow Calls On Other Devices.
- Configuring the Mac Computer: launce FaceTime > launch Preferences > Check the box that says “Calls From iPhone” in order to enable it.
Step 1. Configuring Your iPhone
There are various network carriers and phone providers out there. Thus, there might be differences in configuring your iPhone. The steps included below should apply to a wide variety of wireless network providers.
For some people, they might be able to work their way around without the need to activate Wi-Fi calling (as seen in Step b of this section). Other network providers would necessitate Wi-Fi Calling in order to show the menu for “Calls On Other Devices”.
Whatever carrier you have, the steps we will show below will usually cover major network providers. This will help you configure the iPhone to ensure that you can make and receive calls with your Mac computer. If it appears differently on your iPhone, then you might have to call your network provider. They might have the technical support to help you make and receive phone calls from your iPhone to your Mac computer.
Step a – Launch “Settings” within your iPhone. Then, press “Phone.”
Step b – If a menu that states “Wi-Fi Calling” appears, press this menu.
Step c – In the following screen that appears, toggle on the option labeled “Wi-Fi Calling On This Phone.” This will now enable the iPhone to make calls within a Wi-Fi network.
Take note that if you are in the U.S., it might be necessary for you to input the address of the 911 Emergency System once you have toggled “Wi-Fi Calling On This Phone” on. This will enable the operators of the 911 Emergency System to attach your iPhone call to a particular location when you’re actually calling from that specific network.

Ensure that the address you provide is legitimate and accurate. Also, make sure that if you move to another location, you have to update this network location as well. If you don’t, then emergency 911 operators would be confused as to your actual physical location during cases of emergency.
Step d – If a menu known as “Calls On Other Devices” appears, press this option.
Step e – Toggle on the option that is labeled “Allow Calls On Other Devices.” It is this particular option that enables you to make calls using other devices connected to the same Wi-Fi network.
Now, the default setting will enable each and every device within the same iCloud account to share with that of your iPhone’s cellular network signal. This is true IF these devices are within the same Wi-Fi network.
If you wish to disable other devices from sharing the cellular network signal, you can do so manually. You can disable certain devices within the toggle list found under the bottom part of that particular screen. This will prevent, for instance, your child from making phone calls using their iPad.
Step 2. Configuring the Mac Computer
Once you have finished configuring your iPhone, you are one step closer to fixing the error “Your iPhone is not configured to allow calls using this Mac.” Now, you have to configure or set your Mac computer up in order to make and receive phone calls.
Step a – Launch the FaceTime app by going to Applications then visiting FaceTime.
Step b – Launch Preferences. This is located within the menu bar of FaceTime.
Step c – Check the box that says “Calls From iPhone” in order to enable it. This is located in the dialog box’ middle section.
Now, that’s it, you have configured both your iPhone and your Mac computer. You are ready to make and receive calls using your Mac computer by enabling it to connect to your iPhone’s cellular network signal. Now, let’s dig into the steps on how to make phone calls using your Mac.
Part 3. How to Dial Phone Calls Using the Mac
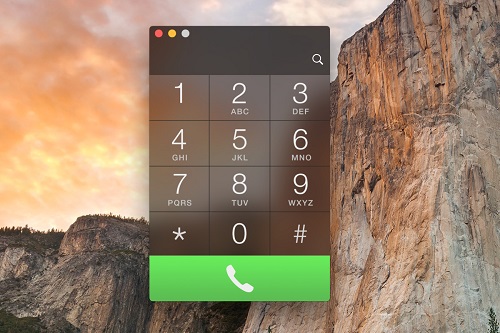
Once you have configured your Mac to connect to your iPhone for phone calls, there are multiple ways you can implement in order to dial calls using the said computer. Usually, this is indicated within the operating system by a blue underline (that appears like a hyperlink). Or, it can appear as a dotted box colored grey that has a drop-down arrow within its right part. Let’s take a look at some of the most popular methods for making phone calls using your Mac.
1 – Using your FaceTime application, input a phone number or a contact name within the search box. After this, right-click the said contact and choose the number located under “Call Using iPhone.” Or, you can also press the phone icon located within the main contact.
2 – Press the phone icon located under the name of a contact within the Contacts app.
3 – Within Safari, you can also press the drop-down arrow located right next to a phone number outlined in grey. This is usually found on web pages. After this, press “Call.” Typically, if a grey outline doesn’t appear within a number, you can select the number with your cursor. Doing this will make the grey outline appear.
4 – Within the Mail application, press the drop-down arrow located right next to a number. Then, choose how you want to make the phone call. It can be tricky, at first. However, when you select a number using your cursor, the menu will typically appear.
5 – Within Maps, you can find a certain point of interest or location. Press the bubble that contains the information. After this, press “Call.”
6 – Go to Mac’s Spotlight. After this, input the name of a contact. Then, choose the correct contact name that you want to call. Press the phone icon in order to make a call with your Mac computer.
7 – Within Calendar, find if there’s a phone number that’s underlined in blue. This can be found within the details section of particular events. Click this underlined phone number.
8 – Within Reminders, press the underlined phone number colored blue. This will enable you to place a call.
9 – Finally, within Notes application, press the drop-down arrow located next to a particular phone number. Or, you can highlight the phone number and then press right-click. Then, choose the way you want to make a call.
Tip: Apple users can enjoy sending faster instant messages thru iMessage across all iOS devices. If you want to know how to add a phone number to iMessage on Mac, then this post is for you.
Part 4. To Wrap It All Up
In this guide, we’ve told you how to fix the error “Your iPhone Is Not Configured To Allow Calls Using This Mac.” You can do so by configuring both your iPhone and your Mac computer to allow calls within the same Wi-Fi network. We’ve ended the article on how to make phone calls using your Mac computer.
How about you? How did you fix this error when you encountered it? How are you able to make sure your Mac computer makes and receive phone calls using your iPhone cellular network? Let us know in the comments section below.


Frank2024-02-08 14:33:46
Works. What i don't understand is that when I got the phone over a year ago it worked out of the box, then a butterfly flapped its wings in Patagonia a few months ago, so without me making any changes to any device, it stopped.
Derrick Brown2022-07-31 08:55:00
Part 2, step 1 - I didn't get the response indicated. Lost!
Cognomen2021-11-09 14:43:25
Thanks - very helpful!
iMyMac2021-11-09 16:58:50
Glad to help you.
Mandy2021-01-12 00:26:52
Easy to understand, simple and clear instructions. Good tutorial material.
iMyMac2021-01-12 04:08:38
Thanks for your support!