


Unlike other computers using Windows operating system, Mac devices provide no direct right for their users to write files and folders from HDD, SSD or a flash drive formatted under Windows on Mac. However, it is not difficult for a Mac user to realize the function of writing, editing or deleting. He/She is just supposed to ask a magical thing, NTFS, for help.
Therefore, this article is going to give an ultimate guide on how to use NTFS to write, edit or delete files or folders in a direct way on Mac.
To make the NTFS function come true, Osxfuse and NTFS-3G are necessary to be installed on Mac. Then, the following part is about how to install Osxfuse and NTFS-3G on a Mac device. Read and install along the steps below now!
Article GuideStep 1. Download and Install OsxfuseStep 2. Manual Download HomebrewStep 3. Manual Download NTFS-3G
Note: Of course, if you have installed the two things mentioned above, you can skip the following part and go to write, edit and delete your files and folders.
Here are the steps:
Step 1. Download and Install Osxfuse
First of all, download Osxfuse on your Mac through the links below:
- Direct download link: https://github.com/osxfuse/osxfuse/releases/download/osxfuse-3.8.2/osxfuse-3.8.2.dmg
- Official download link: https://osxfuse.github.io/
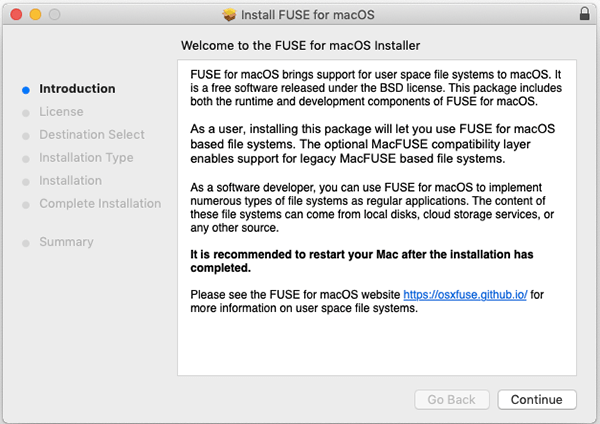
Later, open the dmg downloaded file just now and double click 'FUSE for macOS' in dmg and choose to install Osxfuse.
Finally, follow the dmg guide to install it on your Mac.
- Read the introduction and continue the installation.
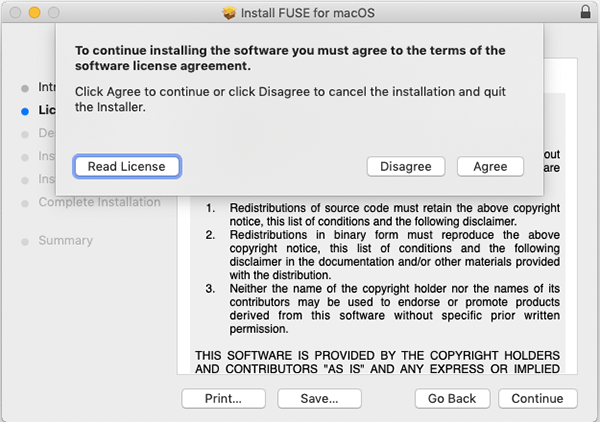
- Quickly reading the Software License Agreement.

- Agree the license to further process.
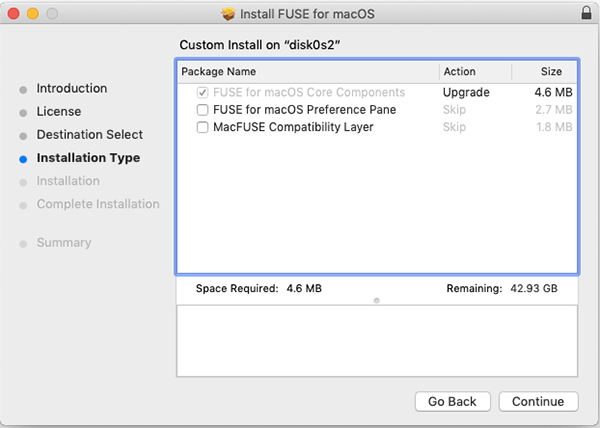
- Tick the installation type and install it on your Mac in your preference.
- Enter your password to confirm the installation on Mac.
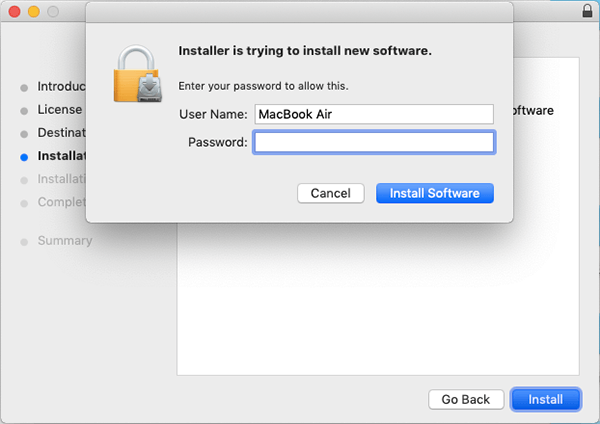
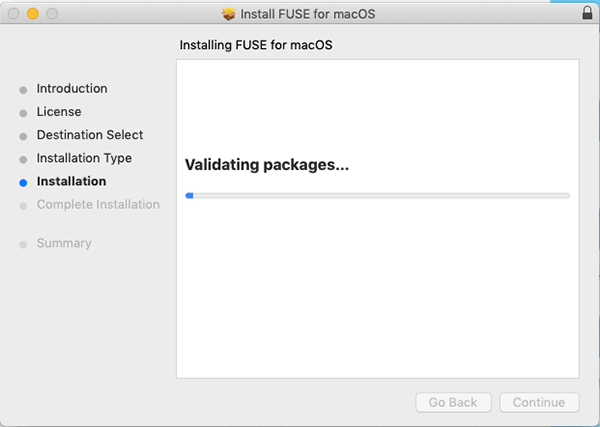
- Be patient and wait for the installation. It would cost a few minutes.
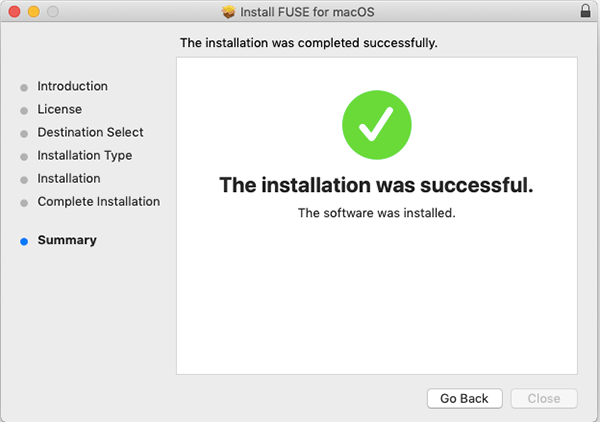
- Now, you are successful in installing Osxfuse on your Mac.
Step 2. Manual Download Homebrew
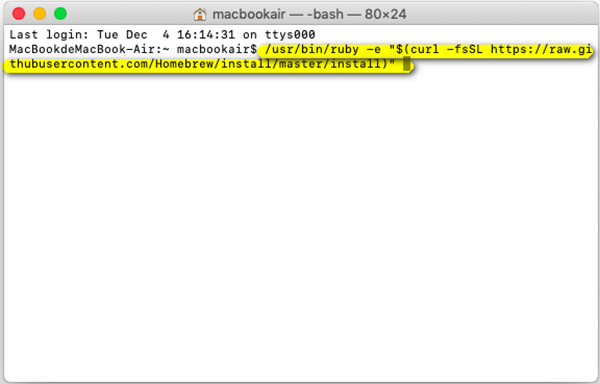
- To manually download Homebrew on your Mac, please open the Terminal and enter the following code to process.
You can copy it with the hot key Command + C and then paste it with Command + V.
/usr/bin/ruby -e "$(curl -fsSL https://raw.githubusercontent.com/Homebrew/install/master/install)"
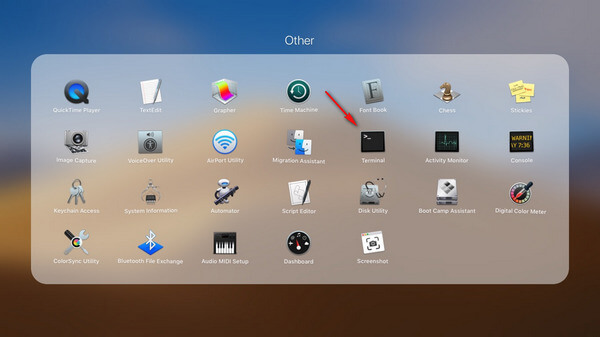
Note: You can open the Terminal through the path: Launchpad> Other> Terminal.
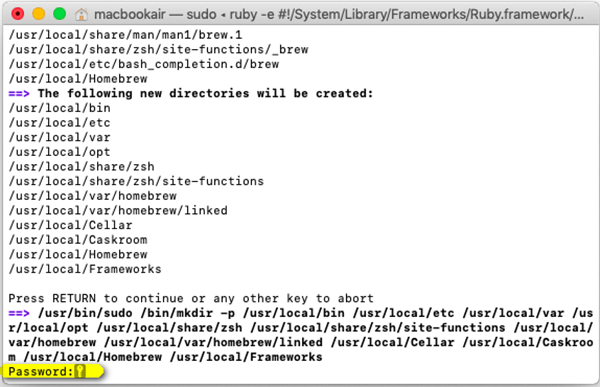
- Please be patient and wait for the downloading process. It would cost several minutes. Meanwhile, be careful. That ‘s because you need to press the Enter button on the keyboard and enter your password after it appears: ”Press RETURN to continue or any other key to abort” in Terminal.
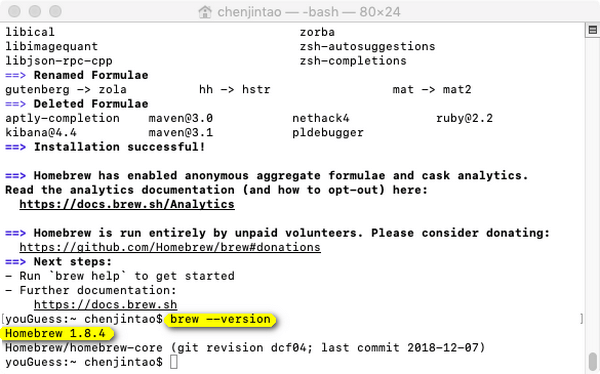
- lf you see“Installation successful” on Terminal window, it means that the installation is completely

How to verify installation success:
Copy and paste the code below:
brew --version
If “Homebrew 1.8.0(Homebrew x.x.x)” occurs, it means it is successfully installed.
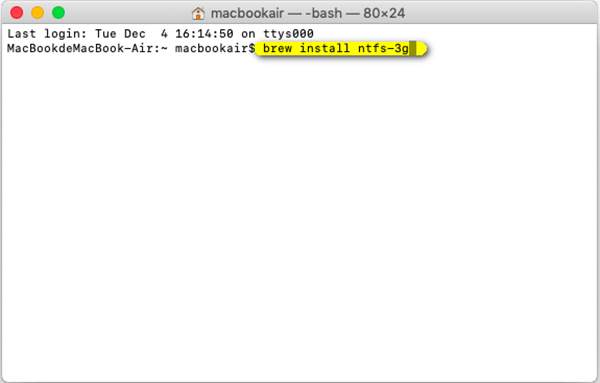
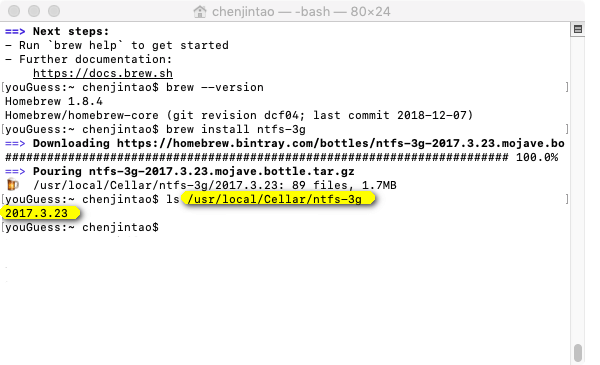
Step 3. Manual Download NTFS-3G
- Open the Terminal and enter the code below to install NTFS-3G.
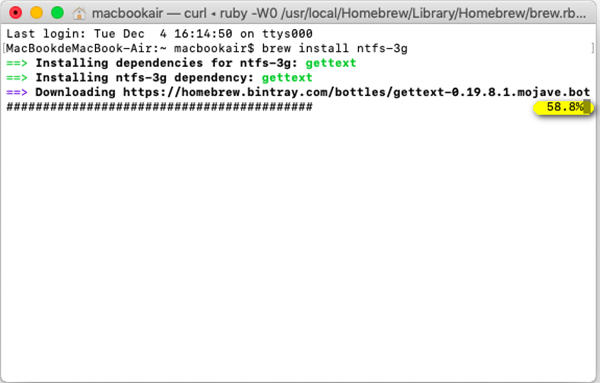
brew install ntf-3g
- Please be patient and wait for the downloading process.
How to verify installation success:
Please copy and paste the code below to verify whether the installation is success:
ls /usr/local/Cellar/ntfs-3g
If the time format shown below is similar to “2017.3.23”, then your installation is successful.
Now, you can use the NTFS function to write files and folders from HDD, SSD or a flash drive formatted under Windows on your Mac.

