


I had been a Windows user my whole life until now. I recently got a MacBook Pro, and I’m still learning the ropes.
They say you can install Windows on Mac, and that sounds great to me. I don’t know how to do that, though.
 Don’t worry. We’ll help you out. This post will tell you everything you need to know about installing Windows on your Mac.
So, let’s get started…
Article GuidePart 1. What You Should Know Before Installing Windows on Mac?Part 2. Clean Up Your Mac to install Windows.Part 3. How to Install Windows on Mac?Part 4. Conclusion.
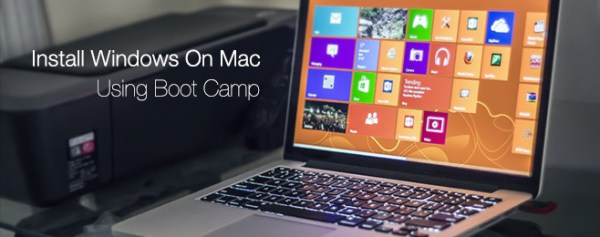
Part 1. What You Should Know Before Installing Windows on Mac?
Windows and macOS both have their own strengths, so it can be difficult to choose the better of the two.
Well, you don’t need to choose just one. Specific models of MacBook, MacBook Pro, iMac and iMac Pro support Windows.
When Windows is installed, you can simply switch from macOS and Windows in a matter of clicks. This comes in handy because there are software and apps that are not available for Mac.
New Mac users may also find it difficult to fully transition into using macOS. Having a second OS ready can help with the adjustment.
macOS has a built-in feature called Boot Camp that helps you install Windows on Mac. Using Boot Camp comes with no charge at all, but you do need to purchase the license for Windows.
Before anything else, make sure you do these things to prepare for the installation:
Check system requirements. Make sure that you have a Mac that supports the version of Windows that you want to install. Certain versions also have RAM and processor requirements.
Read them and check if your Mac is fully compatible. You should update your Mac’s OS as well. This is to prevent compatibility issues along the way.
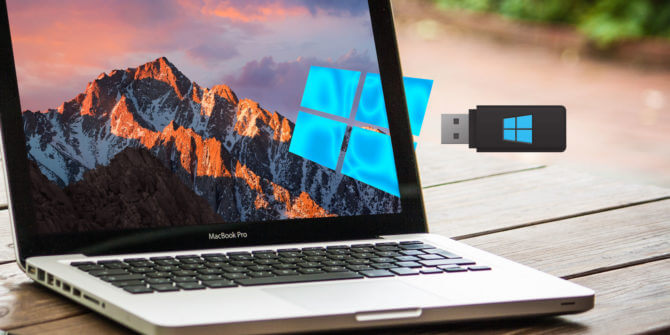
Grab a Windows disk image. When you buy Windows, you can get it as an installation disk or as a disk image (ISO) file that you download. You can download the ISO file from the Windows website.
If you’re planning to install Windows 10 on your Mac, head to this page. When asked, select the option for 64-bit Download.
Free up space on your Mac. Installing Windows requires at least 55 GB of free space on your Mac’s startup disk. Scour your Mac for files that you no longer need and delete them.
If you want to save time, use a reliable tool like iMyMac PowerMyMac. It cleans up your Mac in a matter of minutes, a process which would usually take an hour or so. Go to Part 2 to get to know how to use it.
Perform a backup. In case something goes awry with the installation, a backup will be your saving grace. While Boot Camp makes the installation process go smoothly, we can’t say that nothing can go wrong.
But as long as you stick to the instructions and do everything correctly, you shouldn’t run into trouble.
Part 2. Clean Up Your Mac to install Windows.
iMyMac PowerMyMac is a fantastic software that cleans up your Mac to speed it up and free up space. It helps you locate files that can you can do away with.
Simply Download the Software Here.
Step 1: Download and Launch iMyMac PowerMyMac on Your Mac
Launch iMyMac PowerMyMac. On the left tab, click on System Junk. Hit Scan to prompt the software to search for unnecessary files on your Mac.
Wait for the scan to complete. Once it stops, you will see a list of junk files on the screen.

Step 2: Review and choose files to delete.
The files are sorted according to type. This will make it easy for you to take a look at them. You can select files one by one by ticking the box to the left of the item.
You may also select files by type. For instance, you can tick Application Cache to delete all cache files from your Mac files. You can opt to select all types as well. This will free up more space on your Mac.
Once you have made your selection, click Clean. If you want to proceed, hit Confirm. Do the same steps for iMyMac’s other tools, Mail Trash and Large & Old Files.

People Also Read:How to Fix Firefox Keeps Crashing on MacHow to Format A Flash Drive on Mac
Part 3. How to Install Windows on Mac?
For this post, we will be using the latest Windows 10 as an example. Some steps may vary for other versions of Windows, but they should still be similar.
As with installing a new operating system, the process may take a while to finish.
Install Windows on Mac.
Step 1. Launch Boot Camp.
To launch Boot Camp, go to Applications on your Mac > Utilities > Boot Camp Assistant. Press Continue to proceed. Boot Camp should be able to locate the ISO file on your Mac.
Step 2. Set the partition size.
You will be asked to select the partition size. You can do that by clicking and dragging the slider to the right. By default, this will be set at 48 GB.
You can increase this as long as your Mac’s free disk space would permit it. Hit Install. For security reasons, you will be asked to enter your username and password. Type it in and click OK.
Step 3. Set up Windows.
Your Mac will restart. Once it is on, you will see the Windows 10 setup screen. Set your preferred language and press Install Now.
Enter your product key. You can also opt to click I don’t have a key and provide one after the installation.
Choose one between Windows 10 Pro and Windows Home. Hit Next. Press Drive 0 Partition X: BOOTCAMP > Next. Windows will start to install. During the process, your Mac will restart multiple times.
Step 4. Customize settings.
When the setup screen appears again, select either Use Express Settings or Customize Your Installation. We recommend customizing your settings according to your preference.
Nevertheless, you can skip that part and use the express settings. You can change the system settings in the future.
Step 5. Create an account.
Windows will ask you to create an account. Enter a username. Adding a password is optional. Hit Next. You will now be asked if you want to enable the Cortana personal assistant.
Activate it if you want. Otherwise, press Not Now. Windows will reboot.
Step 6. Install Boot Camp on Windows.
Once Windows 10 is back, a Boot Camp software installer will automatically appear. Click Install > I accept the terms in the license agreement > Install > Finish.
Note that installing Boot Camp is important. This will install software and drivers for Windows to work seamlessly on your Mac.
2 Options to Switch between Windows and macOS.
It’s just so easy to go from using Windows to macOS, and vice versa. Here are two ways:
1st Option: If you’re using Windows, simply click Show hidden icons which you’ll find in the Windows 10 taskbar > Boot Camp > Restart in [version of macOS].
2nd Option: This method works whether you’re on macOS or Windows. First, restart your Mac > While your Mac is turning back on, press the Option key on your keyboard and wait for a boot menu to appear > Choose which OS you wish to use.
Using Windows on your Mac.
It is essential to have your Windows up-to-date. In case the update doesn’t start on its own, you can check for available updates yourself. Head to Settings > Update & security > Check for updates.
It is also useful to know that when Windows is on, the Mac’s Command key works as the Windows key. On the other hand, the Option key functions as the Alt key.
Part 4. Conclusion.
Having Windows on your Mac gives you the best of both worlds. Just make sure to keep both Windows and macOS updated to avoid system and performance issues.
Aside from that, you should regularly clean up your Mac. Don’t let your Mac’s startup disk get too full as your Mac may run slowly if you do.
Use iMyMac PowerMyMac, so you can keep your Mac running in tip-top shape!

