


Are you experiencing that your Mac is almost out of storage? If your answer is Yes, then all you have to do is for you to manage storage on Mac.
Managing the storage on your Mac is really just a simple task. All you have to do is for you to remove all unwanted files, folders, applications, junks, and other files that you no longer need.
In this article, we are going to show you some things that you can do to manage the storage space on your Mac. This way, you will be able to have more space for new files or applications that you can store.
Article GuidePart 1. How Do I Free up Disk Space on My Mac?Part 2. Other Ways To Manage Storage On MacPart 3. Conclusion
Part 1. How Do I Free up Disk Space on My Mac?
Basically, the only thing that should do if you are running out of storage on your Mac is for you to manage it. And for you to do manage the storage on your Mac, you will be needing to remove any data that you no longer need.
Getting rid of all the things that you have on your Mac that you no longer need manually can take up a lot of your time especially if you have tons of them.
Lucky for you we have created the best way on how you can manage storage on Mac. This is by using the iMyMac PowerMyMac.
This Mac cleaner has the ability to do all the things that will be mentioned in the next part to help you clean out the storage space on your Mac. It can help you remove all of your junk files, your email attachments, your duplicate files, and also your large and old files and more.
What is taking up so much space on my Mac and how do I free up disk space? Here is how you can do it with the iMyMac PowerMyMac.
Step 1. Download and Install iMyMac Program on Your Mac
Before starting to manage storage on Mac, you should go to the official website at www.imymac.com and download the iMyMac PowerMyMac. After downloading the program, go ahead and have it installed on your Mac.
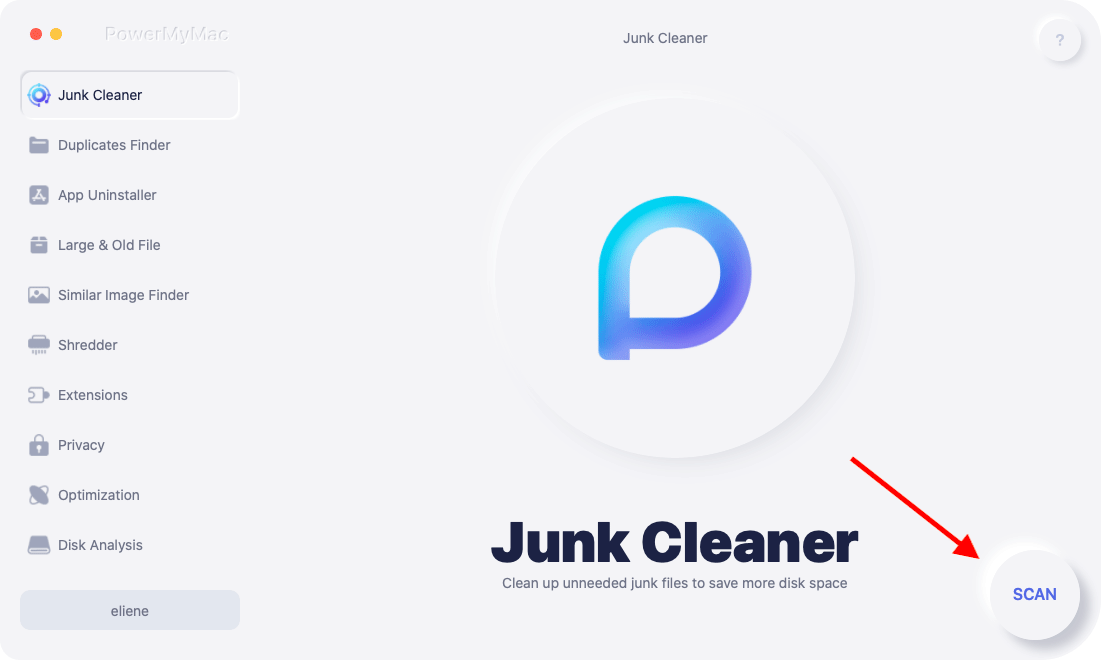
Launch the program once that you installed it successfully on your Mac. On the left side of main interface of the program, you will be able to see a list of modules. From the list of modules, go ahead and choose one module that you would want. Let’s choose “Master Scan” and it will show you how to clean system storage on Mac.

Step 2. Master Scan the System Junk
Once that you have chosen the module, go ahead and scan your junk files by clicking on the Scan button. The program will then start scanning all the junk files that you have on your Mac that is taking your space for storage.
Step 3. Review and Clean Items to Clean Up
Once that the scanning process is complete, the program will then show you a list of categories of all the junk files that you have on your Mac. You will be able to see categories on your screens such as Application Cache, System Logs, Photo Cache, Email Cache, System Cache, System Trash, and more.
Choose a category from the list and you will be able to see on the right side of your screen all the data that it contains. Once that you are done with the selection, you can go ahead and start cleaning your Junk Files by clicking on the clean button.
Note: For the other modules that the iMyMac PowerMyMac which is “Duplicate Finder” and “Large and Old Files” you can also follow the previous steps for you to completely clean them.

Step 4. Mac System Junk is Clean
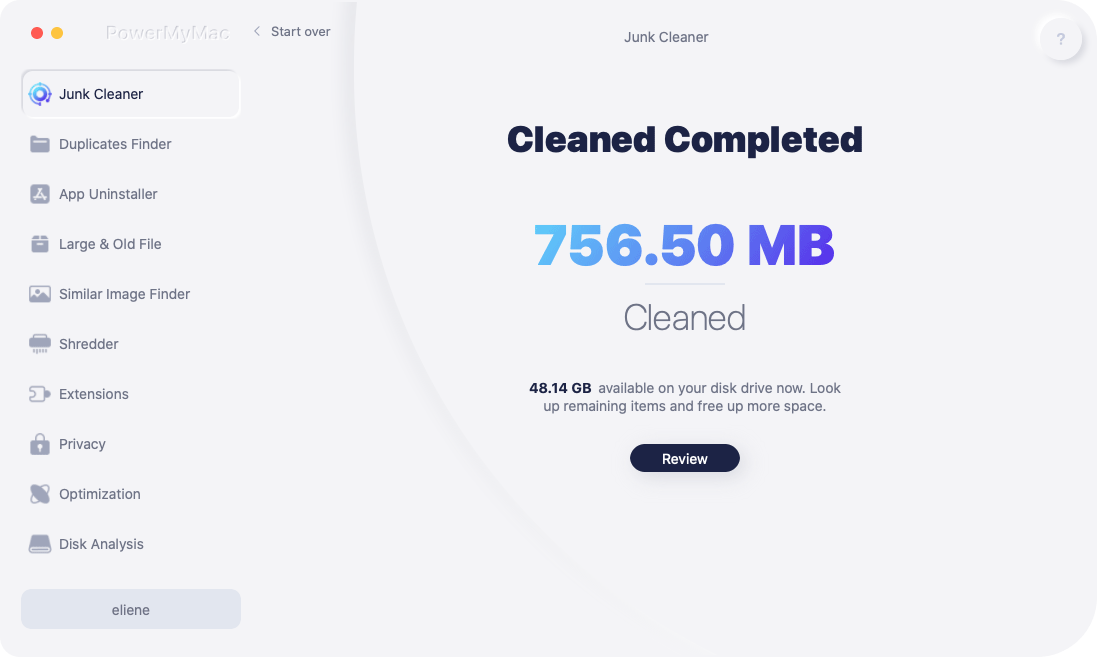
Once that you clean on the Clean button, the program will clean up all the junk files you selected.
Once that the program is done cleaning up your System Junk, you will be able to see an indication that says “Cleanup Completed”.
However, there are some folders that do not have this even if they are already empty. This is because those are auto recreated folders.
See? This is how easy to manage storage on Mac with just a few clicks using iMyMac PowerMyMac.
Part 2. Other Ways To Manage Storage On Mac
Are there some manual ways on how to manage storage on Mac? Here are several things that you can do for you to be able to manage the storage on your precious Mac.
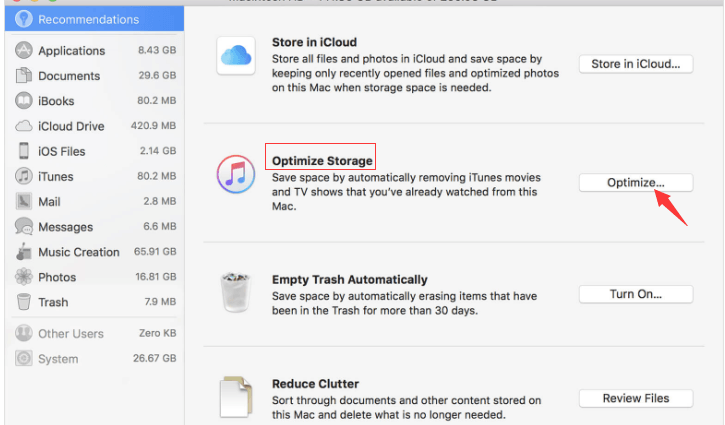
1. Optimize Your Storage Automatically
If you choose this option to manage storage on Mac, all the TV shows that you have watched including films will be removed from your Mac.
It can also help you to remove any email attachments that you no longer need. You do not have to worry about your emails because they will all be stored in your iCloud server.
This also goes the same with the movies or TV shows that you have watched. You can still have them downloaded for free on iTunes since you already purchased it before.
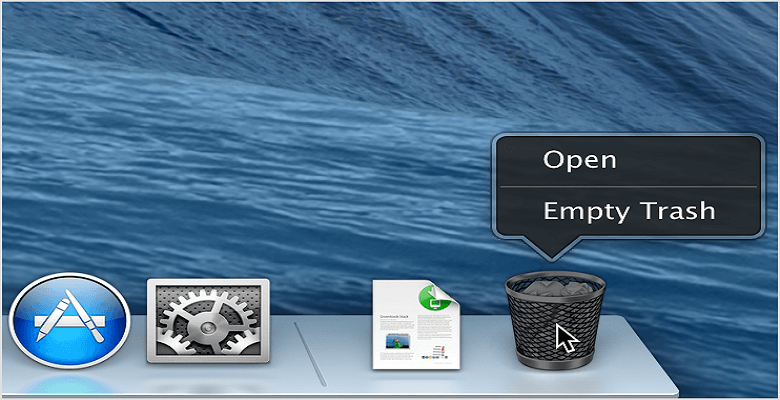
2. Empty Your Trash Bin
Once that you have deleted something on your Mac – whether it is a file, folder, or an application, they will all sit around your Trash Bin. This means that they still take up some space on your Mac.
So, for you to be able to manage storage on Mac and gain more space, go ahead and empty your trash bin on a regular basis. You also have the option to automatically empty your trash after 30 days.
This period of time is already a safe time frame because you will be sure that you do not need to recover anything from your trash anymore.
3. Reduce Clutter on Your Mac
Doing this method will allow your Mac to review the content of its system and then eventually delete all older documents. You can also click on “Review Files” and your Mac will show you your Large Files, Downloads, and your File Browser.
And if in any case that you are using a MacBook Pro and you have stored plenty of files, then you will also be able to see the largest files on your Mac which includes the time you have last opened that particular file.
All you have to do is to click on the magnifying glass icon. Then after that, go ahead and click on the “X” icon for you to delete it. In this way, you can well manage storage on Mac.
4. Use Your iCloud
Instead of having all your important files stored on your Mac, you can also use your iCloud as an alternative. Apple Inc. gave all its users a free 5GB iCloud space for you to store your files and other important data.
However, 5GB will surely be not enough for all your files to be stored. You have the option to avail more storage space if you wish with the following prices.
- 50GB - $0.99 per month
- 200GB - $2.99 per month
- 2TB - $9.99 per month

5. Remove Your Photos
Once that you have decided that you want to manage storage on Mac, then the first thing that you should do is for you to take out all those files that are eating up a huge amount space.
If you are fond of taking and storing pictures on your Mac and tried to put in an album or tried to share it on your social media account, then it is also a good thing that once in a while you try to organize and remove them.
If you were not able to this before, then now is the time you take some time and do it now. You also have the option to put all your photos on an external hard drive.
6. Crop Your iTunes
One of the things that are taking space on your Mac is your iTunes library. For you to be able to manage the storage on your Mac, you can choose from several options that you can do.
- You can go ahead and have your music directory and have them transferred over to an external hard drive.
- You can also make use of a NAS box rather than using an external drive for you to be able to access your music when you are connected to a local network.
- You can also opt to have an annual subscription and pay for £21.99 per year.
7. Remove All the Files from Your Download Folder
Another thing that can take up storage space on your Mac is your download folder. This is because it holds up large files that you no longer need.
It also contains your download large PDF files, images, or disk image files so if you were not able to clean this folder then it is most like to be full with things that you do not need.
8. Remove Your Email Attachments
One of the things that we mostly receive on our Mac is our email. And most of these emails have some large attachments. This means that this is also taking up space on your storage so you better remove all the email attachments that you no longer need.
For you to ensure that those attachments are completely removed, go to your “Remove Unedited Downloads” in your Mail’s preference and then go ahead and select “After Message is Deleted”.
You will also be able to find the current version of your Mail that stores your attachments through this path:
~/Library/Containers/com.apple.mail/Data/Mail Downloads.
9. Remove All of Your Duplicate Files
This is also one of the tricks with how you can manage storage on Mac. All you have to do is to locate and then remove all of your duplicate files. There are actually several reasons as to why you have duplicate files on your Mac and here are some of them.
- When you try to add a song on your iTunes
- When you copy files to iTunes media folder and add them to the library.
- When you try to download a single file twice.
- Copy and pasting files will retain the original copy.
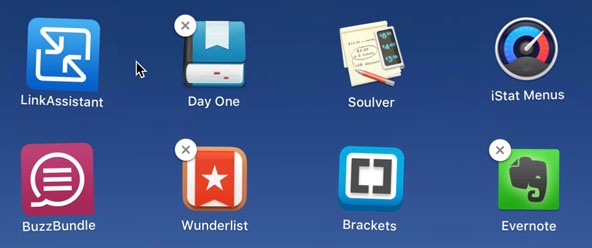
10. Remove Unwanted Applications on Your Mac
Some people are really fond of downloading applications on their Mac. And because of this, there is a tendency that you might have piled app several apps on your Mac. And most of these apps are the ones that you no longer need.
Because of these apps that are still stored on your Mac, it sure eats up a lot of space on your hard disk. The best way for you to manage this is by uninstalling all the apps that you no longer need.
Do not just drag these apps to your trash bin because this way, you are not really removing them completely from your Mac. You can use an uninstaller for you to uninstall them in the proper way.
There are some major applications that already includes an uninstaller that you can use to uninstall that specific app. Or you can also opt to download a third-party uninstaller for you to uninstall all your apps on your Mac that you no longer need.
Part 3. Conclusion
After reading this post, it is now easier for you to manage storage on Mac. You will be able to remove all those files, folders, and even apps that you no longer need on your Mac which is eating up a huge amount of space.
You will be able to have the ability to do all the things that the iMyMac PowerMyMac can do to help you in managing the storage space on your Mac. All it takes is just a few clicks and you will be able to manage the storage of your Mac.
Have the iMyMac free downloaded and installed on your Mac and you will be in control of all the things that you need or do not need on your Mac. It is a very safe program and very efficient as well.

