


I’m thinking about updating my Mac to macOS Sierra because I’m worried my Mac can’t handle High Sierra.
Can I do that considering that it isn’t the newest operating system for Mac?
 The answer is yes. You can update your Mac to Sierra and have it run smoothly as long as you follow our tips.
Our guide also shows you how to install Sierra on your Mac.
Let’s do this!
Article GuidePart 1. Can You Update Your Mac to Sierra?Part 2. What Should Do Before Updating Your Mac?Part 3. Start Updating your Mac to SierraPart 4. Conclusion
Part 1. Can You Update Your Mac to Sierra?
macOS Sierra promises many upgrades from the old OS X. The name change from OS X to macOS is just a preview of the new features we can expect from Sierra.
Although the latest version High Sierra is already available, some users may opt to update to Sierra instead for multiple reasons.
One of the highlights of Sierra is bringing Siri to Mac.
The digital assistant was initially only available on iOS, so anyone who finds Siri very helpful would love this update on their Mac.
Sierra also gives users a revamped Photos app and the ability to use Apple Pay to pay for online purchases. Sierra can also help you optimize your storage, so you get the most out of your Mac’s storage.
It also ushers in a new feature called Universal Clipboard. It allows you to copy and paste from any of your iDevices to your Mac and vice versa.

As with any operating system, there are system requirements needed to install Sierra. It is compatible with specific Mac models that were released as follows:
iMac and MacBook: Late 2009 and newer
MacBook Pro: Mid 2010 and newer
MacBook Air: Late 2010 and newer
Mac mini and Mac Pro: Mid 2010 and newer
You can update your Mac if you have the following OS X versions:
El Capitan
Yosemite
Mavericks
Mountain Lion
Note: Updating to Sierra also requires at least 2GB of RAM and 8.8GB of free storage space.
These are needed to allow Sierra to work flawlessly on your Mac. You wouldn’t want your Mac to become sluggish after the update, right?
To check if you meet the above requirements, simply click on the Apple icon on your desktop and select About This Mac.
You will find details about your Mac’s model as well as the macOS version you’re running. Click on the Storage tab to check your Mac’s free disk space.
If you’re running short of the 8.8GB of free space needed for the update, we have a solution waiting for you in Part 2.
Just in case you find out that your Mac isn’t compatible with Sierra, what you can do is to check your Mac can support its predecessor, OS X El Capitan.
Part 2. What Should Do Before Updating Your Mac?
Clean up your Mac
If the only thing stopping you from updating your Mac is the lack of free disk space, it’s time to delete some files.
You may not know it, but there are many junk and unnecessary files on your computer that you can get rid of.
You can check your Mac’s folders one by one to find them. That would be too time-consuming, though.
Luckily for you, there is a software that can do all that in just a few clicks. iMyMac PowerMyMac searches for various junk files and helps you clean up your Mac to free up space.
You can free download the software here.
Step 1: Launch iMyMac PowerMyMac on Your Mac
Once iMyMac PowerMyMac is installed, run it. The software has numerous tools that can help you free up space on your Mac. You will see them on the left tab.
Start with Master Scan by clicking on it. Press Scan to continue. A list of junk files will appear once the scan is complete.

Step 2: Select Files to Delete
The files are arranged according to type. This will make it easier to decide which files you wish to delete. We suggest ticking all boxes next to the file types.
This will delete all junk files found by the software. This will free up more space on your Mac than if you were to delete only selected files. Hit Clean once you’re ready to get rid of those files.

Step 3: Use the rest of iMyMac PowerMyMac’s tools.
Repeat the same steps for the other tools you’ll find on the left tab of the window. With these tools, you can remove large files, duplicates, extensions, and apps.

Once you’re done cleaning up your Mac, check again with the Storage tab of About This Mac to see if you’ve cleared up enough space to update to Sierra.
If there still isn’t sufficient space, you should consider transferring some of your files to an external drive or to the cloud.
People Also Read:How to Fix Firefox Keeps Crashing on MacHow to Format A Flash Drive on Mac
Back up your Mac
Once you’ve met all the requirements for installing macOS Sierra, the next on your to-do list is to perform a backup of your Mac.
The backup would come in handy if something goes wrong with the update. We’re just preparing for the worst-case scenario.
Updates don’t normally wipe off everything on your Mac, but if the process doesn’t go as planned, at least you don’t have to start from scratch.
Mac has a built-in backup program called Time Machine. You will need an external drive, like a flash drive or hard drive, to store the backup. Here’s how to activate Time Machine and create a backup.
Plug in your external drive.
Open the Applications folder and launch Time Machine.
Click Select Disk and choose the external drive that you intend to use for the backup. Hit Use Disk.
Slide the toggle below the Time Machine logo to the right. This will activate Time Machine.
To start a backup now, click on the clock icon and select Back Up Now.
If this is your first time to back up via Time Machine, it will take longer to complete.
Part 3. Start Updating your Mac to Sierra
If you’re all set, you can proceed to update your Mac to macOS Sierra. You first have to download Sierra from the App Store.
Head to the macOS Sierra download page on the App Store.
Press Download. This will download the installer for macOS Sierra.
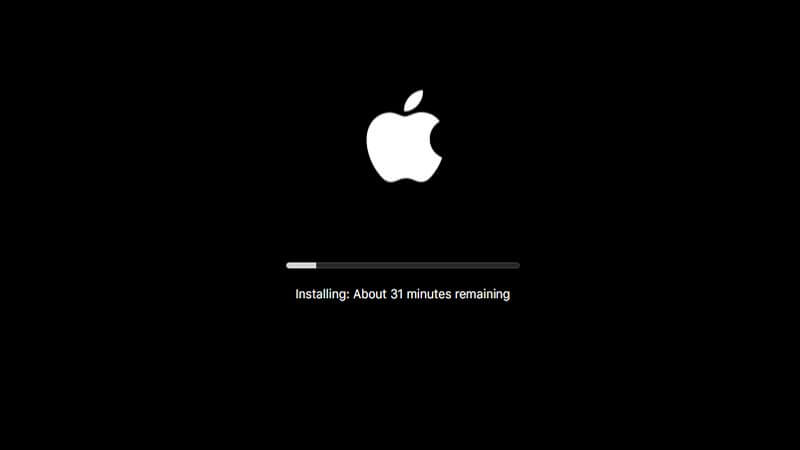
The installer will open once the download is complete. Hit Continue and follow the onscreen instructions.
Your Mac will reboot to complete the upgrade.
Part 4. Conclusion
If you feel that your Mac is running slowly after the update, you can use iMyMac PowerMyMac again. We also recommend activating the storage-optimization feature of Sierra.
You can set it up by clicking on the Apple icon > About This Mac > Storage > Manage. Don’t forget to back up regularly to protect your data as well.


Ewa2021-11-21 21:27:50
A co jeśli w app store nie znajduję Sierry?