


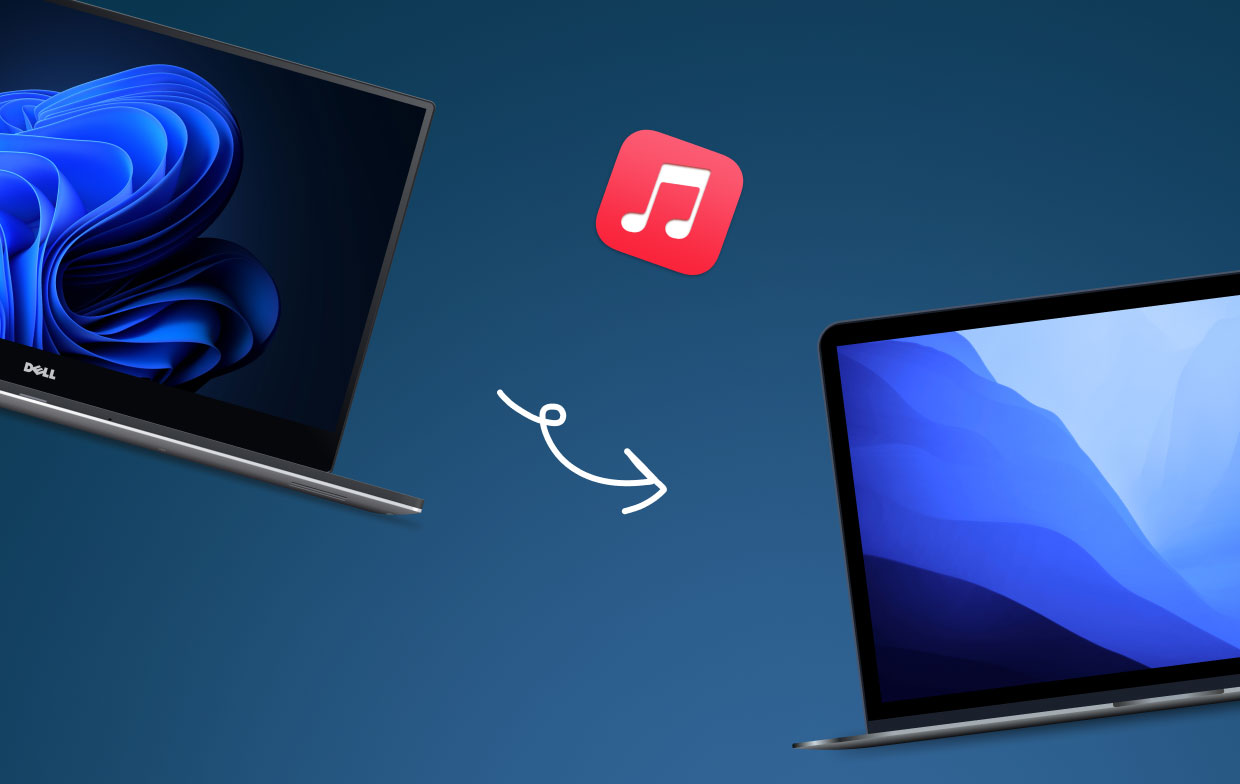
You have a new Mac. You’re excited about it. You can’t wait to transfer all your files from your PC to Mac. Finally, iTunes is going to be transferred to where it belongs and that is to your new Mac.
Of course, you can’t wait to transfer iTunes from PC to Mac. The question is, how can you do it? The good news is that you can easily do it.
This article will show you 3 simple ways to transfer iTunes from PC to Mac. Read on to learn more about it.
Contents: 3 Simple Ways To Transfer iTunes From PC To MacBonus Tip: Use The PowerMyMac To Clean Up Your iTunes In Conclusion
People Also Read:How To Sync Contacts From iPhone To MacFour Methods To Help You Transfer Videos From iPhone To Mac
3 Simple Ways To Transfer iTunes From PC To Mac
Option #1. Use Home Sharing
Home Sharing is very convenient. It allows you to stream videos and music coming from your PC or Mac to your Apple TV or your other devices. There’s no need for you to use an external drive. You just log into your Home Sharing account to stream whatever you want on another device. It’s that easy.
That’s the reason why it’s one good way to transfer iTunes from PC to Mac. It’s just a matter of turning on the Home Sharing feature. The steps below will show you how to do it.
1) Turn on your iTunes (on your PC) by taking your cursor to iTunes on the menu bar.
2) Go to File and select Home Sharing from the drop-down list. Click on Turn On Home Sharing.
3) Type in your Apple ID and password you used for creating your Home Sharing account.
4) Click on the Turn On Home Sharing button and you are all set to go.
5) Keep in mind that your both your iTunes and PC need to be turned on at the same time your Mac computer is on.
6) Press Done when you’re finished.
Now that you know how to use Home Sharing, you can easily do the transfer. It’s such a great program to use especially if you have a new Mac and you want to transfer your iTunes from your old PC to your new Mac.
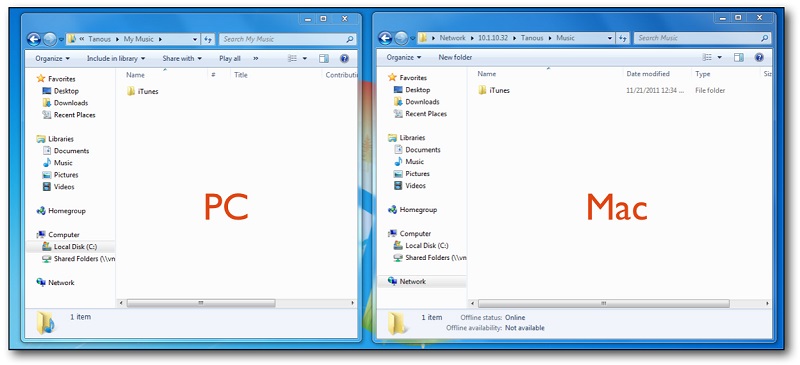
Option #2. Use An External Drive
Using an external drive is the most reliable method to transfer iTunes from PC to Mac. It guarantees that your library remains the same. This means that your playlist and ratings remain the same as well. They will be migrated in the same manner. That’s good for you.
Here are the steps on how you can transfer iTunes from PC to Mac using an external drive.
1) Take your cursor to the menu button on the upper-left-hand side corner and click on it.
2) Select Preferences from the drop-down list. This is where you can adjust the settings.
3) Click on the Advanced icon on the menu bar. This is the last option on the menu bar above.
4) Check the top two boxes you see on the Advanced Preference screen.
5) Press OK.
6) Revisit the menu.
7) Go back to the menu button.
8) Select Show Menu Bar from the drop-down list.
9) Go to the File menu above.
10) Select Library from the drop-down list.
11) Select Organize Library. You will get a pop-up window at this point.
12) Check the boxes next to the options you see on the pop-up window. One option may not be available and that’s ok.
13) Press OK. At this point, you have just consolidated your files in iTunes into one convenient location. In case you see a progress bar, just wait for it to finish. It might take some time if you have a lot of files in your iTunes.
14) Close iTunes when the progress bar is done.
15) Open File Explorer.
16) Click on the Music Library folder. This is between the Documents and the Pictures folders. The Music Library folder is where iTunes consolidated all your files in one location.
17) Connect and external hard drive.
18) Drag the iTunes folder in the external hard drive you see on the left-hand side of the screen.
19) Wait for the files to be copied on to your external hard drive.
20) Right-click on the external hard icon when the transfer is done.
21) Select Disconnect from the drop-down list. That will properly eject it from your PC.
22) Connect the same external hard drive to your Mac.
23) Double-click on the external hard drive icon you see on the desktop of your Mac.
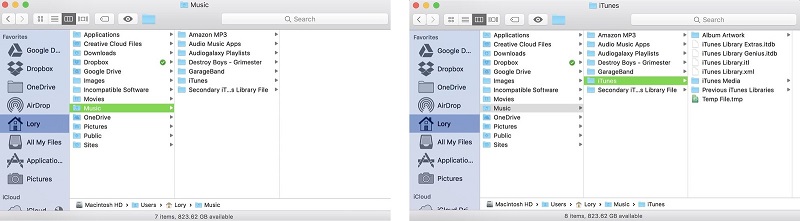
24) Drag the same iTunes folder into the Music Library folder you see on the sidebar on the left-hand side of the screen. In case you do not see the Music Library folder on the sidebar, select the iTunes folder and click on Edit on the menu bar above. Click on Copy ‘iTunes” from the drop-down list. Take your cursor to Go on the menu and select Home from the drop-down list. Double click the Music Library folder. Go back to Edit on the menu bar and select Paste Item from the drop-down list. Then click on Replace when you see the pop-up window.
25) Click on Replace if you are prompted to replace an existing iTunes folder that is already in your Mac.
26) Wait for the files to be copied.
27) Open up iTunes to see your Library. You will notice that it appears the same way as it does on your PC.
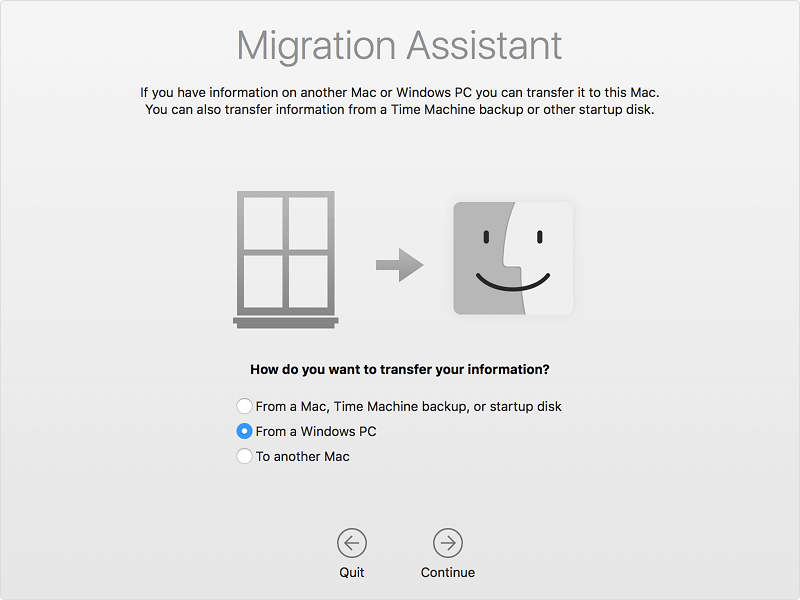
Option #3. Use Windows Migration Assistance
The Windows Migration Assistance is a free utility program from Apple. It can transfer all your files from your old PC to your new Mac.
You can also use it to transfer iTunes from PC to Mac. Check out the steps below to see how it can be done.
1) Download Windows Migration Assistant first.
2) Install and launch it.
Before you move on to the next step, you have to make sure that your PC and Mac are connected to the same internet network.
3) Take your cursor to Go on the menu bar of your Mac computer.
4) Choose Utilities and select Migration Assistant on the next screen.
5) Click Continue.
6) Type in your Mac password on the pop-up window.
7) Click OK.
8) Select From a Windows PC.
9) Click Continue.
10) Click on the Windows PC that will show up on your screen.
11) Click Continue.
12) Verify the passcode that’s displayed on your Mac.
13) Click Continue.
14) Migration Assistant is all set to transfer iTunes from PC to Mac, among other files.
15) Click Continue.
16) Click Allow Access on the Windows Security Alert screen.
17) Check the files that you want to transfer to your new Mac. Make sure you check iTunes. By doing so, you can easily do the transfer.
18) Click Continue.
19) Click Quit when you see Migration Complete.
20) Check on your iTunes on your new Mac.
Bonus Tip: Use The PowerMyMac To Clean Up Your iTunes
If you’ve had your iTunes for some time now, you’ve probably collected some outdated backups and corrupted downloads. Unfortunately, those files will also be transferred to your new Mac.
Even if you want to have the exact iTunes Library on your new Mac, you want to do without the files that you don’t need anymore. Unfortunately, that is not possible. Those useless files will end up migrating to your new Mac as well. Finding them manually is no easy task, more so, deleting them one by one.
There is one option that you can consider. You can use the iMyMac PowerMyMac to search for those useless files on your iTunes.
PowerMyMac can delete those iTunes downloads that have already been corrupted. It can also delete those outdated iTunes files that you don’t need anymore.
Deleting outdated and corrupted files is just one of the things the PowerMyMac can do for your new Mac. It can do so much more than that. For example, it can help keep your Mac in good condition by removing and preventing junk and duplicate files to take up so much storage space.
Another thing that the PowerMyMac can do is to uninstall programs that aren’t needed anymore. Just imagine how space you can save with the help of the PowerMyMac.
You can manage your storage space on your new Mac with the help of the PowerMyMac. It’s a must-have for your new Mac.
In Conclusion
Now that you know the three simple ways to transfer iTunes from PC to Mac, you won’t have a hard time migrating all your files. You just have to choose which method suits you.
No matter what method you choose, one thing is for sure. You would need the PowerMyMac on your new Mac. If you want to protect your new Mac, you would need to install the PowerMyMac as soon as possible.
Have you ever tried to transfer iTunes from PC to Mac? If yes, how did you do it? Did you use any of the steps mentioned above or did you use another method? Feel free to share with us your thoughts.


Shah kajol2021-09-29 21:46:15
my iphone 6s plus forget apple id and password
iMyMac2021-09-30 02:28:33
Hi, please try the ways from Apple Support: https://support.apple.com/en-in/HT201487