


Enjoy the different ways on how to share files between Mac and PC on the same network. Read this new article guide to find out.
If you happen to have both computers at home, a Mac and a PC, sometimes you might need to share files between these two in order to complete your work. However, you might end up having a difficult time transferring files if you are unaware of the process.
Today, we will show you four easy steps on how to share files between a Mac and a PC over the same network, wirelessly.
Article GuidePart 1. 4 Easy Steps on How to share files between a Mac and a Windows PCPart 2. Bonus Tip: How to Remove Duplicate Files on Mac?Part 3. Conclusion
Part 1. 4 Easy Steps on How to share files between a Mac and a Windows PC
It seems pretty awkward when you both have Windows PC and a Mac yet you are not able to easily transfer important files between these two devices. Good thing, both devices have their own settings on how to configure and allow transfer smoothly as long as they are both under the same local network.
- Share a File on Mac
- Go to Sharing from your System Preferences
- Click Tick the box beside File Sharing
- Click on Options
- Find and tick the box for the user you want to share the files with. You might need to enter the password
- Click Done
Once you have done these steps, you can now enjoy sharing files under the same local network.
How to Access Shared Folder on Mac
- Open Finder and click Go from the menu on top of the screen
- Choose Connect to Server and provide the Server Address or the local IP address of the specific computer you want to access with (for Windows computer, you may enter smb://COMPUTERNAME)
- Verify the access with the correct credentials or you can log in as a guest
- Once you have successfully connected, you can see the Windows PC under the Shared column in the Finder’s sidebar
If you own both devices, you can actually set automatic connection by going to System Preferences and navigate to Users and Groups then go to Login Items.
You can drag and drop the network share under the Shared column in Finder to the list of Login Items.
Share a Folder on Windows
Before you can successfully share and access files from Mac to a Windows PC, first you need to configure the network and sharing settings from Windows. There are many ways on how to share files in a Windows PC but here’s the easiest and quickest method:
- Open Control Panel and go to Network and Sharing
- Proceed to Change Advanced Sharing Setting and Enable Network Discovery together with File and Print Sharing
People Also Read:How to Clear System Junk on Mac?5 Great Software for Mac Speed Test
How to Access Shared Folder on Windows PC
- From the File Explorer, open the Network pane. You will see an entire list of devices shared under your network
- Double-click on the desired computer you want to gain access with
Alternatively, you can access the other computer by entering the IP address or the computer name in the address bar from the Network pane, you can use: //COMPUTERNAME to connect directly.
- Use a Cloud Service
If you don’t want to get through all the hassles of tweaking and navigating these folders on your Mac and Windows PC, then why not use a cloud service instead?
Yup! There are many cloud services that offer seamless data transfers such as Google Drive, Dropbox, SkyDrive and more.
- To use any of these services, you need to have an account registered or install the cloud service of your choice to both your Mac and PC.
- Once you have installed on both, you can simply copy the files you want to transfer from your hard disk (Mac or Windows) to the cloud service. These files are automatically synced with your second system (either your Mac or Windows).
- On your second system, access the cloud service and copy the files to your local drive
The steps are pretty easy, right? All you need is to use any of the cloud service apps. Google Drive can let you store files of up to 10GB size and a free space of 15GB. Dropbox offers 2GB free space for all files.
- Use USB Flash Drive for Transfer
Another easy method for data transfer from Mac to Windows or vice versa is by using a USB flash drive. As long as both devices support USB (USB drives, by default, are formatted into FAT32, which is compatible with both Mac and Windows), you can transfer data at any time.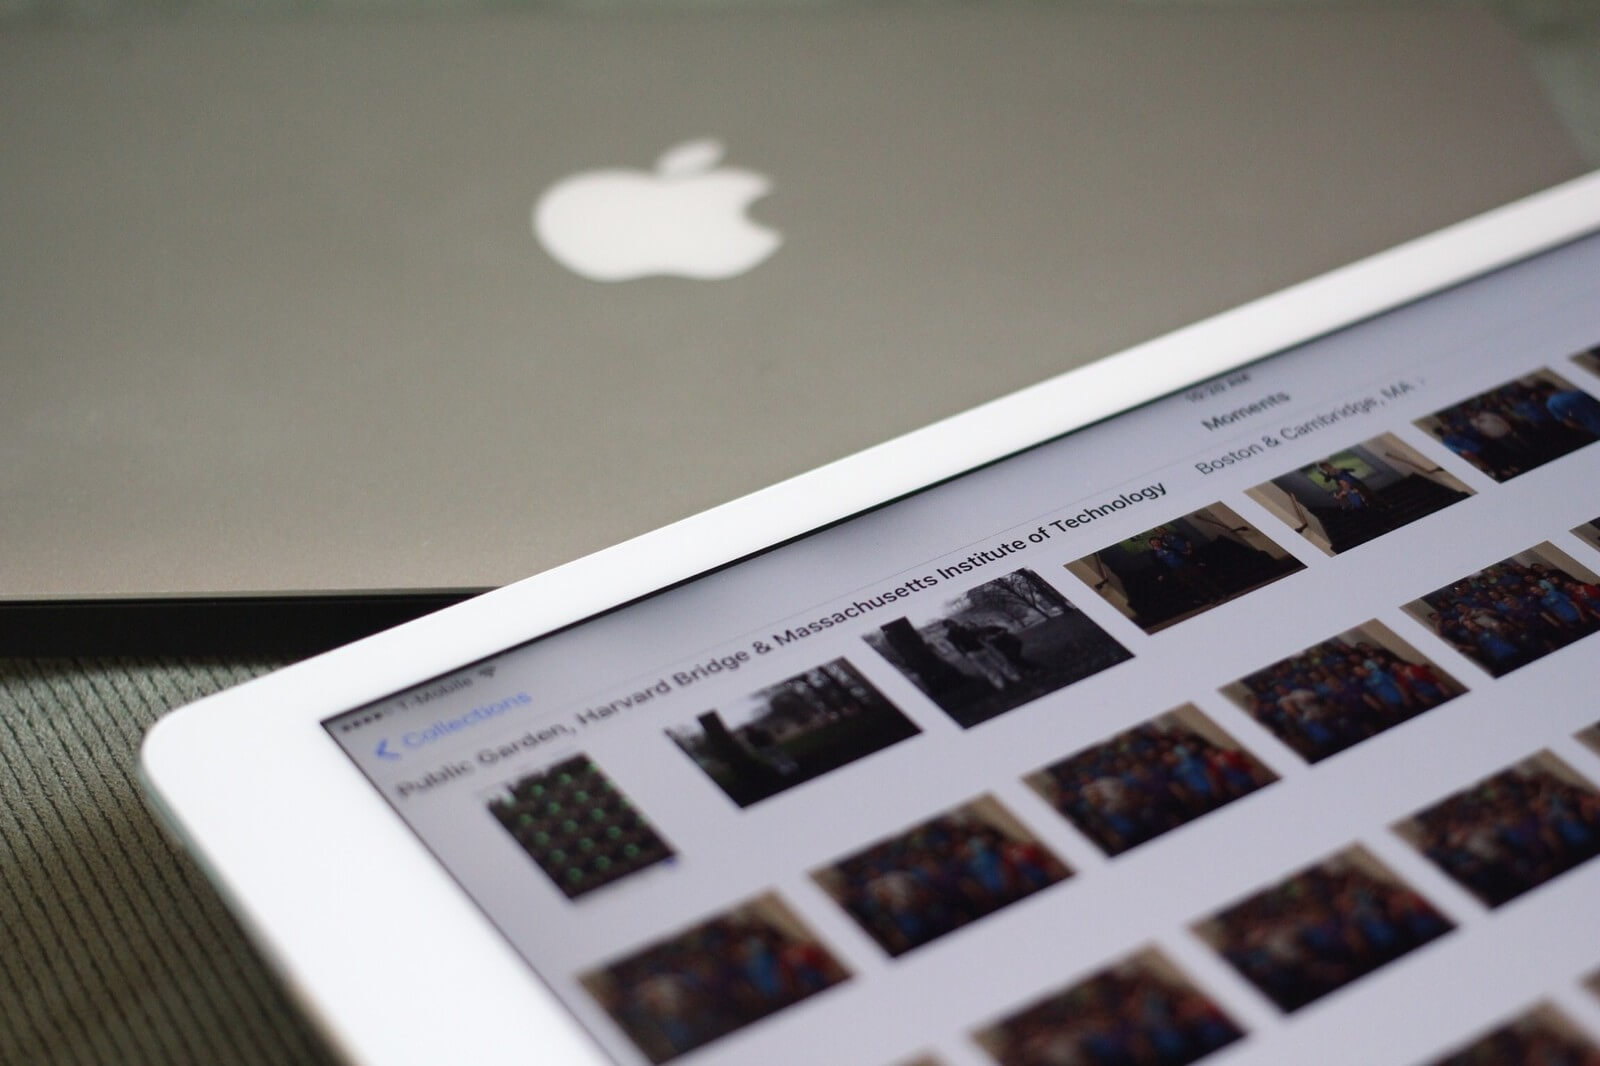
- Transfer by Wi-Fi
Tech-savvy people don’t have a hard time transferring any forms of files as long as they are connected to the internet. They know that there are plenty of solutions they can use to transfer or share files between a Mac and a Windows PC.
One of the easiest and quickest ways is through Email. However, the only drawback of using email for file transfer is the file attachment size which is limited. Apart from that, you can transfer files even from your smartphones.
Part 2. Bonus Tip: How to Remove Duplicate Files on Mac?
With all these file sharing and transfers, we cannot deny that we have cluttered the system and may leave it with duplicate files or more. To avoid and clean up these clusters, which by the way can cause system latency and affect its performance, we can find and delete these files manually.
However, it may cost us our precious time and effort in finding these duplicate files and worse; we cannot locate and manage all of them.
Good thing, there is a program called iMyMac PowerMyMac. It has a Duplicate Finder tool that easily locates all the files which have double or multiple copies saved in the hard disk.
What can iMyMac PowerMyMac Duplicate Finder Do?
It removes all duplicate documents, media, and more even if these files are saved using different file names.
All it takes is for you to install this software and run a scan and in a while, it will display a result of all the duplicates in your system. From here you can selectively choose which files you want to remove.
Part 3. Conclusion
Finally, we have learned how to share files between Mac and PC using the four easy steps we mentioned above. You can always go back to this guide in case you missed or you forgot any of the steps we gave.
Share this article with friends too so they can easily perform file transfer on their Mac and Windows PC.

