When you first start iTunes, it seems to be a simple application that can manage the increasing number of music and audio files on your computer. However, the more you broaden your musical tastes, the more extensive your iTunes music collection becomes, and after some time, issues start to appear as a result of this expansion, and there is a need to clear Apple Music cache and fully clear cache on Mac.
Apple Music will store files in a cache on both your computer and any iOS device you use. You will not be able to set a restriction for this cache, unfortunately. As a consequence of this, the cached files on your computer may wind up taking up a significant amount of storage space.
However, if you are in a situation and need to rapidly free up space on your Mac, finding the Apple Music cache and uninstalling it might be of assistance. Eliminating a few folders is the only thing that has to be done. This straightforward action will release a significant amount of space, most of which is now used up by unneeded caches (with the exception of iTunes).
Contents: Part 1. Where Is Apple Music Cache? Part 2. Easily Clear Apple Music Cache on MacPart 3. How Do I Delete My Apple Music Cache on Mac/PC/iPhonesPart 4. Conclusion
Part 1. Where Is Apple Music Cache?
Caches are used to save streamed Apple Music in the Music app (on macOS Catalina or later) and iTunes (on macOS Mojave or older and Windows PC), ensuring that you don't necessarily end up wasting bandwidth and effort when playing these tunes again.
Songs must be completely downloaded in order to use Apple's streaming service. iTunes and the Music app also save other relevant information in the cache, such as album artwork for each of the music you play and any app-generated suggestions.
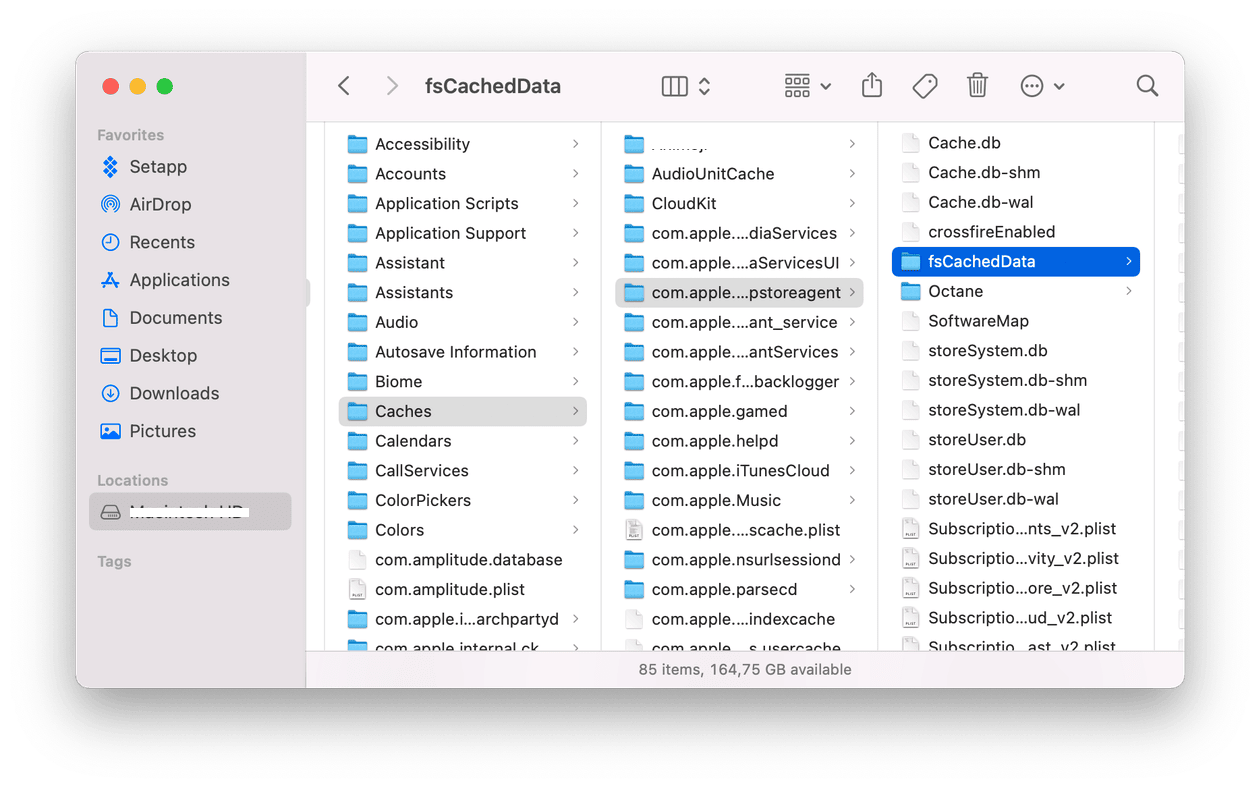
Within the cache folder, there are two subfolders where cached data is kept:
- SubscriptionPlayCache: caches of streamed songs
- fsCachedData: cached album artwork for streamed songs and other items

To free up storage or clear Apple Music cache, you may securely remove both directories without sacrificing any crucial information. When you remove folders, iTunes or the Music app just recreates them when you run it again.
Part 2. Easily Clear Apple Music Cache on Mac
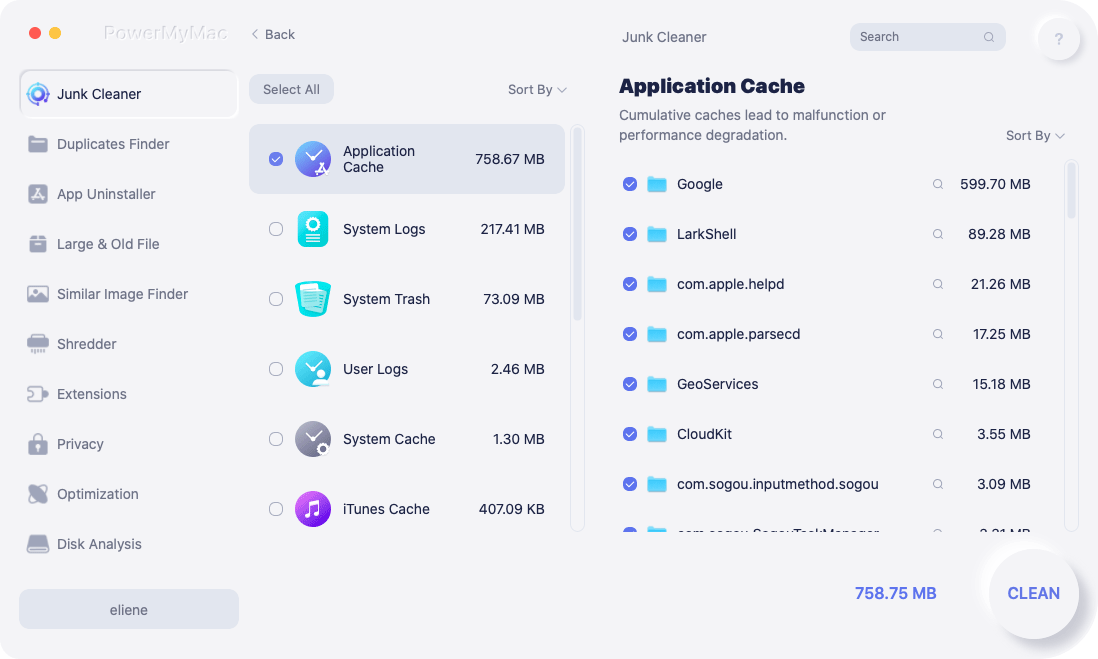
Start up an application for optimizing your Mac, such as iMyMac PowerMyMac's Junk Cleaner, and then press the scan button. This will do everything in a much more expedient manner. PowerMyMac, for instance, will examine your device for cache and trash files, in addition, to discovering superfluous items that may be securely erased. It will also find files that are no longer needed.
The precise information about how much space may be reclaimed by just clicking an icon will be provided in only a few moments' time at the most. Then, to clear the caches including iMovie cache, just click the "CLEAN" button. When the procedure is complete, your Mac will be rebooted, and any files that you no longer use will be removed.
To clear Apple Music cache, follow the steps below:
- To begin scanning your Mac for unwanted files, choose the Junk Cleaner module and choose SCAN from the menu.
- Sort each of the junk files that were discovered on your system into the categories you decide when the scanning procedure is finished.
- Simply choose the items you want to delete or select all of them to delete them all.
- If you choose "CLEAN" from the list, the appropriate data is immediately deleted.
- An alert pop-up window with the title "Cleaned Completed" will show when the cleaning is complete. The gadget displays both the total quantity of space and the amount of space that has really been removed. If you wish to remove additional files, just choose Review to get back to the results.

Part 3. How Do I Delete My Apple Music Cache on Mac/PC/iPhones
How to Clear Apple Music Cache on Mac and PC
- To get to a specific folder in the Finder, either press the Command key along with the Shift key or choose to Go > Go to Folder from the menu bar at the top of the screen.
- According to your circumstances, copy the address of the folder, paste it into the box labeled Go to Folder, and then click the enter key:
- On MacOS Mojave and earlier:
~/Library/Caches/com.apple.itunes - On MacOS Catalina and later:
~/Library/Caches/com.apple.Music - On Windows PC: Open the following location using Windows Explorer:
C:\Users\USERNAME\AppData\Local\Apple Computer\iTunes\. Obviously, the USERNAME should be changed to your Windows user name.
- You may remove the fsCachedData and SubscriptionPlayCache directories by selecting them, right-clicking on their names, and selecting the "Move to Trash" option from the context menu.
- If you want to erase them for good, you need to empty either the trash or the recycling bin.

How to Clear Apple Music Cache on iPhones
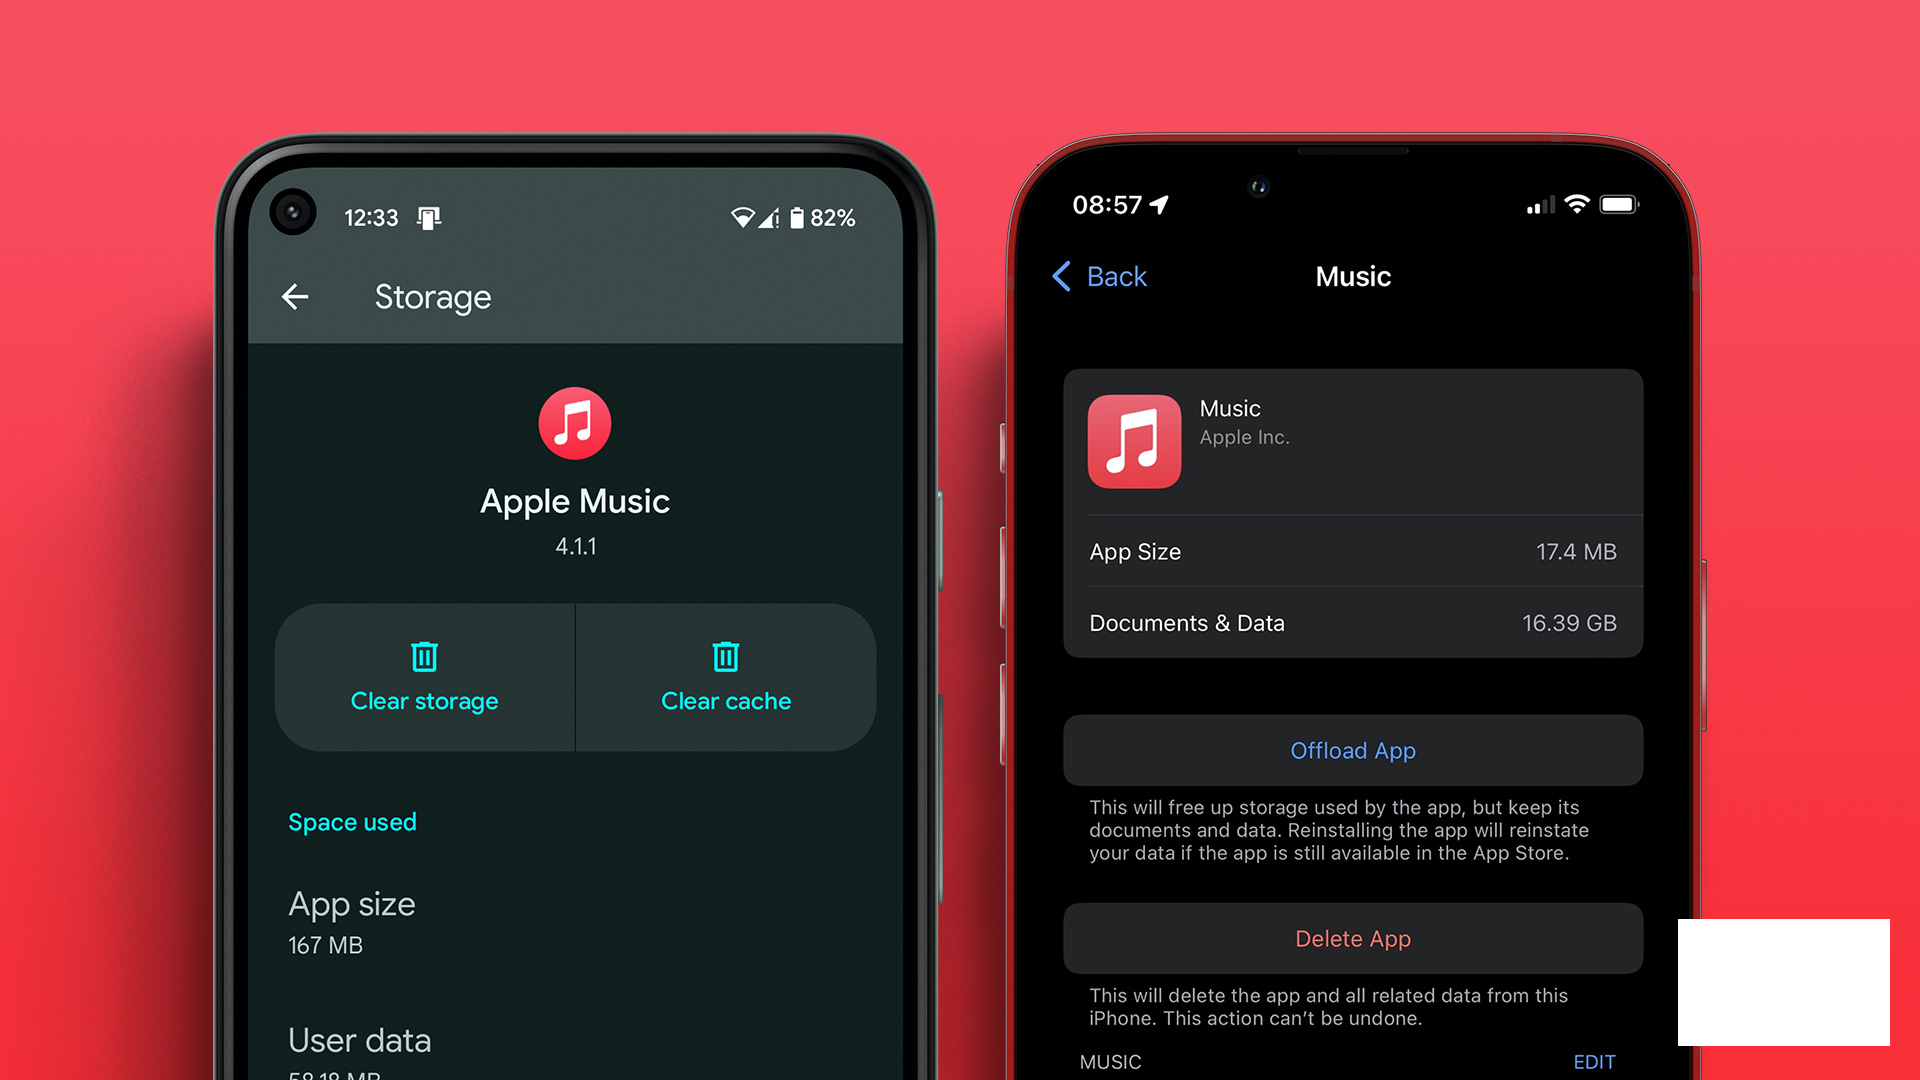
- Navigate to the iPhone's Settings > Music menu and deactivate the Sync Library option there. Now, allow a few moments to enable iOS the opportunity to recoup the storage space that has been taken by the caches and then switch on Sync Library once again.
- In the event that this does not resolve the issue, you may sign out of your Apple ID and then sign back in.
- The Music app may be removed as a last option for solving the problem. To do this, tap the icon for the Music app located on the Home Screen, then choose Delete App, and then Delete. This action will delete any music that has been bought or synced to this device.
- If you merely stream tracks, you won't be affected all that much by this move. If you have already synchronized your music or downloaded tracks, however, it is not suggested that you take this action. Instead, make use of one of the many different methods that are available to clear Apple Music cache on the iPhone.

Part 4. Conclusion
One of the greatest platforms for all music demands is Apple Music. However, it's crucial to be aware of how much storage space a music service like Apple Music would use on your smartphone before utilizing it. With the help of this guide, you can clear Apple Music cache if necessary.


