


Due to the abundance of loops, lessons, instruments, and other effects, GarageBand is infamous for using a lot of storage space on a user's computer. However, you may be troubled by GarageBand cache files on your Mac. Read this post and we will teach you how to clear GarageBand cache and eliminate apps cache files on Mac too.
Contents: Part 1. Automatic Tool to Help You Clear GarageBand CachePart 2. Manually Delete GarageBand Cache, Libraries, or Audio ComponentsBonus Tips: Want to Uninstall GarageBand to Free up Mac Storage?
Part 1. Automatic Tool to Help You Clear GarageBand Cache
Unused files and apps are deleted by iMyMac PowerMyMac. To make space, use PowerMyMac Junk Cleaner to clear the GarageBand cache. Your Mac machine may be remotely scanned for malicious software. Remove anything that is removable.
Users of Mac computers may quickly clear the GarageBand cache using the Junk Cleaner feature without hassle. Not only can you remove the GarageBand cache easily with this tool, but also you are able to erase the Whatsapp cache if you want. This is the procedure to clear GarageBand cache.
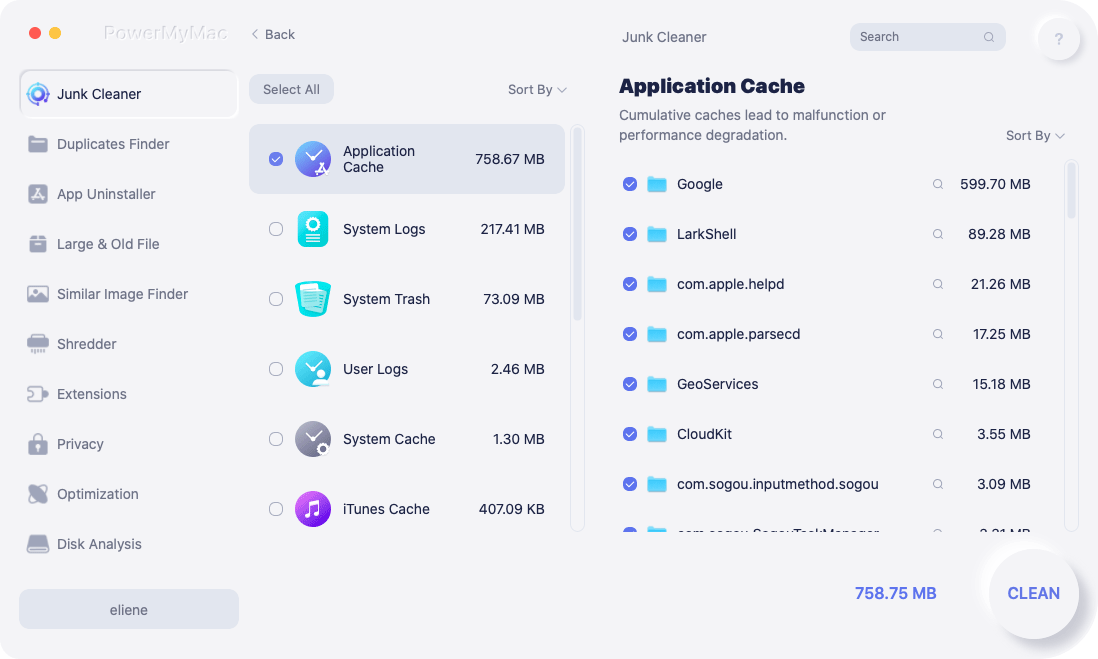
- To start searching for undesirable files on your Mac, choose SCAN from the list of choices in the Junk Cleaner module.
- After the scanning is complete, group together all of the unwanted files that were found on your device.
- Choose the GarageBand, or if you desire to dispose of everything, choose all of them.
- When "CLEAN" is selected from the drop-down menu, the necessary data is immediately deleted. A pop-up notification with the title "Cleaning Completed" will show after the cleaning is finished.
Part 2. Manually Delete GarageBand Cache, Libraries, or Audio Components
By uninstalling its libraries and audio components, and clear GarageBand cache, you may remove practically everything connected to GarageBand from your computer using the complete manner possible.
- Open the screen saver on your computer and choose the "Go" option from the top toolbar.
- From this, choose "Applications" from the menu.
- You may either manually look for GarageBandor use the search feature to look for the word "GarageB"
- After you find it, you could either right-click it and choose to remove it, or you could just drag and drop that into your trash.
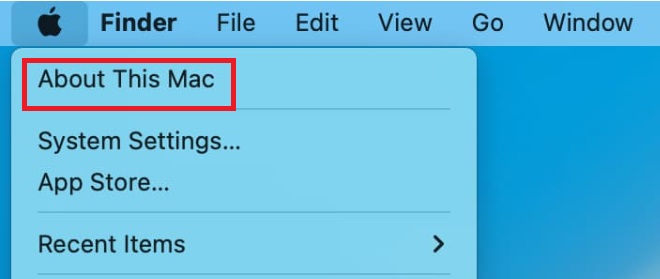
- After choosing the Apple Logo, you should return back in the screensaver and pick the "About This Mac" choice.
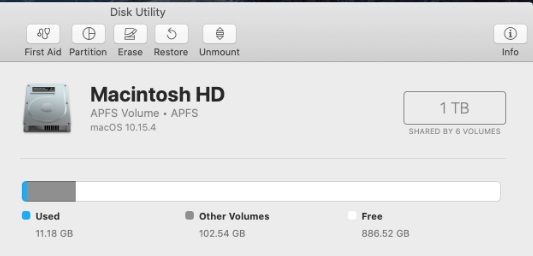
- Next, choose "Manage" by clicking just below the "Storage" choice.
- At this point, you may go through the "Music Creation" menu and see that a sizable file is there. And select "Remove Garageband Sound Library."
When you return to your home screensaver after, this time, choose "Go" while depressing the options button on the keyboard. This will activate the "Library" Tab and clear GarageBand cache.
- From this point, choose the "Audio" file from the concealed library.
- Afterward, you may return to your screen saver and select "Go" once again, but this time you'll choose "Home" and "Music."
- From this point on, you'll see additional alternatives to delete, such as a file expressly labeled "Garageband" plus a few many like "Audio Music Apps," which you may also remove if you'd like.
- Next, return to your laptop's screen saver and choose "Go" once again. This time, select "Computer," and afterward, select on "Macintosh HD" Hard Drive symbol.
- From this section, choose "
Library." - There are now additional choices available for deleting files on your computer, including "Audio."
- In the 'Audio' area, you'll see that many of those folders seem to be somehow associated with Garageband's features.
Bonus Tips: Want to Uninstall GarageBand to Free up Mac Storage?
Now we have known how to clear GarageBand Cache on Mac. Despite the fact that GarageBand has no such restrictions, it takes up too much space for certain MacBook users. Its associated files, some of which are enormous in size, take up a significant amount of storage space. The two libraries that take up the most space on a MacBook are the Loop Libraries and the Instruments Library.
It is among the few things that discourage consumers from utilizing the app. The program should only be removed or deleted from a Mac if it is no longer being used to perform its primary function of making podcasts and music.

Additionally, owners of the MacBook are compelled to delete GarageBand in order to regain storage space due to the device's tiny solid-state storage. Mac machines may be fixed and enhanced with PowerMyMac. In order to free up Mac storage, you may either fully clear GarageBand cache or remove it. It might delete Mac documents that are no longer required for users to free up space.
Conclusion
With the help of PowerMyMac, you may clear GarageBand cache or remove the program entirely, along with all of the other files linked with it that are located across the Mac operating system. There will be a significant amount of free space accessible when you have effectively eliminated GarageBand or cleared its cache, along with the files that are related to it.

