


Being able to have a slideshow on Mac can make you have a great advantage. It is because by using a slideshow, you will be able to cater to the data that you have using photos in a very fresh and dynamic way. However, not every Mac users would know how to make a slideshow on Mac.
That is why in this article, we are going to show you some different ways on how you can make a slideshow on your Mac in the easiest way possible. And we are also going to share with you a great way to find out similar images on your Mac to help you free up storage.
Article GuidePart 1. 4 Different Ways on How to Make Slideshow on MacPart 2. Cleaning You Your Similar Photos – The Fast and Easy WayPart 3. Conclusion
People Also Read:How to Edit Videos on Mac with iMovieQuick Guide on How to Troubleshoot Wifi Problem on Mac
Part 1. 4 Different Ways on How to Make Slideshow on Mac
How do you create a slideshow on a Mac? Now, making a slideshow using your Mac is actually not just like rocket science. This is easier than you think. So, if you already have the data or the content to make your slideshow, then you can get start. You can choose from the different ways below on how to make a slideshow on Mac.
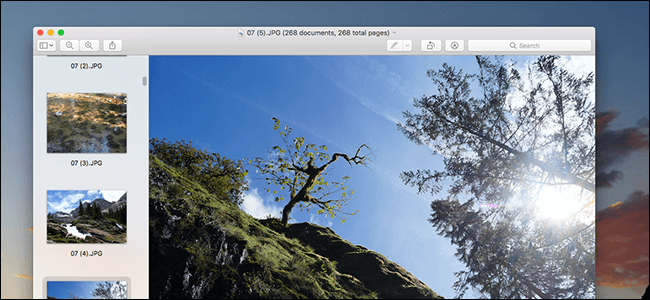
Option 1. Create Slideshow on Mac Using Preview in Finder
Now, the Preview application is one of the apps that are pre-installed on your Mac. And aside from the fact that it allows you to see other photos and files using this app, you can also make your very own slideshow. And for you to know how to make a slideshow on Mac without iPhoto, here is a step by step method:
- Open up the Finder on your Mac.
- Choose all the images that you want.
- Select the Open button from the menu bar. This way, you will be able to process your images.
- Once that the Preview application had opened on your Mac, you will be able to see all the files that you have chosen.
- Click on the “View” button and select “Slideshow”.
Option 2. Create a Slideshow Using iMovie
What is the best program to make a slideshow on Mac? The iMovie is considered to be one of the most popular video editing programs. It is the best free slideshow maker for Mac. It comes along with every Mac device.
This tool can help you create a polished slideshow for some time. And with that, let us follow the simple guide on how to make a slideshow on Mac with music below.
- Launch the iMovie app on your Mac.
- Choose “File” and then select “New Movie” to start making your slideshow.
- You can also choose the “Import Media” option to launch the Photos folder on your Mac.
- From there, press the
CommandKey. Then select all of the photos that you would want to include or you can also click on the “Import All” button. - Then, to upload your own music files to a slideshow, click on the “Import” button and choose the song that you want. Then hit the “Play” button to run your slideshow.
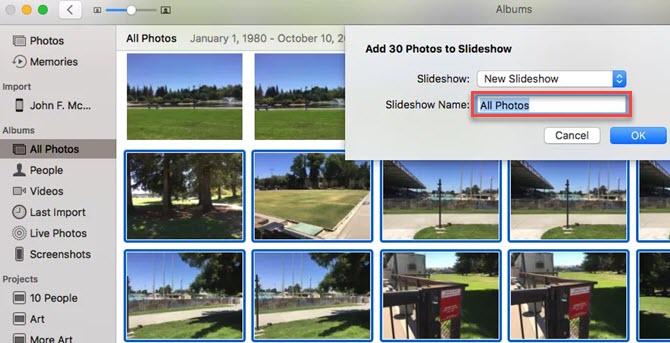
Option 3. Create Slideshow Using Apple Photos
Apple Photo is also another tool that can make your very own slideshow with background music. This tool has been said to make you have all the control in entering your very own music, them, transition, and so much more.
To make a photo slideshow on Mac, here is a quick guide for you to have an idea of how the Apple Photos work:
- Add all of the photos on the Photos program and choose the images that you want to have on your slideshow.
- After that, click on the “Create Slideshow” button found under the “File” menu. Then you will be able to see a pop-up box with the default name for your slideshow. From there, you can change the name if you would want to.
- Then, click on the “Upload Photos” button to import all the photos that are being used on your slideshow.
- Then, all of the slideshows that you made will be displayed on the left side of your screen. Click on the “Projects” tab and then double-click on the thumbnail to open up your slideshow.
- Hit the “Play” button to play your slideshow on your Mac. From here, you can now make some adjustments such as the volume of your background music, themes, change the song if you like, and the duration per slide.
Option 4. Make A Slideshow Using Option Bar in Finder
Options Bar is another tool that you can use to implement how to make a slideshow on Mac. And here are steps that you can follow.
- Launch the Finder app and choose all of the images that you want to use on the slideshow.
- Press the “
Option” and “Space”’ keys on your keyboard at the same time. Then you will see that all of the chosen images that you made earlier are displayed in a slideshow and in full screen. - Now, if you would want to check on the previous slide, hit on the left arrow and click on the right arrow to go on the next slide. If you want to stop the slideshow, click on the two vertical bar icons. Then click on the four squares icon to see all of your slides in a thumbnail form.
Part 2. Cleaning You Your Similar Photos – The Fast and Easy Way
Now, since you are going to deal with all the photos from Mac to implement how to make a slideshow on Mac, then you might want to consider first removing all the ones that you no longer need. This includes all of the similar photos that you have on your Mac.
And removing similar photos on your Mac will actually make your work on doing your slideshow a lot easier because you no longer need to spend more time looking for the actual photos that you need. Not only that but doing this will also allow you to have more storage space.
Now, to start removing all of the similar photos on your Mac, you will be needing the most powerful and reliable Mac application. And with that, it is highly recommended by a lot of Mac users to use the iMyMac PowerMyMac because it has the ability to find all of the similar photos on your Mac with simple clicks and delete them. Here is a simple guide that you can follow.
Step 1. Get the iMyMac PowerMyMac on Mac
Of course, you need to download the iMyMac PowerMyMac on your Mac. So go to the official website and then download the application. After that, have the program installed on your Mac.
Then, run the program on your Mac. And as you can see by default, the program will show you the system status of your Mac. This is its own way of acting as a performance monitor for your Mac. This way, you will be notified how much Disk space, RAM, and Memory space is left or used in your Mac.
Step 2. Select the Similar Image Finder
You will see several different modules at the left side of your screen. So from that list, choose “Similar Image Finder” under the Toolkit module.
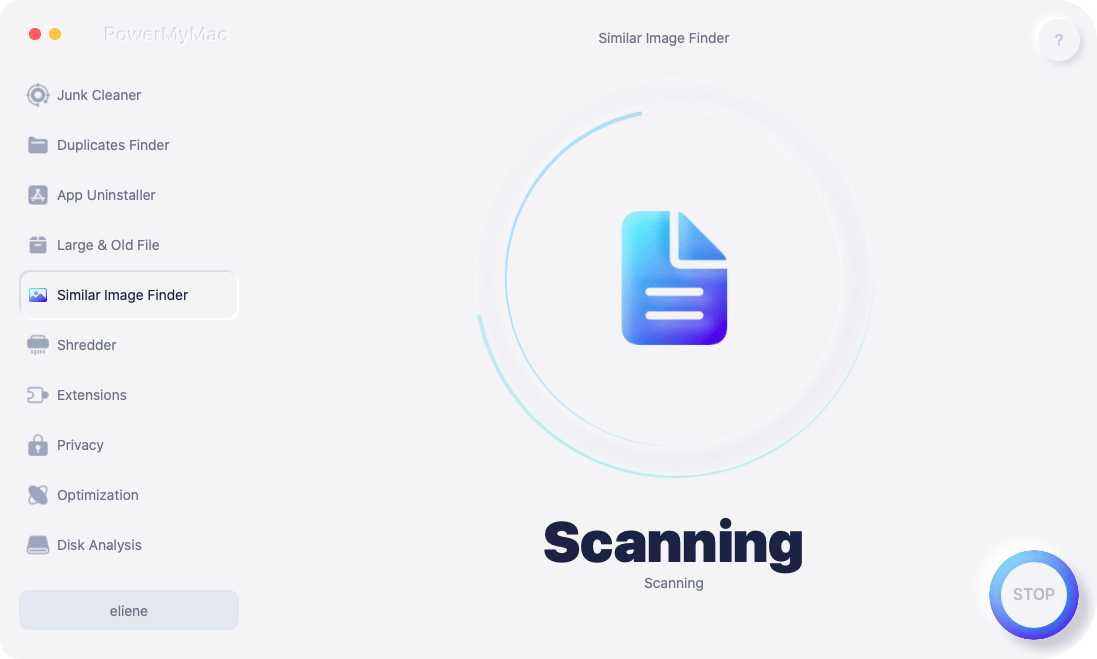
Step 3. Process A Scan
Then, PowerMyMac will then ask your permission to run a scan operation on your Mac. Simply click on the “Scan” button.
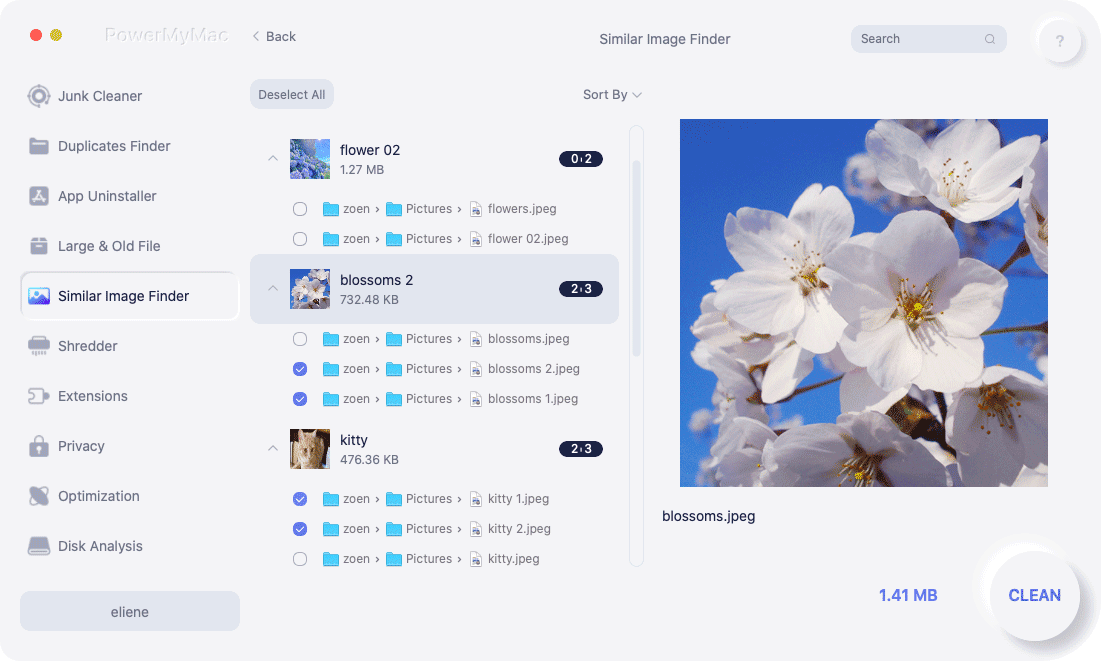
Step 4. Check the Result and Select All Similar Photos
You can also click on the “Re-scan” button if you want to make another scan on your Mac if necessary.
Then, showing the result on your screen, all you need to do is to tick on those photos to see their similar photos. Choose all the ones that you would want to remove from your Mac.
You can also opt to choose which of your similar photos will remain your Mac once that you have made a preview on each of them.
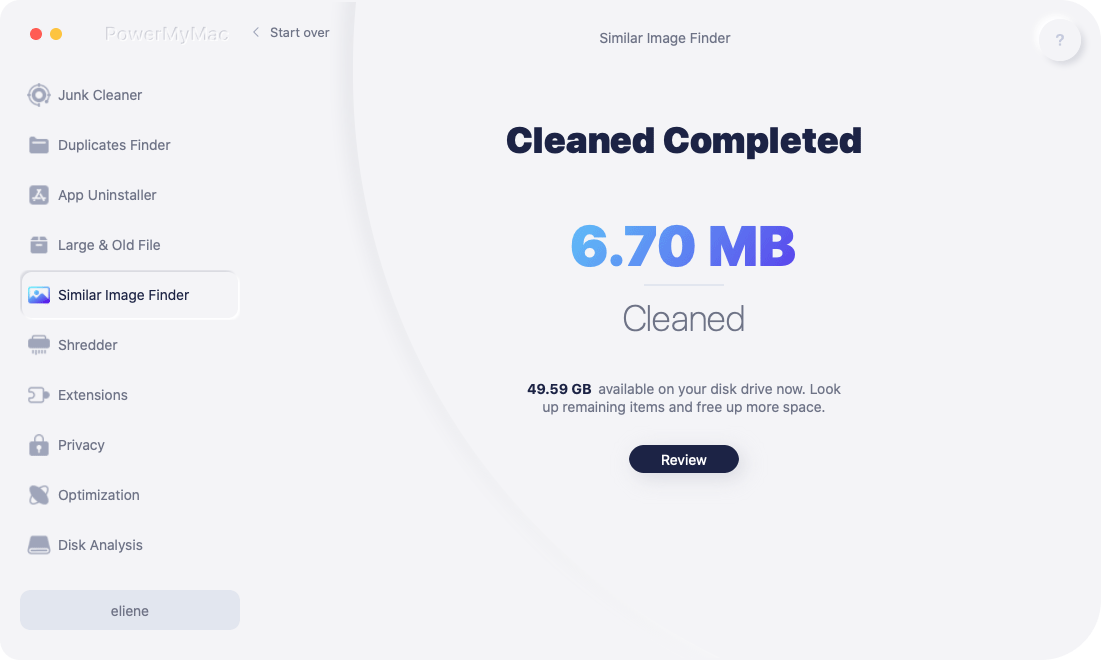
Step 5. Remove All Similar Photos
Then, simply click on the “Clean” button which is just at the lower-right corner of your screen. Then the cleaning process will then begin and you should wait until it is completed.
Part 3. Conclusion
As you can see, steps on how to make a slideshow on Mac are actually a lot easier than you have expected. You are able to make a slideshow without iPhoto or with iMovie, etc. All you need to have is the best program to cater to what you need to make your slideshow. You can choose from the options that we have shown you above for your reference.
Also, do not forget to get rid of all those photos that you no longer need such as similar photos. It is a great way to free up more space on your Mac as well for new slideshow projects that you are going to make in the future.
And when it comes to cleaning up your Mac, there is no better tool than the iMyMac PowerMyMac. So for you to make all things easier, quicker, and effective on your Mac, get a free trial on PowerMyMac now!

