


If you're looking to uninstall Subler Mac, you've come to the right place. Subler is a popular application for editing and managing video files, but there might be various reasons why you need to remove it from your macOS system. Perhaps you've found an alternative tool that better suits your needs, or you simply want to remove applications to free up some disk space.
Whatever the reason, this guide will walk you through the process of uninstalling Subler and ensuring that all associated files are thoroughly removed from your Mac. By following these step-by-step instructions, you'll have Subler completely uninstalled in no time. Let's get started!
Contents: Part 1. What Are the Uses of Subler?Part 2. How Do I Uninstall Subler from My Mac?Part 3. Automatically Uninstall Subler with a Reliable Uninstaller?Part 4. Conclusion
Part 1. What Are the Uses of Subler?
Subler is a versatile application designed specifically for Mac users to manage and edit video files. It offers a range of features that cater to different needs in the realm of video processing and organization. Here are some common uses of Subler:
- Video Metadata Editing: Subler allows users to edit metadata associated with video files. This includes information such as title, artist, album, genre, and more. By modifying metadata, you can better organize and categorize your video collection.
- Subtitle Management: With Subler, you can easily add, edit, and manipulate subtitles for your video files. It supports various subtitle formats, including SubRip (SRT) and SubStation Alpha (SSA), enabling you to create a more engaging viewing experience.
- Chapter Creation: Subler enables users to create chapters within their video files. Chapters help viewers navigate through long videos more easily, allowing them to jump to specific sections without the need for manual seeking.
- Video Conversion: Subler supports a wide range of video formats and codecs. It allows you to convert videos into different formats, making them compatible with various devices and platforms. Whether you need to convert a video for your iPhone, Apple TV, or other media players, Subler has you covered.
- Metadata Fetching: Subler can automatically fetch metadata for your video files from online databases such as TheTVDB and The Movie Database. This feature saves you time and effort by populating your videos with accurate and detailed information.
- Muxing and Demuxing: Subler supports multiplexing (muxing) and demultiplexing (demixing) of audio and video streams. This means you can combine multiple streams into a single file or extract individual streams from a container file.
These are just a few examples of the many uses of Subler. It provides Mac users with a comprehensive toolset for managing, editing, and organizing their video files. However, if you no longer require Subler or have found alternative software, it's important to know how to properly uninstall Subler on Mac, which we will cover in the subsequent parts of this guide.
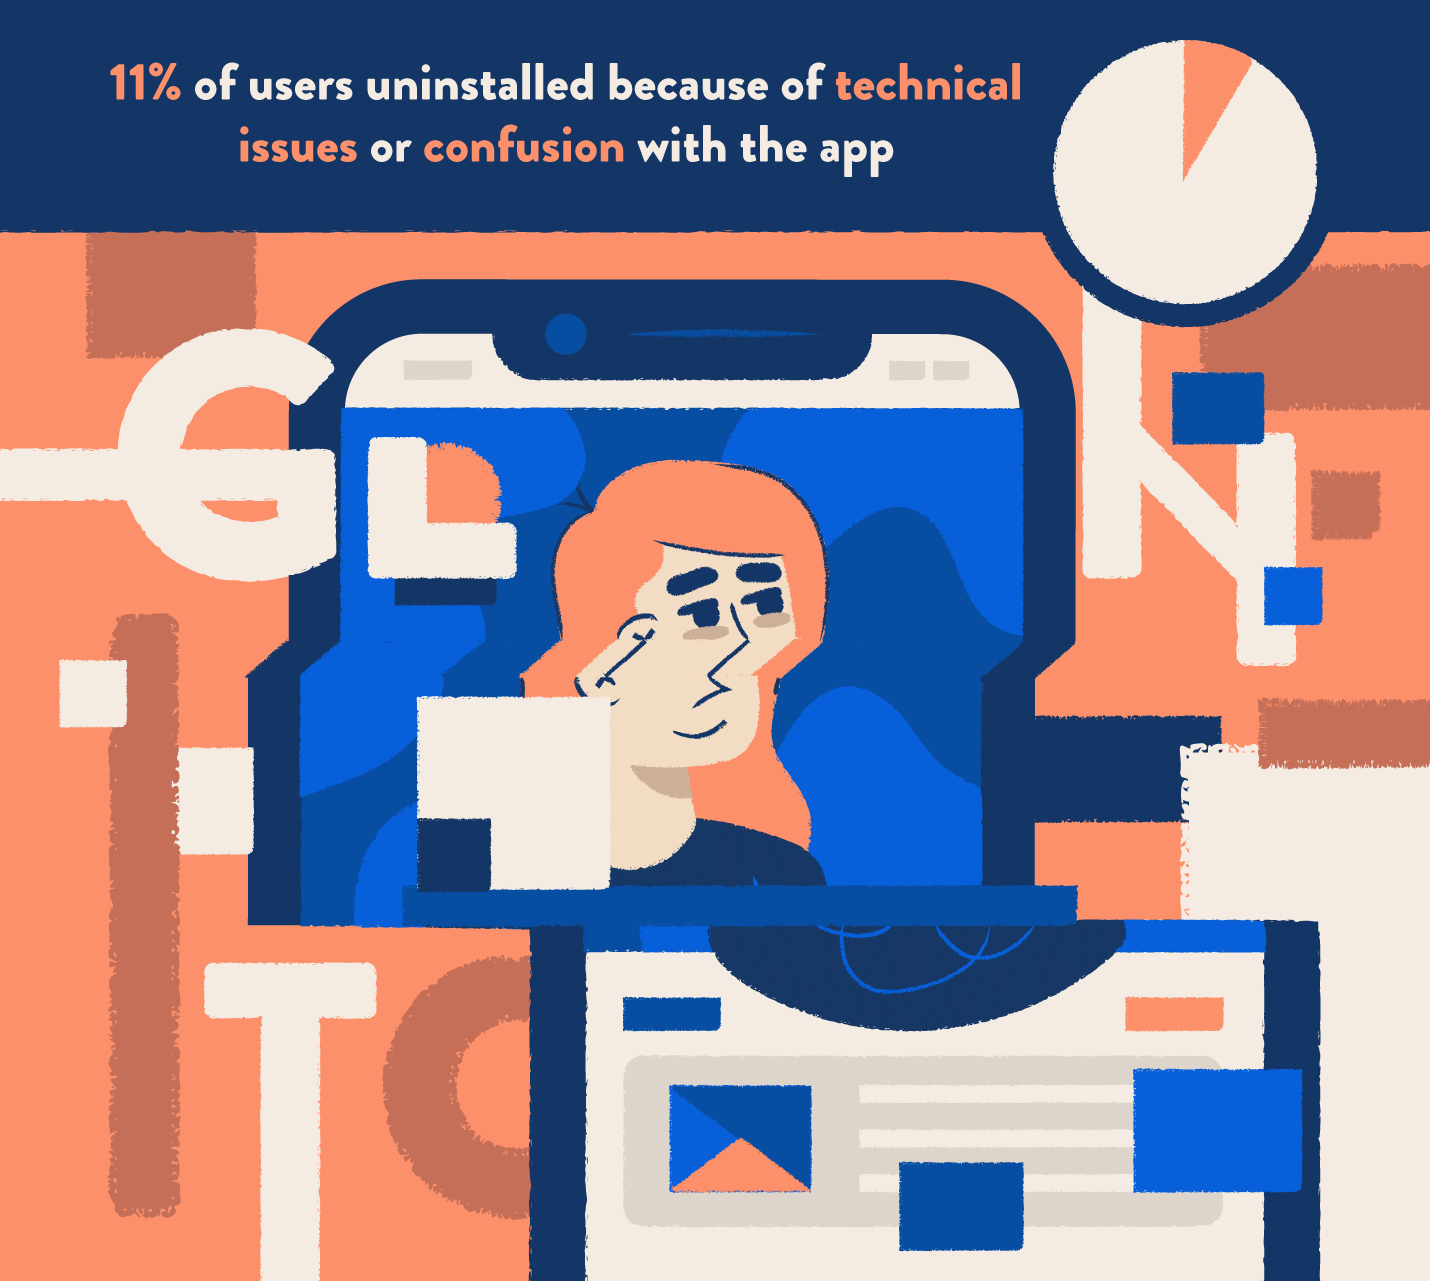
Reasons to Remove the App + Common Problems with Uninstallation
Circumstances to Uninstall Subler:
- Upgrading to a Different Video Editing Software: You may decide to switch to a different video editing software that better suits your needs or offers more advanced features. In such cases, uninstalling Subler becomes necessary to avoid conflicting applications and free up disk space.
- System Maintenance: Performing routine system maintenance is important for optimizing the performance of your Mac. Uninstalling applications that are no longer needed, including Subler, can help streamline your system and reduce clutter.
- Troubleshooting Issues: If you encounter persistent problems or errors while using Subler, despite attempting basic troubleshooting steps, uninstall Subler on Mac and reinstall the application, that can sometimes resolve the issue. This can be particularly helpful if you suspect that the problem is related to a corrupted installation.
Common Problems for App Removal:
- Incomplete Uninstallations: Sometimes, simply dragging the application to the Trash may not completely remove all associated files and folders from your system. This can result in leftover files taking up space or causing conflicts with other applications.
- Preference Files and Caches: Applications like Subler often create preference files and cache data on your Mac. These files can remain on your system even after uninstallation and may need to be manually deleted to ensure thorough removal.
- Uninstaller Absence: Not all applications come with built-in uninstallers, and Subler is one such example. In such cases, users need to manually delete the application and associated files.
- Dependencies and Frameworks: Subler may rely on certain dependencies and frameworks to function properly. Removing the application without considering these dependencies can lead to issues with other applications or system functions that depend on them.
- User Data: If you have created and saved projects or customized settings within Subler, it’s important to back up and preserve this data before uninstalling. Otherwise, all associated user data may be permanently lost.
It's important to approach the uninstallation process with caution and follow proper procedures to ensure the complete removal of Subler from your Mac, minimizing the risk of any potential problems or conflicts. In the next part of this guide, we will provide you with step-by-step instructions on how to uninstall Subler on Mac and address these common problems effectively.
Part 2. How Do I Uninstall Subler from My Mac?
To uninstall Subler on Mac, you can follow the step-by-step instructions outlined below.
Ensure that Subler is not running on your Mac. If it is currently open, go to the "Subler" menu in the menu bar and select "Quit Subler".Remove Subler Application:
- Open the "Applications" folder on your Mac. You can do this by clicking on the "Finder" icon in the Dock, selecting "Applications" from the sidebar, or using the shortcut Shift + Command + A.
- Locate the Subler application icon in the "Applications" folder.
- Drag the Subler application icon to the Trash in your Dock. Alternatively, you can right-click on the Subler application icon and select "Move to Trash".
Remove Subler Preferences and Support Files:
- In the Finder, click on the "Go" menu in the menu bar and select "Go to Folder".
- In the "Go to Folder" dialog box, enter the following path:
~/Library/ - Within the Library folder, locate and open the "Application Support" folder.
- Find and delete the folder named "Subler" or "ebals.Subler" if it exists.
- Go back to the Library folder and open the "Preferences" folder.
- Look for any files with names containing "Subler" or "com.ebals.Subler" and drag them to the Trash.
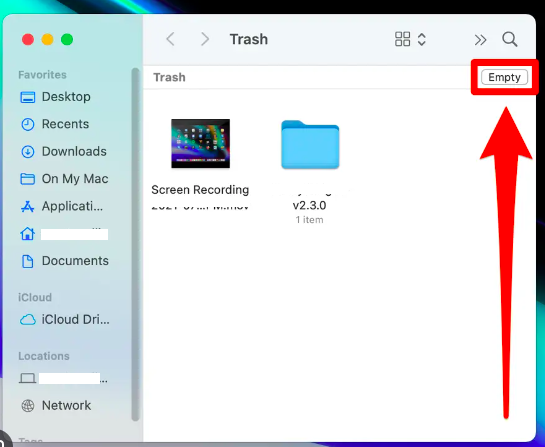
- Empty the Trash to completely uninstall Subler on Mac and remove the preferences as well as support files.
Clean Up Subler-related Files:
- Launch the Finder and click on the "Go" menu in the menu bar.
- Select "Go to Folder" from the drop-down menu.
- Enter the following path in the "Go to Folder" dialog box: /Library/
- Within the Library folder, locate and open the "Application Support" folder.
- Find and delete the folder named "Subler" or "com.ebals.Subler" if it exists.
- Go back to the Library folder and open the "Preferences" folder.
- Look for any files with names containing "Subler" or "com.ebals.Subler" and drag them to the Trash.
- Empty the Trash to remove the Subler-related files from your Mac.
Restart Your Mac: It's recommended to restart your Mac after uninstalling Subler to ensure that any remaining processes or files are cleared.
Following these steps should effectively uninstall Subler on Mac. However, please note that the specific paths or file names may vary depending on your macOS version or Subler version. Always exercise caution when deleting files to avoid accidentally removing important system files.
Part 3. Automatically Uninstall Subler with a Reliable Uninstaller?
iMyMac PowerMyMac is a professional Mac cleaner that can help you uninstall Subler and its leftovers automatically. It is a one-stop solution for all your Mac cleaning needs. With PowerMyMac, you can easily remove unwanted apps, files, and junk to free up disk space and improve your Mac's performance, also, uninstall Subler on Mac.
To uninstall Subler with PowerMyMac, follow these steps:
- Download and install PowerMyMac on your Mac.
- Launch PowerMyMac and click on the "App Uninstaller" module.
- Click on the "SCAN" button.
- PowerMyMac will scan your Mac for all the files and folders and apps.
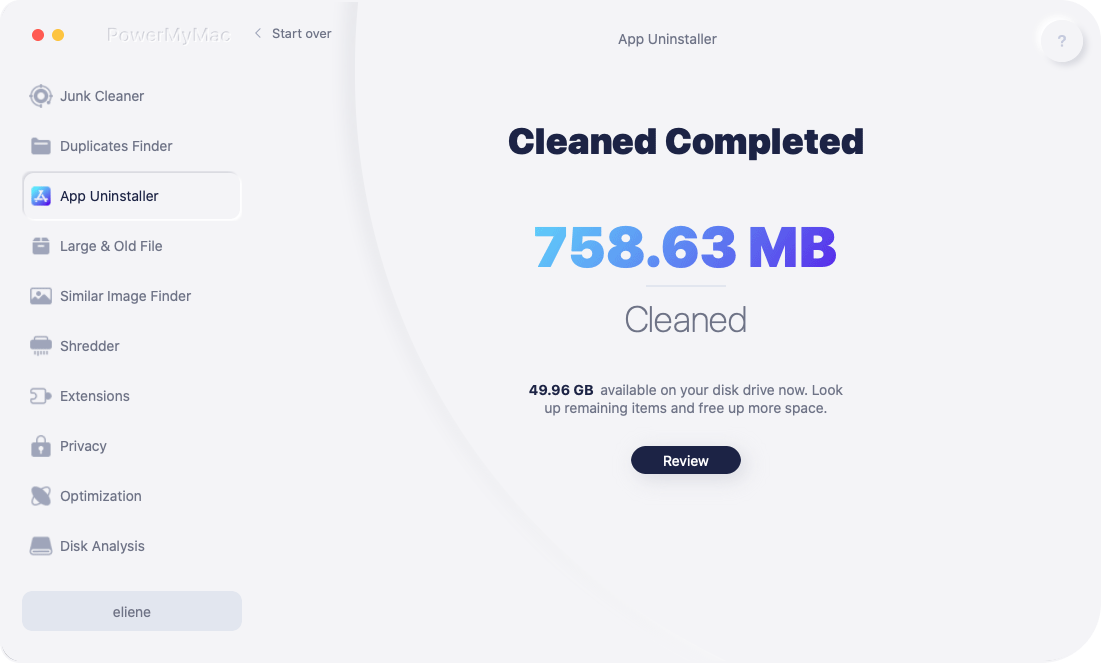
- Once the scan is complete, select the items and apps you want to delete and click on the "CLEAN" button.
- PowerMyMac will then remove Subler and all its leftovers from your Mac. You can now check the Applications folder to confirm that Subler has been deleted.
Here are some of the benefits of using PowerMyMac to uninstall Subler:
- It is a safe and reliable way to uninstall Subler.
- It can remove all the files and folders related to Subler, including hidden files.
- It can free up disk space and improve your Mac's performance.
- It is easy to use and can be used by anyone, even if you are not a tech-savvy person.
- If you are looking for a reliable way to uninstall Subler on Mac, then PowerMyMac is the best option for you. It is a safe, effective, and easy-to-use tool that can help you remove Subler and its leftovers from your Mac.
Part 4. Conclusion
In conclusion, PowerMyMac is a powerful and reliable tool that can help you uninstall Subler and its leftovers from your Mac. It is safe, effective, and easy to use, making it the best option for anyone who wants to remove Subler from their Mac.
If you are looking for a reliable way to uninstall Subler on Mac, then PowerMyMac is the best option for you. It is a safe, effective, and easy-to-use tool that can help you remove Subler or even delete Spotify from your Mac.

