


M4R iTunes ringtone files are great for keeping you notified. Once your notification rings up, you get your device and instantly see important messages or emails for work, school, or personal purposes. A lot of us want customizations and that might include our ringtones.
That’s why you may want to convert MP3 to M4R. You want a personalized touch to the notifications you hear on your iPhone or iPad. Other users may just want a good laugh when they hear their notifications ringing.
Our comprehensive guide will teach you how to convert MP3 to M4R in a few detailed steps. In this way, you can convert MP3 to ringtone and enjoy your ringtones in a matter of minutes. And, you can keep creating new ones if an idea comes to your mind. Let’s start ringing in!
Contents: Part 1: What Are M4R Files?Part 2: The Best Way to Convert MP3 to M4RPart 3: Convert MP3 to M4R Using iTunes on Mac or WindowsPart 4: Conclusion
Part 1: What Are M4R Files?
A file with the extension “M4R” is actually a file format for an iTunes ringtone. They are usually made and then transferred to iOS devices (e.g., iPhone and iPad) and are used as customized ringtone notifications.
Customized iTunes ringtone data files that are in the format M4R are actually .M4A data files. Their names just have been changed to .M4R. These two file extensions are different for the purposes of differentiating between them.
M4R files can be launched with iTunes, Apple’s media playback, and management tool. The M4R files that don’t have copyright protection can be usually opened with VLC Media Player or other software of the same type.
On the other hand, MP3 files are one of the most popular and commonly-distributed audio data files today. It was developed by MPEG. MP3 files are actually audio files that utilize a specific compression algorithm in order to reduce the size of the overall file.
It is a “lossy” format because compression is actually irreversible. And during the compression process, we lose some of the source file’s original data. However, it is still possible to have a high-quality audio file with MP3 since it keeps quality that is near to that of CDs.
Tip: If you want to more about the M4R file, you can read more in Lifewire.
Part 2: The Best Way to Convert MP3 to M4R
The best way to convert MP3 to M4R free is through iMyMac Video Converter. It is a flexible tool that allows the conversion of various data types from audio to video files. The list of supported formats is huge and you will never run out of options to choose from.
iMyMac Video Converter converts audio files and video files at blazing fast speeds. This is because it supports graphic card hardware acceleration technology. GPUs supported include NVIDIA CUDA, AMD, NVENC, and Intel HD Graphics.
This powerful software supports different resolutions including 3D conversion. These include UHD (4K), FHD (1080p), HD (720p), and SD (480p). Preset profiles for high-quality video settings of popular devices are provided too.
This is a great tool that is compatible with iOS devices, Blackberry, Samsung, Nokia, Google, Kindle Fire, and Motorola gadgets.
Here are the steps you should follow in order to convert MP3 to M4R using iMyMac Video Converter:
1. Download, Install and Launch The Software
First, you have to download iMyMac Video converter from its official website here. Then, install the software and launch it on your computer.
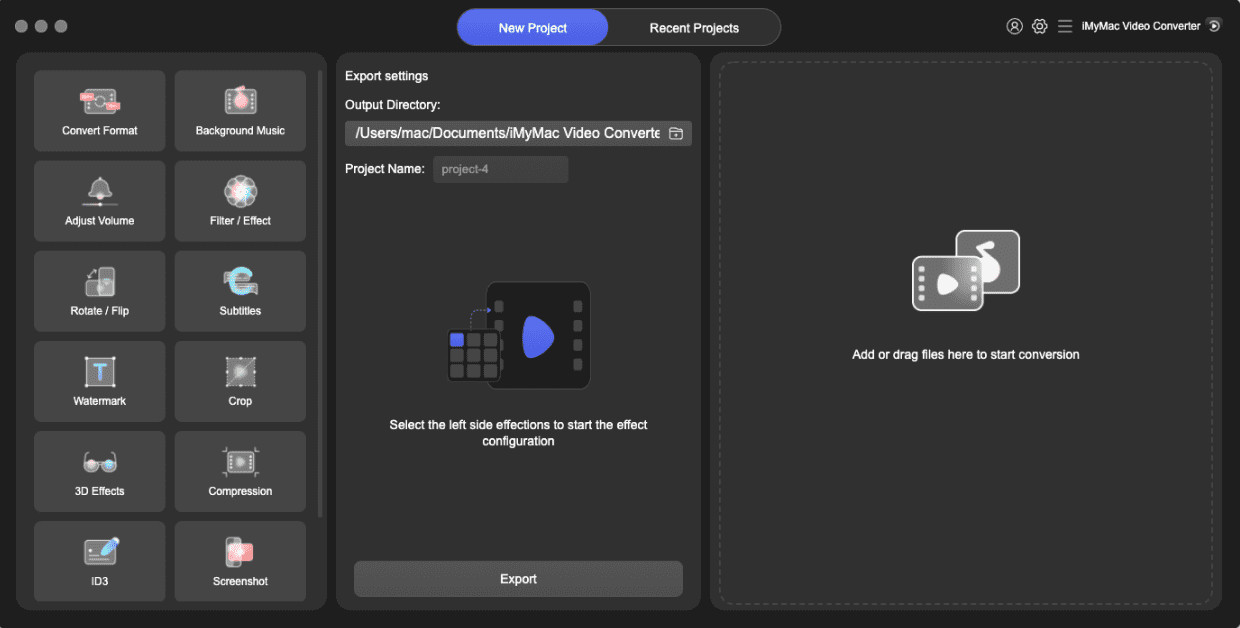
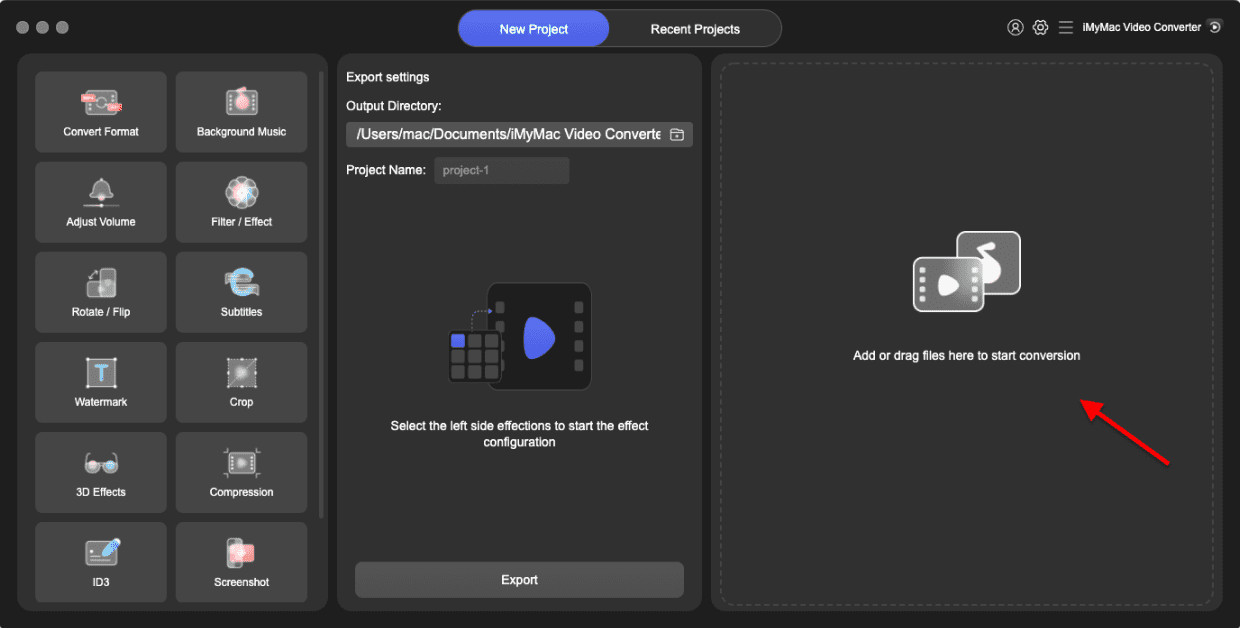
2. Add Files And Edit Settings
In this step, you have to add your MP3 files by clicking the “Add Multiple Videos or Audios” button. Then, find the MP3 files and add them to the software. Or, you can simply drag and drop files to the interface.
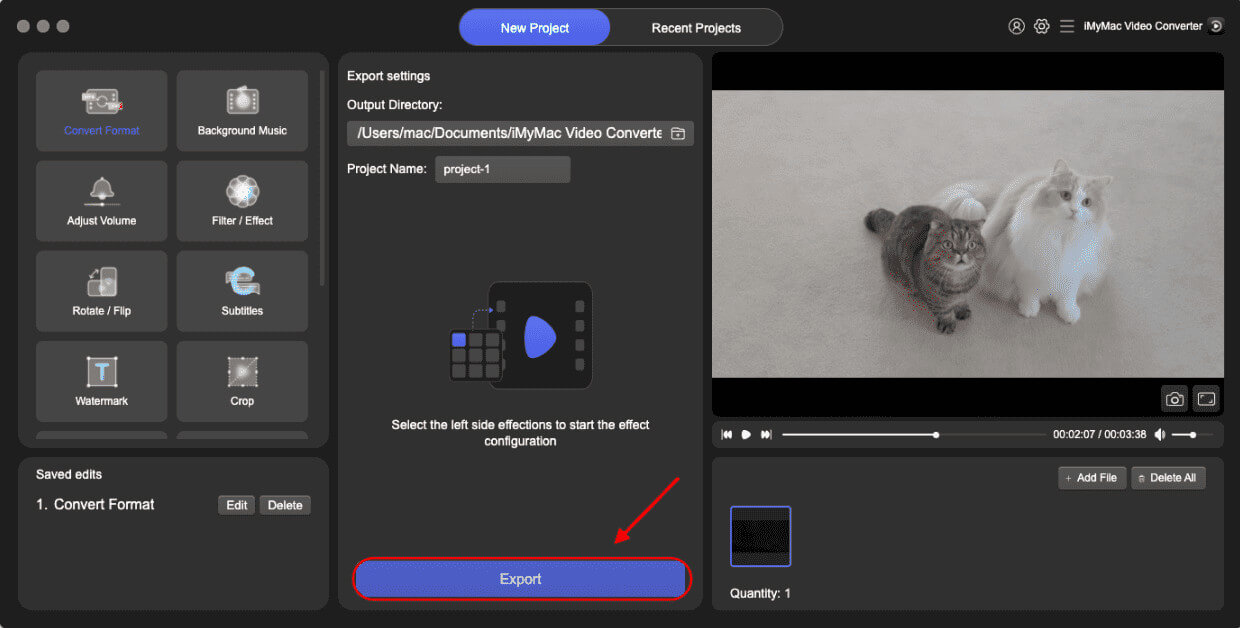
Then, select Convert Format and choose M4A as the output format. You can also modify some settings if you wish. Save all the settings. Choose a destination folder as well.
3. Start Converting MP3 to M4R
After you have edited the output settings, start converting by pressing “Convert”. Wait until the process is complete.
4. Change M4A To M4R
Now, visit the M4A file within the Recent Projects. Then, rename the file of the converted audio from M4A to M4R.
Now, you can use them as iTunes ringtones on your iPhone or iPad and enjoy your notifications.
Part 3: Convert MP3 to M4R Using iTunes on Mac or Windows
Here is another way to convert MP3 to M4R ringtone using iTunes. However, there’s a big inconvenience – iTunes has support for only 5 different kinds of audio encoders. You can easily convert MP3 data files to M4R. However, for formats that aren’t supported (e.g., FLAC), the conversion process will fail.
In addition, utilizing iTunes to convert your MP3 files to an iTunes ringtone file is very time-consuming. It has a lot of steps and can be tedious. How do I convert MP3 to M4R in iTunes? Below are the steps of the process on how to do it:
- Add your MP3 file to the iTunes library. Do this by clicking “File” and then pressing “Add File To Library”. Now, your MP3 files will be included in your roster of music files.
- Select the MP3 file you want to convert. Then, choose “Song Info” from the windows that pops up.
- Go to the tab labeled “Options” and then choose the starting and finishing points. It is important that you trim the music in 40 seconds or less. Then, click OK.
- Select the music you have just trimmed and want to convert. After this, click “File” and then choose “Convert”. Options will show up. Click the option for “Create AAC Version”.
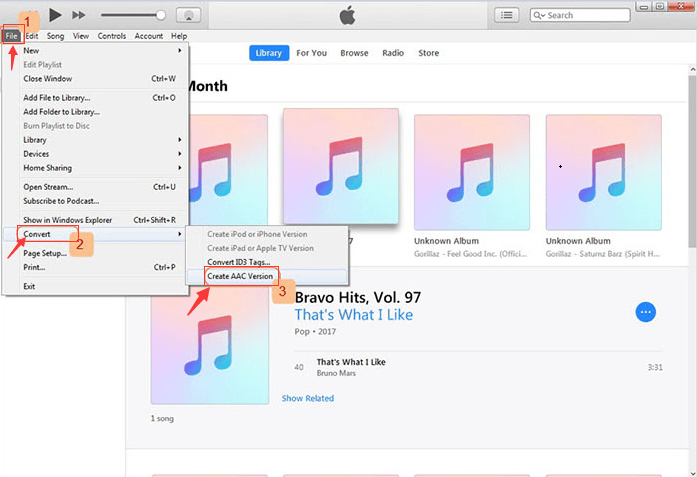
Important Note: What if you can’t find the option for “Create AAC Version?” Then, you should go to “Edit” within the main interface. Then, click “Preferences” and then “General.” Click “Import Settings” and then press “AAC Encoder”.
- After this, a new file with the same name will be shown. This file is now another file type. Right-click on it and click “Show In Windows Explorer”. Or, in Mac, you can choose “Show In Finder”.
- Now rename the file from .M4A to that of .M4R. Do this by clicking the “Rename” button and simply changing the extension of the file.
- Visit iTunes again. Delete the other AAC and MP3 files.
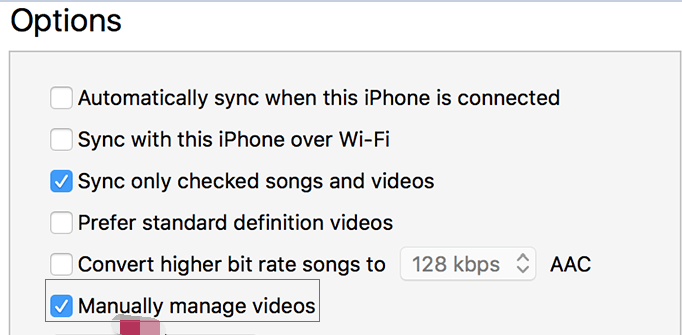
- Finally, connect the iPhone or the iPad to the computer. Click “Device” and then go to the option that says “Manually Manage Videos”. Check out the left sidebar and click “Tones” located below “On My Device”. Simply drag and then drop the M4R files to the library of iTunes. This ringtone will now be added to your iPad or iPhone.
Part 4: Conclusion
Two different methods on how to convert MP3 to M4R were provided in this article. These two methods involve converting the MP3 to M4A. Then, you simply rename the M4A file to M4R by changing the extension.
The best method out of the two is using iMyMac Video Converter. This is because once you get the tool, you have the option of converting different audio and video file formats to the next one you want. Plus, it’s very easy to use and understand.
That’s why you should opt to get iMyMac Video Converter now! You can try it out for free.
