


Programmers love to use integrated development environments (IDEs) to help them create applications and software for their clients. One such popular IDE is Eclipse and is used in computer programming. If you’re a coder and you’ve found a better alternative IDE, you may want to know how to uninstall Eclipse on Mac. In this way, you can free up more space within your Mac in case of run out of application memory of the system.
This guide will teach you how to uninstall Eclipse on Mac through both manual and automatic methods of implementation. This will enable programmers to uninstall the IDE that they want. Plus, the automatic way of doing so will help them uninstall programs without having to go through the tedious process of finding all associated files of the unwanted apps.
Tip: If you don't look for app related files one by one, then PowerMyMac must the best choice for you and you can get its free trial version to have a try!
Contents: Part 1. Why Is Eclipse Not Showing In Applications On Mac?Part 2. How To Remove Eclipse From Mac Manually?Part 3. How To Uninstall Eclipse On Mac Quickly?Part 4. Conclusion
Part 1. Why Is Eclipse Not Showing In Applications On Mac?
Before we teach you how to uninstall Eclipse on Mac, we have to answer the question a lot of users are asking about. So why is Eclipse not showing in Mac applications? The major reason for this is that you didn’t move the Eclipse file towards the Applications Folder within Finder.
So, how do you do this? Well, to be able to show Eclipse within your macOS Applications folder, you have to install it in the correct manner. Here are the steps you should follow to ensure that Eclipse will show in Mac applications:
- Go To Downloads Within Eclipse Official Website – Go to the Downloads page within the official website of Eclipse. Based on what you need, select the appropriate Eclipse IDE for your programming language. Let’s say we will select Eclipse IDE For Java Developers.
- Download – Click the option to download in a particular bit. Then, you will be redirected to the next page. Select the nearest server to your location and then click “Download”. Next, visit the Downloads folder where the downloaded Eclipse ZIP file is located. Move it towards the Desktop folder. After that, open this file.
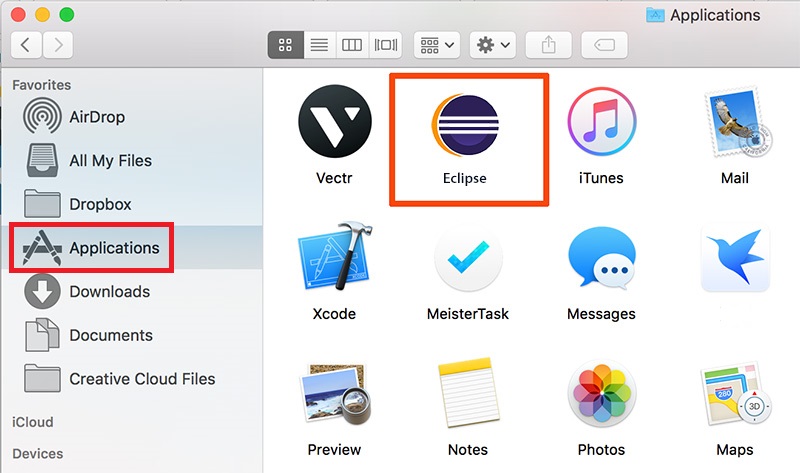
- Launch Finder – After that, you should launch Finder and choose Applications. Drag the icon of Eclipse from the desktop towards the Finder’s Application folder.
- Launch Eclipse – Now, installation is finished. Launching Eclipse is possible through the Applications folder.
- Click Open During Warning – Once you start opening Eclipse, a warning will pop up. Simply click the “Open” button for Eclipse to launch.
- Install Java SE 6 RunTime – A message will pop up again saying that JAVA SE 6 RunTIme is necessary for Eclipse to work. Click the OK button. Go to the appropriate website where the requirement can be downloaded to accept the license agreement. Download JAVA SE 6 Runtime, run the file and install it.
- Open Eclipse – Once Java SE 6 Runtime has been installed, Eclipse should work without issues and you can open it within the Applications Folder of Finder.

Part 2. How To Remove Eclipse From Mac Manually?
The manual way of removing Eclipse is very tedious. However, it still does work. The only problem with this one is that you’re going to leave associated files. These leftover files will take a lot of space within your system. That’s why we will help you uninstall it automatically as well. However, we’ll talk about that later in the following sections of this article.

Here’s how to uninstall Eclipse on Mac manually:
- Quit The Eclipse Software – Make sure you quit Eclipse or any of the associated software. If the tool prompts you to exit it, make sure you click the “Exit” button afterward. If Eclipse doesn’t work or stops responding, you can go to the Activity Monitor of Mac to force quit the processes.
- Drag Eclipse Towards The Trash – The next step would be to drag the Eclipse icon from the Applications Folder in Finder towards the Trash. Drop the Eclipse icon towards the Trash to remove it.
- Empty Trash – The next step would be to Empty Trash by going to the menu bar. Then, choose Finder and then select the option to Empty Trash.
- Go To Library Folder – Launch Finder and find the Go option within the menu bar. Select the option that says Go To Folder. Then, choose to type out these ones in the box that will be displayed. You will type these out without the quotation marks or the period: “~/Library”. After that, press the key for Enter
- Search For Eclipse Associated Files – The next step would be to search for files with the name “Eclipse” in them. The following folders will be the locations where you will search the “Eclipse” files:
~/Library/Caches/,~/Library/Preferences/,~/Library/PreferencePanes/,~/Library/ApplicationSupport/,~/Library/LaunchAgents/,~/Library/LaunchDaemons/,~/Library/StartupItems/ - Delete Associated Files – Now, you have to delete associated files so you can implement how to uninstall Eclipse on Mac.
- Empty Trash – The final step would be to actually empty the Trash bin to ensure all associated files have been deleted.
The problem with the manual method on how to uninstall Eclipse on Mac is that you may accidentally delete files that are actually important for the system to work. When this happens, it is irreversible. That’s why we recommend that you read the next section on how to uninstall Eclipse on Mac automatically and quickly.
Part 3. How To Uninstall Eclipse On Mac Quickly?
So, how do I completely uninstall Eclipse on Mac? In order to know how to uninstall Eclipse on Mac in a quick manner, you have to use the right tools that will help you do it. For this, we recommend that you use iMyMac PowerMyMac to help you remove Eclipse and its associated files. Thus, this will help you avoid leaving leftovers within your system. Plus, it ensures that no important system files are deleted. You are 100% sure that it’s safe and secure.
As of the moment, we need the App Uninstaller module to implement how to uninstall Eclipse on Mac easily. This module will actually scan your entire system for different applications within your computer. After that, you can simply choose the app that you want to remove. PowerMyMac will ensure that no leftover files are left.
Here are the steps on how to uninstall Eclipse on Mac using PowerMyMac:
- Download and install PowerMyMac. Checking the system status of your Mac is allowed with this software.
- Then, you have to select the App Uninstaller module on the left sidebar.
- Simply click “SCAN” for you to locate all the different applications installed in your Mac. Wait for the robust scanning process to finish.
- After that, simply choose Eclipse from the list of applications you want to delete.
- Now, click the “CLEAN” button in order to start removing Eclipse and other associated files of the program.

PowerMyMac also has a lot of other modules within it. These include Duplicate Finder, Junk Cleaner, Large & Old Files, Privacy, and Optimization, among others. Plus, it will automatically clean your system of these leftovers to make sure you have totally and completely removed Eclipse from your Mac.
Part 4. Conclusion
So, have you learned how to uninstall Eclipse on Mac? We hope you did. We started with answering the question of why Eclipse is not found on the Applications Folder within Finder on Mac. Then, we proceeded with telling you how to remove Eclipse from your Mac’s system manually. As you can see, this process is very tedious.
That’s why we recommend that you get PowerMyMac and its modules because it can delete Eclipse from your Mac. Plus, it doesn’t leave associated files that may be left due to a manual method of removing the app. PowerMyMac is a very great tool for those who love their Mac computers. It’s because it can make the system perform faster due to more storage space. Plus, corrupted unnecessary files will be removed by the cleaner in a few clicks. Get your digital copy of PowerMyMac today.

