


Bluestacks is a pretty great program, but if for whatever reason you want to remove it from your Mac, there are a few options available to you just so you know. Feel free to read on to find out the way to uninstall Bluestacks on Mac.
TIPS:
Contents: Part 1. What Is Bluestacks and The Benefits of Uninstalling ItPart 2. Powerful Way on How to Uninstall Bluestacks on MacPart 3. Manual Way to Uninstall Bluestacks on MacPart 4. App Store Deletion to Uninstall Bluestacks on Mac
Part 1. What Is Bluestacks and The Benefits of Uninstalling It
First and foremost, if you do not know what Bluestacks is and it is installed in your Mac, best you find out before removing it completely from your Mac. Bluestacks is a free desktop app that can help Mac play Android apps as it acts as an Android Emulator. So when you are playing those Android games on your Mac, you are definitely using Bluestacks to that.
Now, if that sounds like something that you no longer need for some reason or another, then you will definitely want to keep reading how to uninstall Bluestacks on Mac.
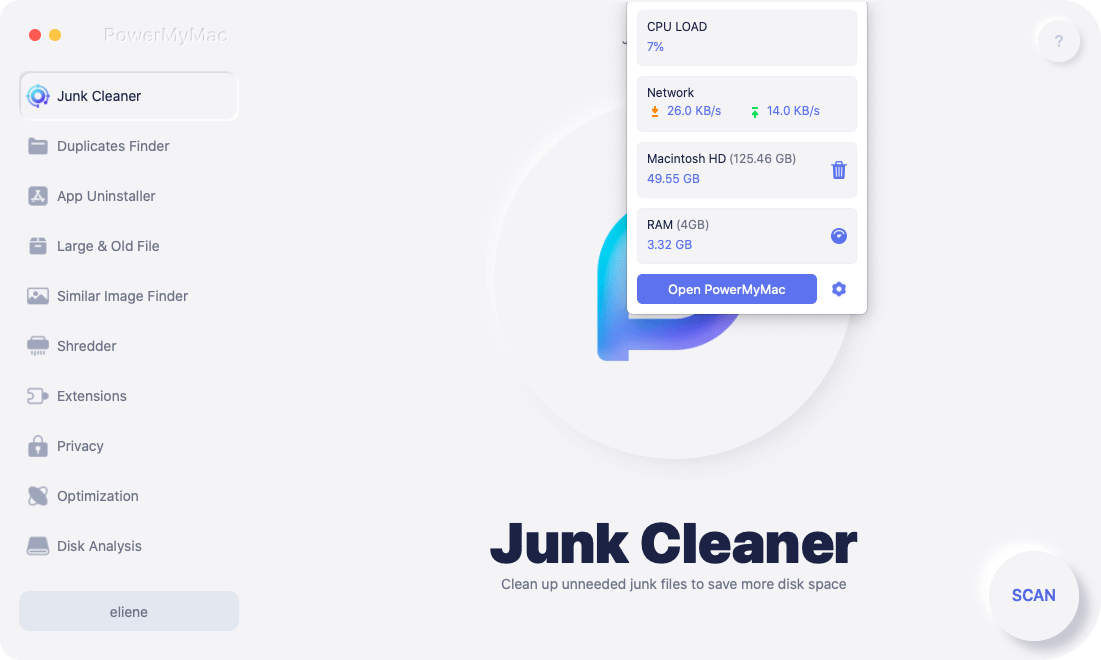
Much like other applications, uninstalling Bluestacks on Mac can free up some much-needed space (here we'd like to recommend you a useful tool named iMyMac PowerMyMac with the ability to clear away your Mac purgeable space).
It is also good to note that there are times that applications could be running in the background, these applications can take up some memory space and slow down your Mac, which we all know no one wants to happen. So if you are sure beyond a reasonable doubt that you really want to remove Bluestacks from your Mac, the next few steps in this guide of how to uninstall Bluestacks on Mac are the perfect read for you.
Part 2. Powerful Way on How to Uninstall Bluestacks on Mac
As one can imagine, having some temporary folders still somewhere in their system is a bother for a lot of people. So we strongly suggest you use iMyMac PowerMyMac to make sure that you can uninstall Bluestacks on Mac easily, quickly and complete.
Just take these steps in order to complete the process.
Step 1 - Download and install PowerMyMac. Just go to the official website and download it, then install it, it shouldn’t take too long overall.
Step 2 - Run the PowerMyMac program. As soon as you install it and you run the program, you will be given a quick overview of your system. It’s a good idea to see how the overall “health” of your Mac is going.
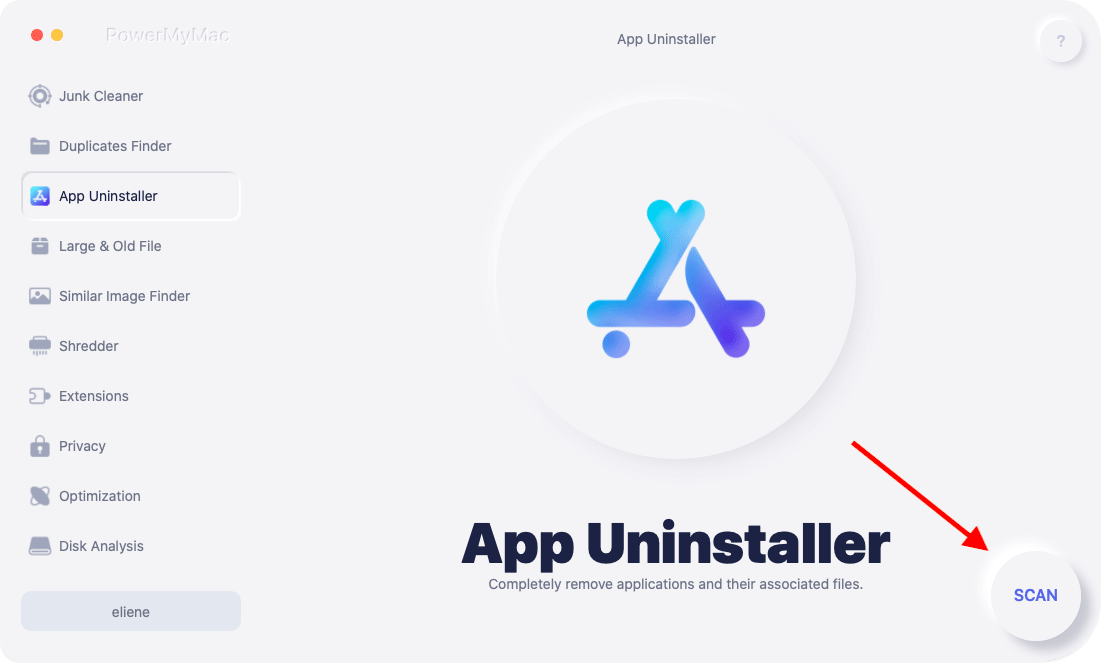
Step 3 - On the left part of PowerMyMac, you will see a few options, but for sure you have noticed the App Uninstaller. Click on that to proceed to the next step.
Step 4 - Once you have chosen the App Uninstaller module, PowerMyMac will ask if it can scan your computer. You can click on Scan to give its approval as it will need to find Bluestacks in order to go to the following step.
Step 5 - View and choose the app or program you want to remove. After the scanning process is done, find Bluestacks and click on it.
Step 6 - After choosing Bluestacks you can then open up all the files there and decide what you want to remove, of course, at this point you’ll want to click on all and then press on the clean option. And then you are done. No need to look for all the other missing files, PowerMyMac made sure to take care of those for you too.

Part 3. Manual Way to Uninstall Bluestacks on Mac
The beauty of Mac is how it can finish tasks as easy and as simple as possible. A great way to uninstall is to simply drag the icon of the Bluestacks to your trash can icon and put it in there. Delete the files inside the trash bin and you are pretty much done.
Easy and quick, however, you must note that this doesn’t remove everything completely and temporary files among other things are likely still stored on your Mac. The option to scour through your Mac manually to find all of them and delete them manually is definitely a choice, not an easy one but it is available to most users.
While this can also still leave some temporary files, it is still another option on how to uninstall Bluestacks on Mac manually:
- Make sure that you are logged in to your Admin user on your Mac.
- Quit using Bluestacks by opening it and then pressing the X button.
- Click on your finder and look for the applications folder to find Bluestacks, simply drag it down to your trash bin icon.
- Open the trash bin icon, you should see all applications and other items pending for permanent deletion there. Choose all or just choose Bluestacks and then press delete, this will confirm the final step and Bluestacks will be uninstalled from your Mac.
As mentioned above, likely the temporary folders are still somewhere on your Mac takes up space and finding them will be a laborious task altogether.
People Also Read:How to Uninstall Garageband on MacHow to Uninstall Dropbox from Mac?
Part 4. App Store Deletion to Uninstall Bluestacks on Mac
This option is not available to everyone, as it can only be done if you have downloaded Bluestacks using the App store. Now, assuming that you did download it through this option, you can simply follow a few steps to delete it from your Mac.
Step 1 - Find and press your Launchpad icon. For those who do not know what that is, it’s the icon that makes apps appear like your Mac is an iPhone or iPad, very handy for those who prefer that interface.
Step 2 - Find Bluestacks in there and then click and hold the icon until it starts to react, normally it will wiggle a little.
Step 3 - You will notice a small x on top of the Bluestacks icon, click it and you are done.
Note: As mentioned, this is only for when you download Bluestacks from the App store, should the x button not appear after pressing and holding it for a while on Launchpad, that likely means you downloaded it using a different method.
And now you know how to uninstall Bluestacks on Mac. It is good to note that there are many options available to you as a Mac user, but finding the right option is up to you to decide. We recommend PowerMyMac is your best choice. Get its free trial version now!


Gill2019-03-20 06:19:53
Cool