


 Are you planning to edit Mac hosts file anytime soon? Good thing you found this article!
We will show you how to effectively edit the hosts file safely and conveniently.
Being a developer or IT administrator requires you to properly and safely perform your tasks on a daily basis.
Part of which is to ensure that your devices are running at its optimum speed and free from any unwanted malware.
If you are concern that some sites being accessed on your device is unsafe, why not block them totally by editing the hosts' file?
You can also boost up your Mac’s performance by editing the hosts' file. How? Find out in this brand new article below.
Sound good? Let's dive right in...
Contents: Part 1. What is Host File?Part 2. Why Edit Your Mac Hosts File?Part 3. How to Edit Mac Hosts file?Part 4. Conclusion
Part 1. What is Host File?
First of all, what is hosts file? It is a plain text file that is a common part of the operating system. Basically, it translates, finds and resolves hostnames into IP addresses from your own computer to the IP network.
To make it clearer, for example, when you need to go to a specific website let’s say, www.YourName.com, the computer will find and translate this into an IP address from the hosts file.
If it isn’t found in the hosts file, it will perform a DNS lookup. We can say then that the host's file is the map that can override DNS servers commonly used in modern internet by manually pointing the website to the specified IP address.
DNS vs. Hosts file
The DNS or Domain Name System is a huge website directory with all the lists of websites with corresponding IP addresses.
It can be available in both public and private. Although both have similar tasks, the DNS is the centralized version while the host's file is localized in the device.
Part 2. Why Edit Your Mac Hosts File?
Before we begin, there are a lot of concerns as to why do you need to edit Mac hosts file? There are plenty of reasons why you would want to edit Mac hosts file.
One of the most common reasons is for building and developing websites and even troubleshooting.
You can override the DNS search by putting entries into the hosts file. You can even block ad sites and malicious websites that can potentially harm your Mac.
This can also help company owners to block social media sites in the office that distracts their employees from being productive.
Another reason is for device performance and speed. When you edit your Mac hosts file, it directs you to the desired website right away without the help or mediating of the DNS which can clog up and cause system latency.
However, if you don’t want to manually endure the cleaning, I highly recommend that you use iMyMac PowerMyMac.
This software provides full browser cleanup by safely deleting all junk files, browser caches, cookies, histories, and large unwanted applications.
It also has tools that uninstall programs you no longer use and even run a full scan to diagnose your system’s health. You can download this software for a free try and check out all the features yourself!
Part 3. How to Edit Mac Hosts file?
Now that we have covered all the questions regarding hosts file, we will now guide you on how to manually edit Mac hosts file using different methods.
Before doing so, make sure that you have the full rights or administrator privileges including all the passwords.
Via Terminal
Open Terminal by using Spotlight search or by going to Applications, click Utilities and choose Terminal.
Copy and paste this string sudo nano /private/etc/hostsand then press return .Enter your password and then press return again
Now you can edit the Mac hosts file by adding two lines at the bottom. For example:
SERVER_IP_ADDRESS domain.com
SERVER_IP_ADDRESS www.domain.com
Notes: Replace the domain name with your actual domain name and as well as the exact IP address.
Add a space between the IP address and the domain name otherwise the command won’t work
Save your hosts file by pressing Control + O and press Return. If needed to flush Mac’s DNS file cache, copy and paste this command into the terminal: sudo dscacheutil –flushcache. Press return
To exit the terminal screen press, Control + X
Via Text Edit
Another way to edit Mac hosts file is via Text Edit. This is an alternative to the Terminal if you are unfamiliar to use it.
Open Finder. In the menu bar click Go and then Go to Folder and enter this code: /private/etc/hosts and then press Return
On the pop-up window, the host's file will be automatically highlighted. Drag and drop the file into your desktop to allow editing.
Open the host's file from the desktop by double-clicking it. Edit the files as you wish for example the rerouted IP address and then the corresponding domain name
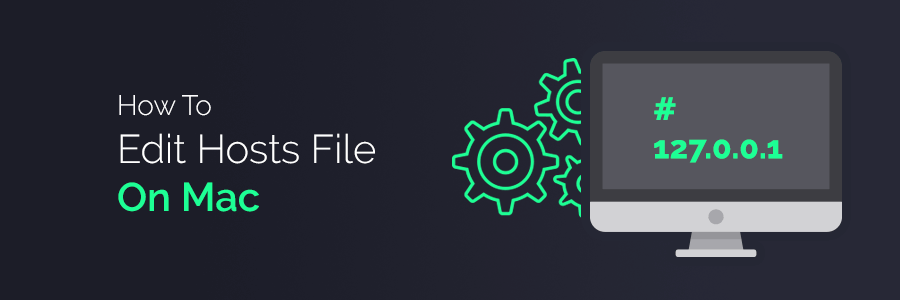
If you plan to block a site, use 127.0.0.1 + domain name (127.0.0.1 facebook.com)
After editing, save the file and again drag and drop it back to the original etc folder. Mac will ask if you would like to replace the file, confirm the action. You will be asked to enter the Administrator password to save the changes.
Note: This is only rerouting the web address from the device or Mac that contains the edited hosts file.
Part 4. Conclusion
We have just learned about what the Mac hosts file is, why and how to edit it. However, we must bear in mind that editing Mac hosts file has certain risks too.
While we enjoy the privilege of customizing it according to what we wanted but of course it might affect the performance when not done properly or if a lot of clogs are slowing down the system before you can save the edits.
In case you need a thorough cleanup on your Mac, use the recommended PowerMyMac. It cleans and boosts your system by removing unwanted files and many more.
De-cluttering can be tedious so leave this dirty job to PowerMyMac. It is safe, effective, and free to download!

