


 I own a MacBook Pro and I use it for work and personal purposes. Recently, I upgraded to OS X El Capitan. I was very excited by my recent upgraded until I noticed that my MacBook Pro began to slow down. It’s really bugging me and I can’t perform my routine properly because of it. How do I speed up El Capitan?
You might be excited about your recent upgrade to OS X El Capitan. However, you might notice that your Mac device began to slow down after the upgrade. Why does this occur? Well, it’s because El Capitan uses up more disk space and memory (RAM) to run optimally. Fortunately, it’s actually quite easy to speed up your El Capitan and we’ll teach you how to do it.
The easiest way to do it is through a tool called iMyMac PowerMyMac. Our guide on how to use this tool can be seen near the end of this guide. Let’s start with the first step first!
Top 5 Ways on Speeding up EI Capitan
- Speed up the startup of your Mac: arrange your folders and files by size and date.
- Cleaning up your Hard Drive: System Preferences>Users & Groups>username>Uncheck the unnecessary applications.
- Trimming your system down: sweep out temporary files, and cache as well as flush DNS.
- Free your Mac up for more memory: open Spotlight and type out Terminal.
- Using PowerMyMac to remove system junks.
Contents: Part 1. Ways on Speeding Up El CapitanPart 2. Another Method of Speeding up the El CapitanPart 3. In Conclusion
Part 1. Ways on Speeding Up El Capitan
Below are the steps you should follow one by one to speed up El Capitan:
Way 1. Speed Up The Startup Of Your Mac
Well, first things first. When you open your Mac device, it usually opens a lot of applications all at once. Most of the time, you don’t need a lot of these applications. And launching Mac with a lot of applications opening all at once can cause El Capitan to slow down.
To stop these applications from launching during startup, you have to visit System Preferences. Then, choose Users & Groups. Click on your username. Uncheck the unnecessary applications.
Way 2. Cleaning Up Your Hard Drive
A full hard disk drive is one of the reasons why your Mac is running slow. To find out the status of your disk drive, simply look in the top-left corner and click on the main Apple menu. Select About This Mac and then select Storage. The status will show up. If the top bar is almost full, it’s about time to free your Mac up for more storage space. It might be complicated, but you can do it by following these steps:
a - Simply arrange your folders and files by size.
To do this, you have to go to the Finder. Then, select All My Files located in the menu bar on the left. If you can’t see this part you can simply hold the following: Command + F + Shift. After this, look at the top menu bar and press View. Choose Show View Options. Now, select Sort by Size and Arrange by Size. By now, your files will be arranged by size from the biggest to the smallest.
b - Arranging your folders and files by date.
If you wish to find old files that you haven’t launched for a long time, you can arrange files and folders by date. To do this, follow the steps stated in Step a. However, instead of arranging by size, select Arrange by Date Last Opened. After which, click on Date Last Opened in the column name. Now, you will get a list of files and folders with the oldest files first.
Note: Make sure you look at the Storage tab’s file type distribution. This will give you an overview of which data types are actually occupying the most space.

Way 3. Trimming Your System Down
To trim down your system, you need to sweep out temporary files, and cache. You also need to flush DNS.
Here’s how to clean up cache files on your OS X El Capitan:
- Open Finder.
- Choose Go To Folder located in the Go menu
- Type out the following:
~/Library/Caches - Press Enter. Take note that you have to delete the “insides” of the folder and not the folder itself.
- Repeat steps a to d. However, you have to replace
~/Library/Cacheswith/Library/Caches - Restart the Mac device.
Flushing your DNS cache involves deleting old cache entries that actually translate domain names into IP addresses. To do this, you have to use the Terminal. In order to launch the Terminal, you have to open Spotlight and type out Terminal. You can also find it by going to the Applications folder and then go to Utilities.
Once you have opened your Terminal, you have to type in the following:sudo dscacheutil -flushcache;sudo killall -HUP mDNSResponder; say cache flushed.
After you enter the line above, you have to input your admin password for the command to be executed.
Way 4. Free Your Mac Up For More Memory
Macs have their own memory management features. However, you sometimes have to do it yourself. First, you have to check out how much of your memory is being eaten up. To do this, you have to go to the Spotlight > Memory tab > Activity Monitor.
If there are nearly equal values for Memory Used and Physical Memory, this means your Mac devices is nearly going to need to use the Virtual Memory. This Virtual Memory relies so much on your Mac’s hard drive and is actually very slow. It’s so slow that you wouldn’t want it to work for you and get involved in your Mac’s performance.
So, when you run out of memory, you have to manually clean it up with the Terminal. First, open Spotlight and type out Terminal. Once it is already open, type the following:sudo purgeThen, enter your admin password to execute the command. Give your device a moment for command processing.
Part 2. Another Method of Speeding up the El Capitan
Speeding up the El Capitan will also make your Mac run faster than before. You can follow all the steps stated above or you can make it easy by using PowerMyMac.
Here are the steps on how to use it:
Step 1. Download and Launch PowerMyMac
Download PowerMyMac from the official website. Launch the software on your Mac device. It will show a system status interface of your device.
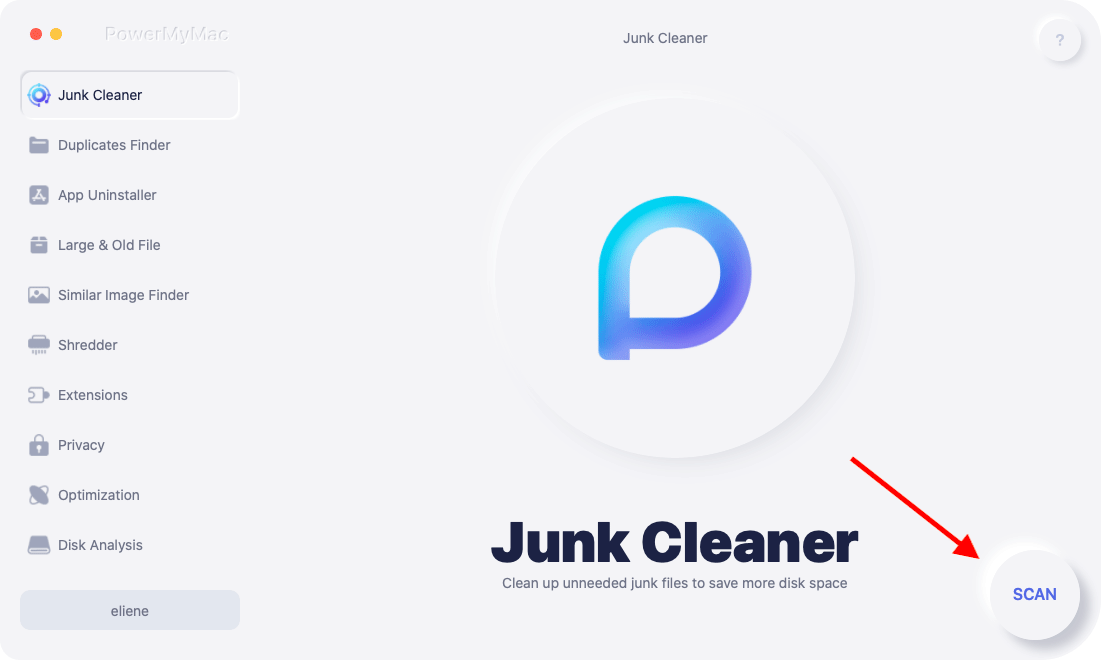
Step 2. Scanning System Junk
Click the module named Junk Cleaner on the left-hand side of the software. Click the SCAN button. Wait for a few moments.
Step 3. Review and Select Items to Clean Up
Once the scan is finished, you will be shown the different junk files in categories. Categories include Application Cache, Photo Cache, Email Cache, System Logs, System Cache, User Logs, and System Trash, among others. Select a category. It is best to select all categories to free more disk space. Select the data you want to clean. These data are located on the right-hand side of the screen. Click CLEAN to start the cleaning process.

Step 4. Clean Up is Finished
Wait for the cleaning process to be complete. After it is done, it will show Zero KB for folders you have deleted. Some folders will not be marked as such because these are auto-recreated folders.
Part 3. In Conclusion
If you think your Mac is too slow with OS X El Capitan, you can use this guide to speed up your operating system as well as your entire device. Doing the steps outlined can be time-consuming though.
If you want a quick and easy way to speed up your system, you can use PowerMyMac. It’s a tool that allows you to remove unnecessary files on your system to speed up your device and enhance its performance.

