


Owning a Mac is a big deal. It’s a precious machine made. It costs a lot but if you think about it, it’s worth it. Apple products are well-designed. They’re protected so that you could use them for a very long time. One of the security features it boasts of is the Gatekeeper Mac.
The question, do you use this particular safety feature? Are you even familiar with it in the first place? Well, you should take advantage of the Gatekeeper on Mac. It’s there for a very good reason.
So, if you haven’t heard of this particular safety feature, it’s time you do become familiar with it. You have spent hard-earned money on your Mac. You might as well get to know all its important features. Such safety features, like the Gatekeeper, are what makes your Mac worth the investment.
Article GuidePart 1. Gatekeeper on Mac Up ClosePart 2. Ways to Manage the Gatekeeper on MacPart 3. Conclusion
Part 1. Gatekeeper on Mac Up Close
Gatekeeper is a secure way to deliver apps to your Mac. It’s what you call a code signing app. It’s the only way to get apps legitimately. What the Gatekeeper Mac does is that it gives you confidence that you’re not getting ripped off and you’re not getting any kind of malware or viruses that could infect your Mac.
The best thing about the Gatekeeper is that It’s native to Mac. it’s right there on your Mac. There’s no need for you to do any additional purchases or anything. Suffice it to say, it’s one of those features that make Mac a sought-after machine.
The Importance of Gatekeeper
A quick look at the Gatekeeper will show you how important this particular feature is. it gets pretty tempting to download any kind of apps. The fact that you’re using Mac gives you the confidence that you can download just about any kind of app. Well, that isn’t the right mindset. The reality is that it’s still possible for malware to end up on your Mac. The reason being is that some apps are bundled.
So, when you’re downloading an app, you’re downloading another one that could possibly harm your Mac. The bad part is that you don’t know it. Hence, this is the reason why the Gatekeeper on Mac is critical. You see, it stops those dangerous apps from being downloaded on your Mac. it gives you that layer of protection each time you download an app.
In this day and age when it seems that all the apps you see are important, the Gatekeeper on Mac reminds you that not all apps are credible, let alone safe.
Possible Issues with the Gatekeeper
You might wonder if there are any possible issues that could arise from using the Gatekeeper on Mac. Truth be told, there aren’t a lot of issues. However, there is that blatant issue that’s obviously going to arise.
Since the Gatekeeper on Mac stops unrecognized apps from being downloaded, you’re going to have to override it allow some apps that you badly need to use. While that’s not exactly a problem, it could get annoying especially if you need to download apps that aren’t recognized by Apple.
Part 2. Ways to Manage the Gatekeeper on Mac
The good news is that you can manage the Gatekeeper on Mac so that you could reap the benefits of using this particular safety feature. The methods below will show you how you can manage the Gatekeeper on Mac.
Method #1. Use PowerMyMac to Find and Check Undocumented Apps
Since the Gatekeeper limits your downloads, you’re just limited to Apple-approved apps. That’s not a lot of apps. Another downside is that the Gatekeeper will be blocking some legitimate apps as well and that could cause some trouble for you.
While you could override the unrecognized apps, you would have to find them one by one on your Mac and that’s a pretty tedious thing to do. To find and check those undocumented apps on your Mac, your best bet is to use the iMyMac PowerMyMac.
This program spares you from navigating to the various folders of your Mac just so you could find all the apps. With the PowerMyMac, there’s no need for you to go deep into your Mac. With just a few clicks, all the apps that have been installed on your Mac will show up on your screen.
Check out the steps below to see how you can use the PowerMyMac.
- Download iMyMac PowerMyMac
- Choose the Uninstaller
- Click on the Scan Button
- Click on the Clean Button
- Override App
To have a better understanding of how you can use the PowerMyMac to find and check undocumented apps on your Mac, go on and read the detailed steps below.
Step 1. Download iMyMac PowerMyMac
Free download PowerMyMac from its official website. After downloading, make sure to run and open it on your Mac.
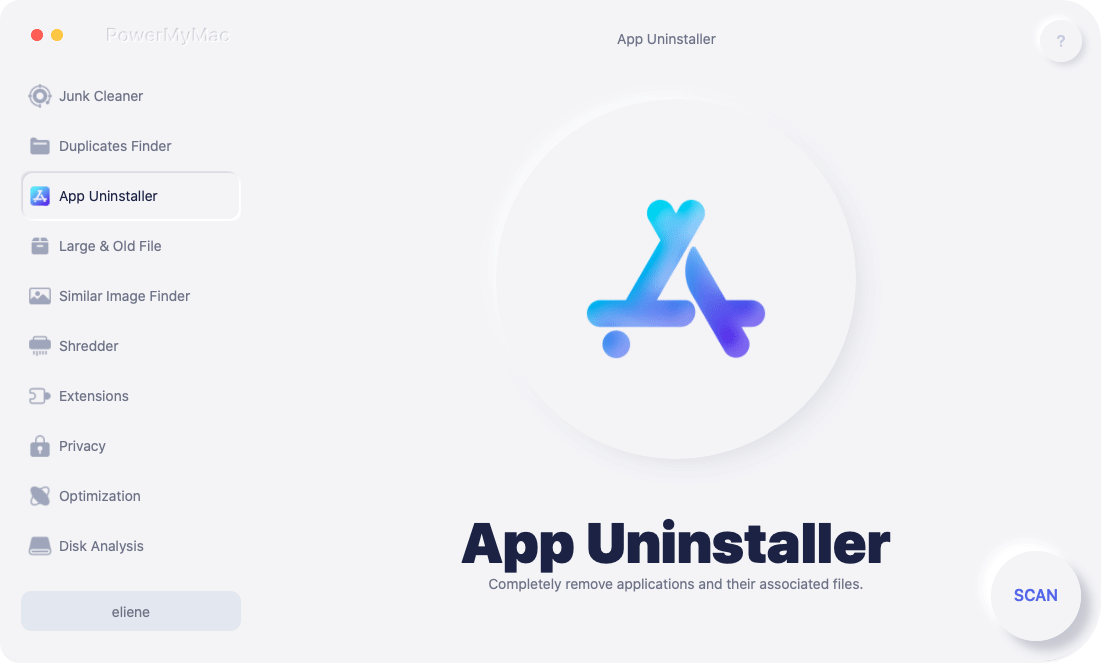
Step 2. Choose the Uninstaller
Now that you’re seeing PowerMyMac on your screen, the first thing you’re going to notice is the simplicity of the program. At this point, you can now take your cursor to the left-hand side of the screen where all the features are listed down. Look for the Uninstaller toward the lower part of the list. Then click on it.
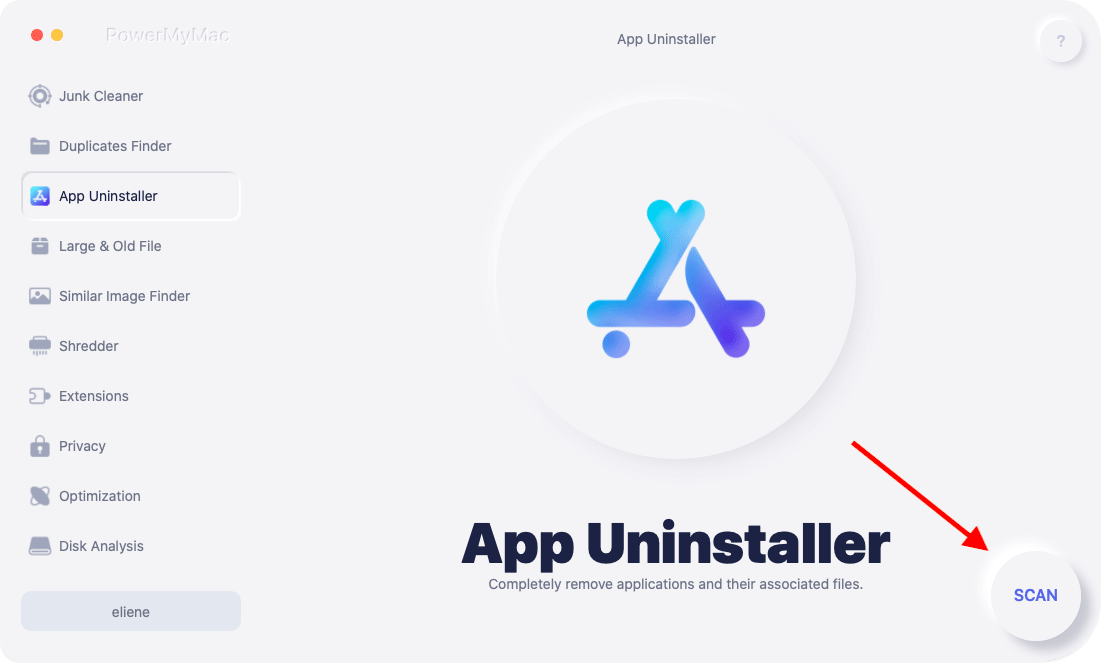
Step 3. Click on the Scan Button
At this point, you’re going to notice a Scan button on the mid, bottom part of the main screen. Click on that button so that PowerMyMac can scan all the apps on your Mac.
Step 4. Click on the Clean Button
A few seconds after you click on the Scan button, a list of apps will appear on the main screen of your Mac. These are all the apps that you have installed in your Mac. Once you see the list of apps on your screen, go over it to see which one you want to override or clean out from your Mac. Just click on the Clean tab to clean out the apps from your Mac.

Step 5. Override App
You don’t necessarily need to clean out all the unrecognized apps on your Mac. Thanks to the scanning feature of PowerMyMac, you now know which apps are to be cleaned out and which ones have to be overridden.
To override an app, right-click on it and choose Open from the drop-down list. When it opens, it is going to tell you that the app is from an unidentified developer. However, a pop-up message will appear on your screen asking you if you’re sure about your action. Just click on the Open tab to override the app.
Method #2. How to Allow Apps from Anywhere with the Gatekeeper on Mac
This next method allows you to open apps from anywhere in spite of the presence of the Gatekeeper on Mac. The steps below will show you how.
Step 1. Go to Systems Preferences
Take your cursor to the Apple logo on the top menu and click on it. A drop-down list will appear. Look for Systems Preferences and click on it.
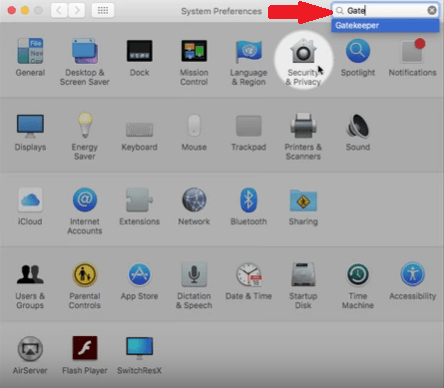
Step 2. Search for Gatekeeper
Once you have the System Preferences folder opened on your screen, search for Gatekeeper by typing in the word Gatekeeper on the search box on the top right-hand side of the screen. Once you start typing in the word Gatekeeper, you will see that the search is pointing to Security & Privacy.
Step 3. Open Security & Privacy
When you go to Security & Privacy you won't find anything called Gatekeeper. This might confuse you since Apple removed one of the tabs called Gatekeeper on the menu. In spite of that, Apple has retained the functionalities of the Gatekeeper. You will find them on the bottom part of the Security & Privacy folder.
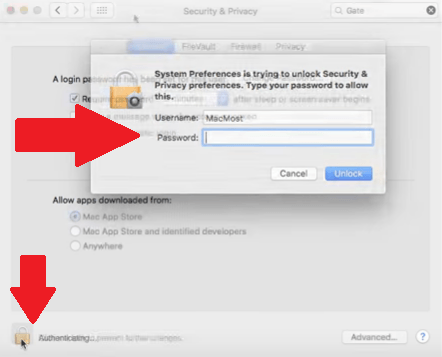
Step 4. Unlock Panel
You would need to unlock the panel with your password. Click on the padlock icon and type in your username and password on the pop-up window.
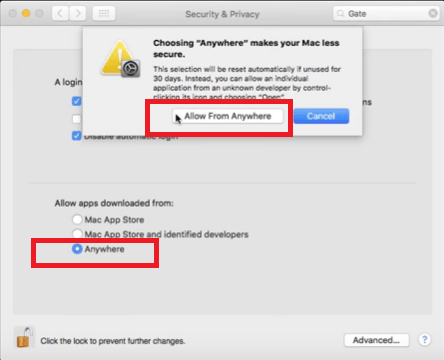
Step 5. Choose Anywhere
Now, you can see the functionalities of the Gatekeeper up close. Choose Anywhere. This basically turns off the Gatekeeper on your Mac. Once you click on Anywhere, a pop-up window will appear confirming your action. To confirm, just click on the tab that says Allow from Anywhere.
Part 3. Conclusion
You now know how to manage the Gatekeeper on your Mac. This way you will be able to maximize the use of it. Keep in mind that the iMyMac PowerMyMac can help you save a lot of time to find and choose which apps to override or clean out from your Mac.
Do you take advantage of the Gatekeeper on your Mac? Feel free to share your thoughts with us.

