


Anaconda's extensive collection of libraries and tools has helped it establish itself as a leading platform in the fields of data analysis and machine learning. However, Anaconda may amass a considerable quantity of cache data over time, using up precious disk space.
To ensure system performance and optimize storage, you need to clear Anaconda cache. In this post, we'll examine how to delete the cache from the Anaconda app and look at security measures to protect your critical data.
Contents: Part 1. Where Is Anaconda Cache Stored?Part 2. How Do I Clear My Anaconda Cache Manually?Part 3. How to Safely Clear Anaconda Cache While Preserving Important Data? Part 4. Final Thoughts
Part 1. Where Is Anaconda Cache Stored?
Let's first establish the location of the Anaconda cache. Anaconda keeps its cache by default in the shared package cache directory. The retrieved package files, package metadata, and other pertinent information are all stored in this cache location. The computer's operating system and Anaconda installation have an impact on the precise placement of the cache directory.
A package cache is established during standard installation relative to the actual install location. The command provided under "package cache" will reveal this:conda info
This is the typical route to the package cache:
macOS - ~/anaconda{2,3}Windows - C:\Users\username\Anaconda{2,3}\pkgsLinux - /home/username/anaconda{2,3}/pkgs
Since each user has a separate package cache, when a package gets installed it is added to that user's cache alone and is not shared with anybody else.
A shared package cache has the advantage of preventing users from downloading the same version of a package twice and storing it in different caches after they have already done so. As the software doesn't have to be downloaded twice, this reduces disk consumption and accelerates the installation.
On your system, create a directory to which the shared users are given read as well as write access.
Next, modify the .condarc file located in each user's home directory for each user that will have access.
Windows - C:\Users\username\.condarcmacOS and Linux - /home/username/.condarc
Add the following item to the .condarc, indicating the whole path toward the shared directory:
pkgs_dirs: - /path/to/shared_directory
Conda info must be run one more to confirm the package cache.
Part 2. How Do I Clear My Anaconda Cache Manually?
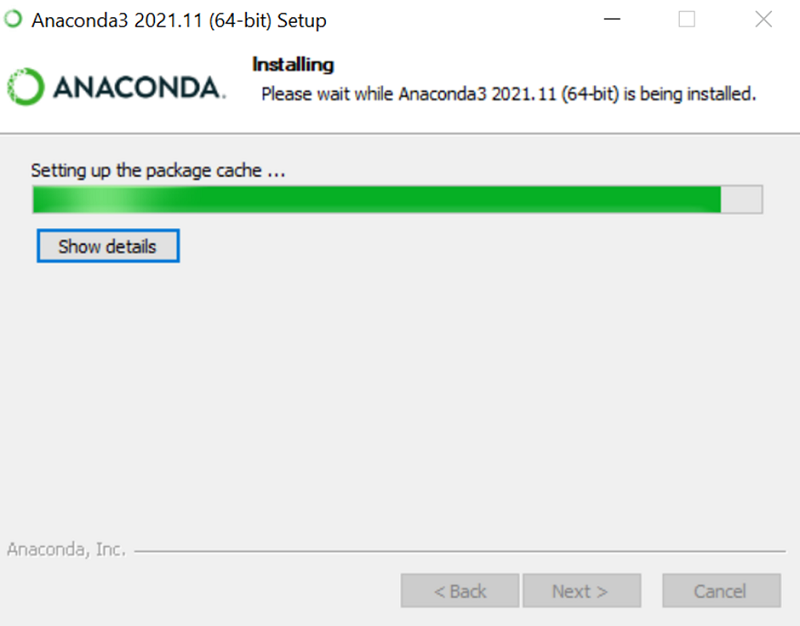
1. Exit Anaconda.
After determining the cache directory, It is advised to terminate any active Anaconda processes or programs before erasing the cache. This guarantees that the cache files are not being accessed by any current connections or processes.
2. Clear Anaconda Cache Files.
Navigate into the cache directory using a file manager or terminal, then remove every file and folder found there.
3. Clear out All Garbage or Trash.
To completely free up disk space after removing the cache files, don't forget to empty the recycling bin or trash.

Part 3. How to Safely Clear Anaconda Cache While Preserving Important Data?
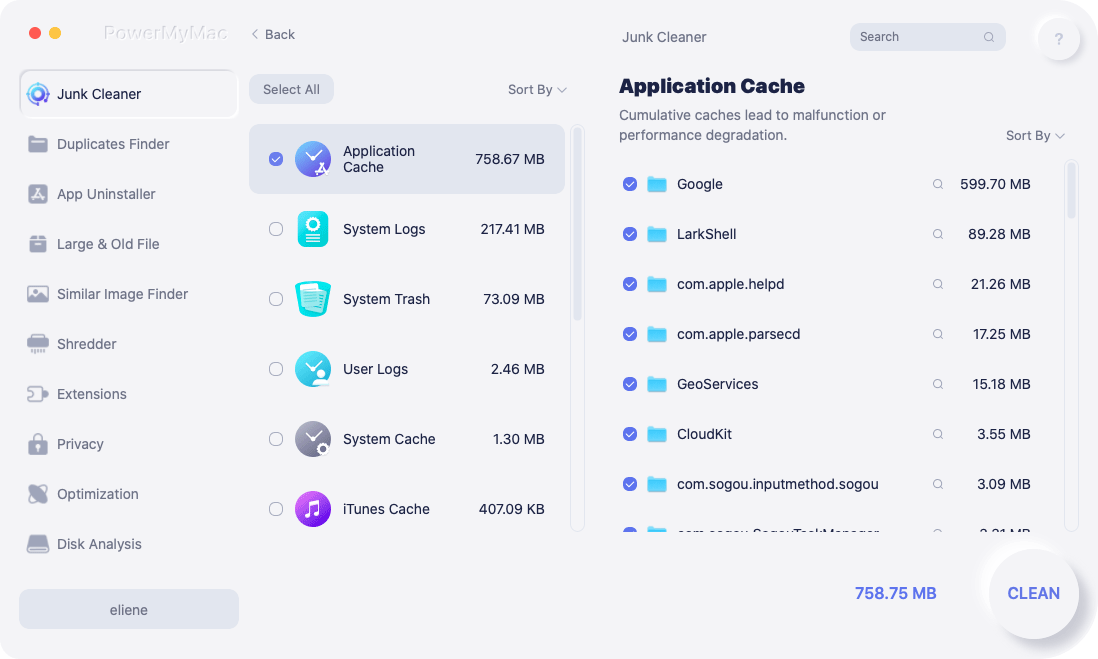
Using a professional tool may expedite the procedure and provide other choices for enhancing the system's overall efficiency. The aforementioned method provides a manual approach to clear Anaconda cache. PowerMyMac, which is a one-stop maintenance program for Mac computers, is one such item. It contains a "Junk Cleaner" tool that may eliminate program caches, including the Anaconda cache.
PowerMyMac's Junk Cleaner module searches the whole system for temporary files, log files, system caches, and other kinds of unnecessary junk that might accumulate over time. By selecting the appropriate options from the drop-down menu, users may quickly and easily clear Anaconda cache and any other unnecessary files.
PowerMyMac also offers a number of other features, such as memory optimization, big file cleaning, and software uninstalling (if you would like to remove Anaconda), allowing it to serve as a comprehensive tool for the upkeep and efficiency of a system.
Using the "Junk Cleaner" module of PowerMyMac, do the following steps to clear Anaconda cache:
- Launch the Junk Cleaner program, then click SCAN to begin looking through your computer for unnecessary files.
- You'll have the ability to organize all of the pointless documents on your computer when the scanning procedure is over.
- Simply choose the document you want to eliminate and click "Select All," or select all of the documents you want to get rid of and click "Select All."
- Selecting "CLEAN" will immediately erase the items from the list you've selected.
- A pop-up screen with the title "Cleared Finished" will show after the cleaning procedure is complete.
You may securely clear Anaconda cache while making sure that crucial data isn't lost by using tools like PowerMyMac. To retain your system's best performance and available disk space, remember to execute cache clearing from time to time.
Part 4. Final Thoughts
Maintaining your system's effectiveness and peak performance requires that you clear the Anaconda cache. You may free up important disk space and keep it from filling up with useless data by frequently deleting the cache. To prevent unintentional data loss, it is essential to use care and back up any critical data whether you want to manually clear Anaconda cache or make use of third-party tools.
Your system maintenance schedule should include regular cache management, which includes cleaning the Anaconda cache. By doing this, you can make sure that using Anaconda is easy and hassle-free and that you can concentrate on your machine learning and data science activities without having to worry about storage issues holding you back.

