If you want to successfully and completely remove Jamf from Mac, the thing you need to do the most is to learn what are the simple and safe ways to do it?
Again, you can choose any of the uninstall methods we are about to show you but we still recommend that you use the easiest way - use a professional uninstaller to help you. For those who want to learn how to uninstall Jamf on Mac, all you need to do is read this article and learn more about it.
Contents: Part 1. How Do I Manually Delete Jamf from My Mac?Part 2. How Do I Completely Remove Jamf from My Mac?Part 3. How to Remove Jamf Profile from Mac Using Terminal?Conclusion
Part 1. How Do I Manually Delete Jamf from My Mac?
Jamf may still face problems from time to time. Such problems may be experienced by having the app freeze or hang up. Sometimes, it does not show any of the data you want to check. While other times it just stops working and keeps on crashing. That’s why many of them would like to uninstall Jamf on Mac and reinstall the app on their system so they can go back to work using the Jamf app.
Method 1. Using Your Launchpad to Uninstall Jamf
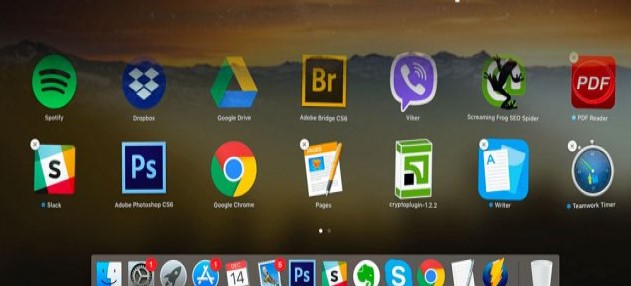
- Open the Launchpad on your Dock
- Select the Jamf application and hold it until it starts to shake
- Once the shaking will start it will show you an X icon
- Tap the X icon and choose Delete
If you downloaded Jamf through the Mac's App Store, then you can use this method to disable Jamf Mac, but this method is generally not effective for the apps from macOS itself.

Method 2. Remove Jamf from Mac by Moving It to Trash
- Quit the Jamf application and open your Activity Monitor
- Open your Applications folder and select the Jamf app
- Right-click it and select the Move to Trash button
- Now go to your Finder again and select Go > Go to Folder
- Type Jamf on the search box and it will show all its related files
- Drag them all to your Trash
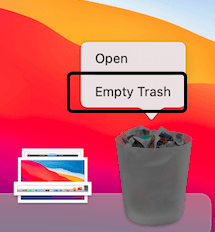
- Right-click Trash and choose Empty Trash

Note that if you take the above-mentioned removal methods to remove Jamf from Mac, usually, there are still many preference files and support files left on your Mac computer that continue to take up disk space because when you move Jamf to Trash to uninstall it just can help you delete its installation package.
If you ignore these residual files or folders, it usually causes some troublesome problems on your computer, such as not being able to reinstall the app, or the disk space is consumed rapidly and there is not enough space to support the computer's performance. In this case, we prefer you to use the third method to completely uninstall Jamf on Mac.
Part 2. How Do I Completely Remove Jamf from My Mac?
PowerMyMac can help you completely uninstall the apps and their related files on your device without doing that much effort. So you can use it to automatically remove Jamf from Mac. Using its App Uninstaller feature, all your unwanted applications like Photoshop, OneDrive, Microsoft Office, or Adobe Create Cloud will disappear.
So if you want to learn how to quickly remove Jamf from Mac, all you need to do is these steps:
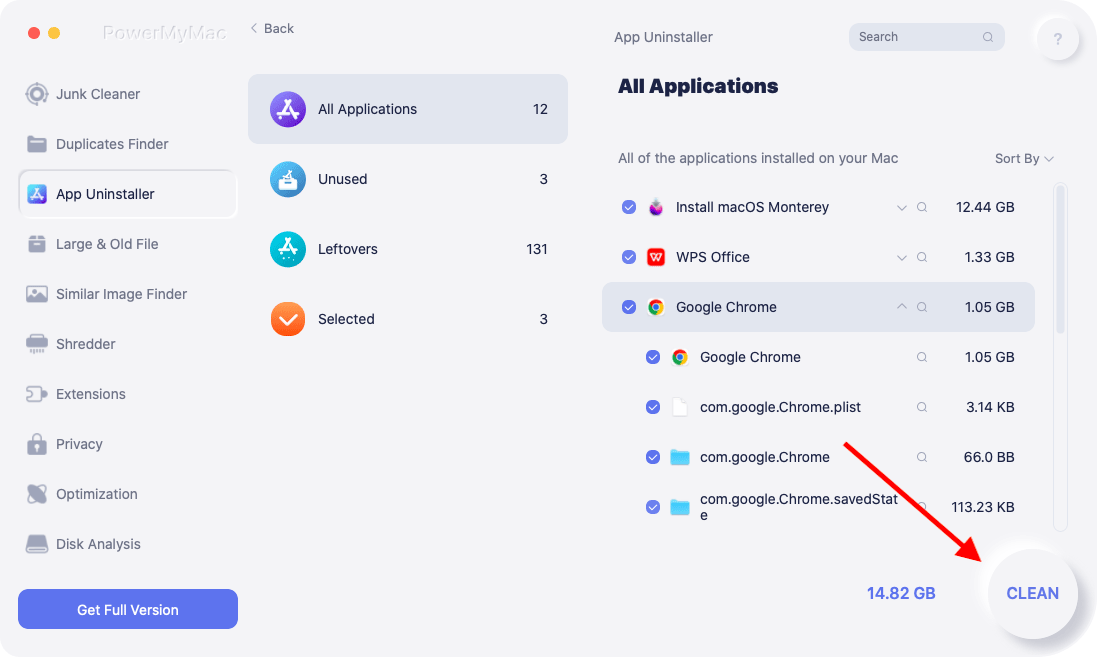
- Click on App Uninstaller and choose SCAN
- Once scanning has ended, browse through the list of the applications installed on your device
- Find Jamf and click it then tap on CLEAN, and it will immediately start deleting the app and its leftovers
- A "Cleaned Completed" phrase will appear once it has finished uninstalling the app

PowerMyMac also can clean up your Mac easier, it can delete any junk files for you, find duplicated and large-sized files and have them removed from your device. It can also permanently delete files for you that you no longer need or use.
Part 3. How to Remove Jamf Profile from Mac Using Terminal?
To remove a Jamf profile from your Mac using Terminal, follow these steps:
- Restart in Recovery Mode:
For Intel Macs: Hold Command-R while pressing the power button.
- Open Terminal in Recovery Mode:
csrutil disable and press Return. Restart your Mac.
- Enable Full Disk Access:
- Remove Jamf:
Remove configuration profiles:
sudo -icd /var/db/mv ConfigurationProfiles ConfigurationProfilesOLDlogout
- Re-enable SIP:
csrutil enable, and restart.

Conclusion
Finally, you have reached the end of this article. And if you want to remove Jamf from Mac, all you have to do is choose between any of the 3 methods we have provided for you above. But still, we highly recommend using the easiest way which is by using a professional cleaning tool like the PowerMyMac.
It is a powerful uninstaller program with many functions that you will find very useful, especially since it helps maintain the overall performance of your device. Download it for free and try it now.


