What is disk utility Mac and how to use it? Find out in this new post!
If you are unfamiliar with the technicalities on your Mac, like learning about disk utility, don’t worry, we will help you walk through all the basics of disk utility and how it does work and how it can help you in the future.
We have made it easier for you to understand everything about Mac disk utility. Read along to find out.
Let’s do these!
Contents: Part 1. What is Disk Utility on Mac?Part 2. How to Use Disk Utility?Part 3. How to Repair Disk on Mac using Disk Utility?Part 4. How to Optimize and Boost Disk on Mac?Part 5. Conclusion
Part 1. What is Disk Utility on Mac?
First, we have to know what is disk utility on Mac.
A disk utility is a built-in application where you manage disks, add and manage volumes and RAID disk sets. It performs a lot of useful operations such as formatting, erasing and managing the internal and external storage devices.
A disk utility also lets you create a disk of image files that can be moved to a different computer, archive or backup. And it can also fix and diagnose problems with a disk and damaged volumes.

Part 2. How to Use Disk Utility?
Now that we know that a disk utility is vital in making sure that Mac is running smoothly, there are also a lot of potential problems that can arise and cause a stir. There are a lot of reasons where you can use disk utility on Mac.
Here are the most common scenarios where you can run a diagnosis on your disk utility:
- Your external device does not work
- Unexpected closing or quitting of applications
- Your device won’t startup
- Corrupted files
- When you need the Disk Utility Mac erase, format and partition a disk
- Damaged disk
- When you need to eject or mount/unmount a disk
- When you need to disable/enable journaling
- Problems with the startup disk
The disk utility has been changed as the new macOS versions upgraded. Many features were removed and new features were added.
Part 3. How to Repair Disk on Mac using Disk Utility?
Just like we mentioned above, there are a lot of things your disk utility on Mac can do. For example, if the disk has problems and it is no longer letting you do anything on your device, you can scan and diagnose to understand the issue.
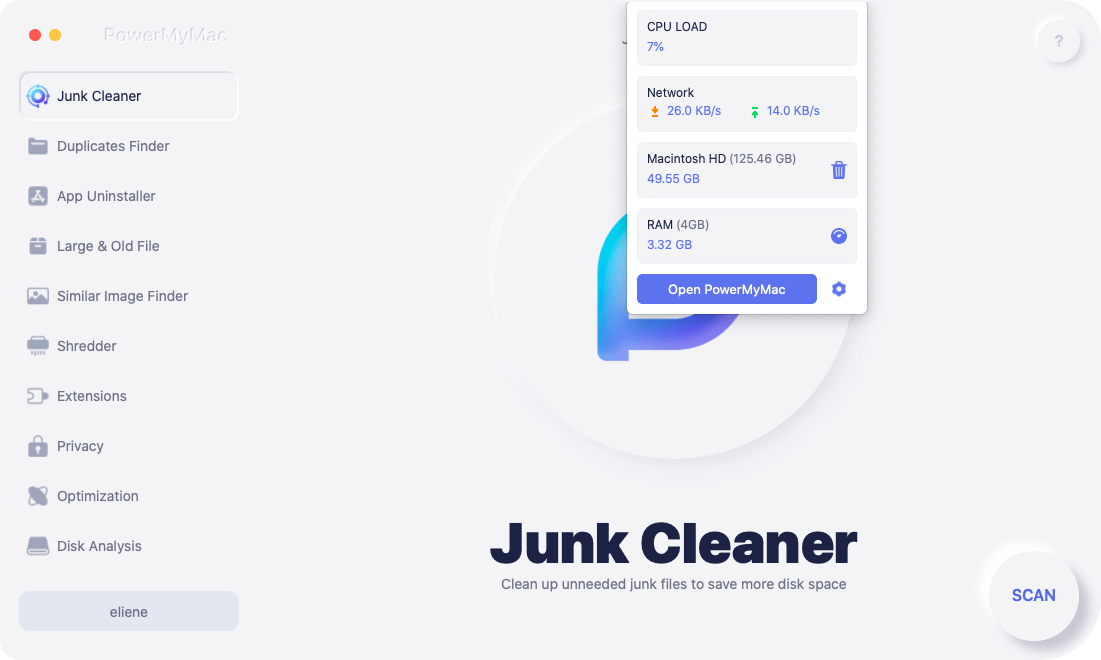
If your Mac still powers on, the best way to determine the status of your system is to use iMyMac PowerMyMac. This is a safe and effective program that runs diagnoses and lets you know what is wrong with your Mac.
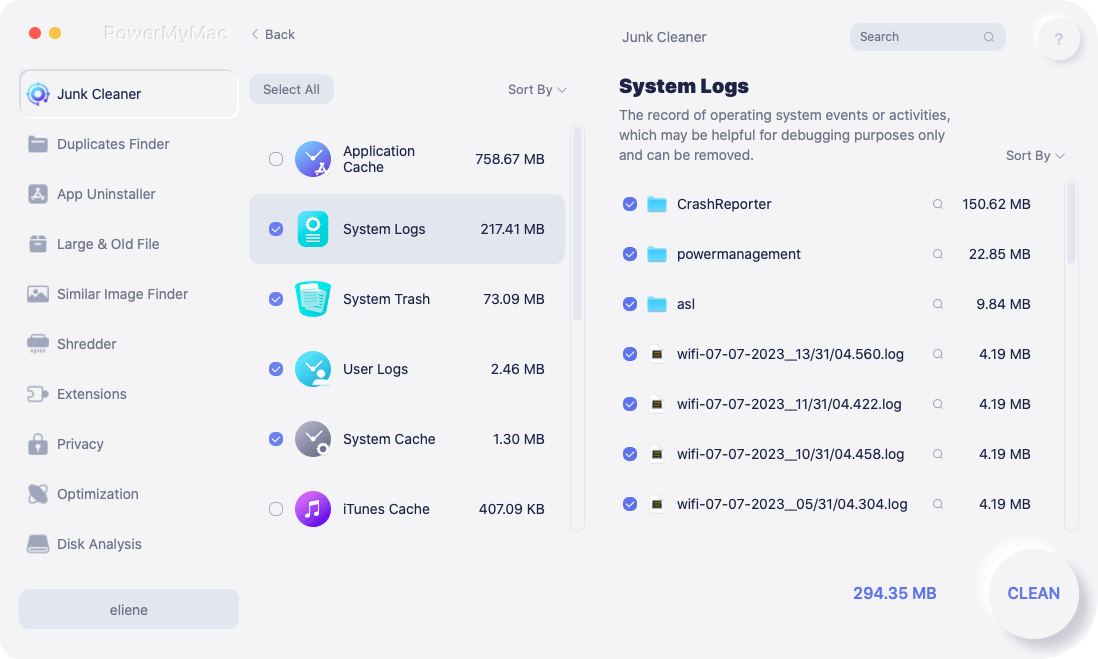
Sometimes your disk is not working just because it's too full. You can free up your disk space with iMyMac in just a few clicks.

When you see that a disk error appears after scanning the entire system, you can proceed with the repair.
Hard Drive Recovery
Now we will perform a hard drive recovery using disk utility. Since we will need to restart your Mac, you can print out this article or open it on your iPhone or any Smartphone.
- Restart Mac by clicking on the Apple menu then Restart.
- Upon restarting press
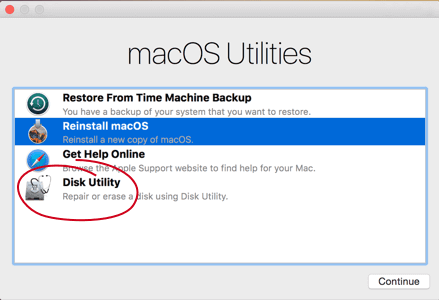
Command+ R and holding until the Apple logo appears. - Click on Disk Utility and click Continue.
- Find the disk from the sidebar that needs to be repaired.
- Look for First Aid and click. From here, you will be informed about the status of your disk utility Mac startup. If you receive this message, there is nothing much we can do if the disk is on the edge of failing.
- Simply backup the entire Mac and bring it to the nearest Apple store.
- If Disk Utility gives you another option which is to run diagnostics, click Run.
- After running diagnostics, Disk Utility will inform you that the disk has been repaired.
That’s it! Your disk is now repaired and you can continue working on your Mac
Notes: However, there are some issues that may arise during the or after the diagnostics. There can be physical damages, reformatting needs, and other underlying failures.

How to Backup Mac?
If you were unlucky when you received the disk utility on Mac warning that your disk is almost dying, you need to act immediately. Backup the entire files on your Mac to ensure that nothing is left in the case.
- Connect an external drive you have available.
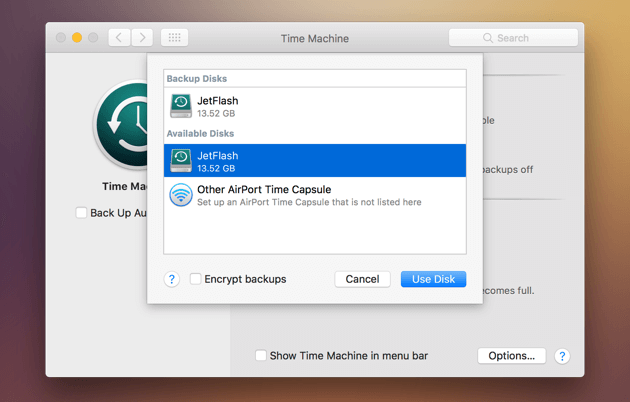
- Open System Preferences and click on Time Machine.
- Click Select Backup Disk.
- Click on your external storage device.
- Click on Use Disk.
This process is only good if you have not yet configured Time Machine. If you already configured Time Machine, the steps are different.
- Click Time Machine from the menu bar on the top right corner.
- Click Backup Now
If Time Machine does not appear on the menu, go to your System Preferences and find Time Machine. Look for and check the box for Show Time Machine in the menu bar.

Tip: If your Mac is already stored a lot of backup files and you want to remove them for getting some space back, turn to the provided link to learn the easy ways.
Part 4. How to Optimize and Boost Disk on Mac?
In order to keep your disk healthy and well-performing, always ensure that you have a clean drive instead of a full disk. You can set a maintenance schedule to regularly clean up the drive or better yet use iMyMac PowerMyMac.
As we introduced earlier, it runs a complete and comprehensive diagnosis on your system status and informs you of the possible culprits for slowness, and other Mac issues just like Mac has run out of storage. You can click this link to get more details about how it works to remove purgeable space on Mac so as to free up your Mac storage.
iMyMac PowerMyMac is a handy software that you can rely on at any time. Do you know the best part is? iMyMac PowerMyMac is free to download so just have a try with its free trial version now!

Part 5. Conclusion
We have finally learned about what disk utility on Mac does, how to use it, and even how to repair disks using disk utility.
The next time you are experiencing any of the symptoms we gave earlier, use iMyMac PowerMyMac to scan the entire system. An error does not necessarily mean that you need to replace your disk. It might be a flu-like problem that a simple cleaning can pacify. You will never know the health of your disk unless you run diagnostics.
Always make it a habit to clean, organize and manage files inside your Mac to avoid any issues like slowness, low performance, clogged browsers and many more.


