


 I have a MacBook that I bought last 2014. I love to use it for editing my videos and posting it on social media. Recently, I have learned that there is a new operating system, the OS X Yosemite. I checked out the system requirements and I have learned that my MacBook passed all of them. What should I do before upgrading to Yosemite and how do I upgrade my operating system to OS X Yosemite?
Contents: Part 1. What to prepare before upgrading to Yosemite?Part 2. How to upgrade OS X Yosemite?Part 3. How to creating A Backup Of Your Mac?Part 4. How to install OS X Yosemite?
Part 1. What to prepare before upgrading to Yosemite?
Apple introduces new versions of its operating system at some point in time. This is because they need to keep up with the latest technology. Usually, newer versions of an operating system perform better than older ones. They also have more features and applications for use. Of course, this is always the case. Would you want to upgrade to a new operating system that performs worse?
One new operating system introduced by Apple is the OS X Yosemite. Can I upgrade from Mavericks to Yosemite? The answer is yes. Upgrading to this operating system isn’t really difficult. It only requires a bit of your time. Although, before you upgrade to this operating system, you must ensure that you meet all the system requirements for it. Once you have checked out the system requirements of Yosemite and learned that you met all of them, then it’s time to upgrade your Mac to OS X Yosemite.
This article is a guide that will tell you how to do it. You have to learn that upgrading to Yosemite requires three steps. These steps will be seen as different parts of this guide.
Step 1 - Clean Up Your Mac
Step 2 - Create A Backup Of Your Mac
Step 3 - Upgrade Your Mac To OS X Yosemite

Part 2. How to upgrade OS X Yosemite?
Upgrading to Yosemite requires a better status of Mac. Cleaning up all junk files from Mac helps optimize it and run faster.
That’s why you have to use a tool to do this. In this way, you don’t cause issues on your Mac device. One tool we recommend is iMyMac PowerMyMac. Here are the features and advantages of the said tool:
- It shows your Mac’s system status including CPU, Memory, and Disk.
- It makes a comprehensive scan of your Mac including iTunes, Backup, Mail Attachment, Trash Bins, and Old Folders.
- It has a one-click feature. This means you can do a comprehensive scan and cleanup of your Mac in one click.
- It is very powerful allowing you to comprehensively scan your entire device.
- It allows you to preview the files on your Mac device. It also allows you to sort the device into various characteristics such as Name, Size, Time, etc.
- It gives you control over the files you want to delete and keep.-It is free to try for the first 500MB. You are free to experience the tool’s features.
If you want to upgrade Yosemite to High Sierra, click here to learn how.
Here’s how to use the PowerMyMac step-by-step:
Step 1. Download and Launch PowerMyMac on Mac
Before upgrading to Yosemite, download PowerMyMac from the official website. Launch the software on your Mac device. It will show a system status interface of your device.
Step 2. Scanning System Junk
Click the module named Junk Cleaner on the left-hand side of the software. Click the SCAN button. Wait for a few moments.

Step 3. Review and Select Items to Clean Up
Once the scan is finished, you will be shown the different junk files in categories. Categories include Application Cache, Photo Junks, Mail Junk, System Logs, System Cache, User Logs, and Trash Bin, among others. Select the data you want to clean. Click CLEAN.

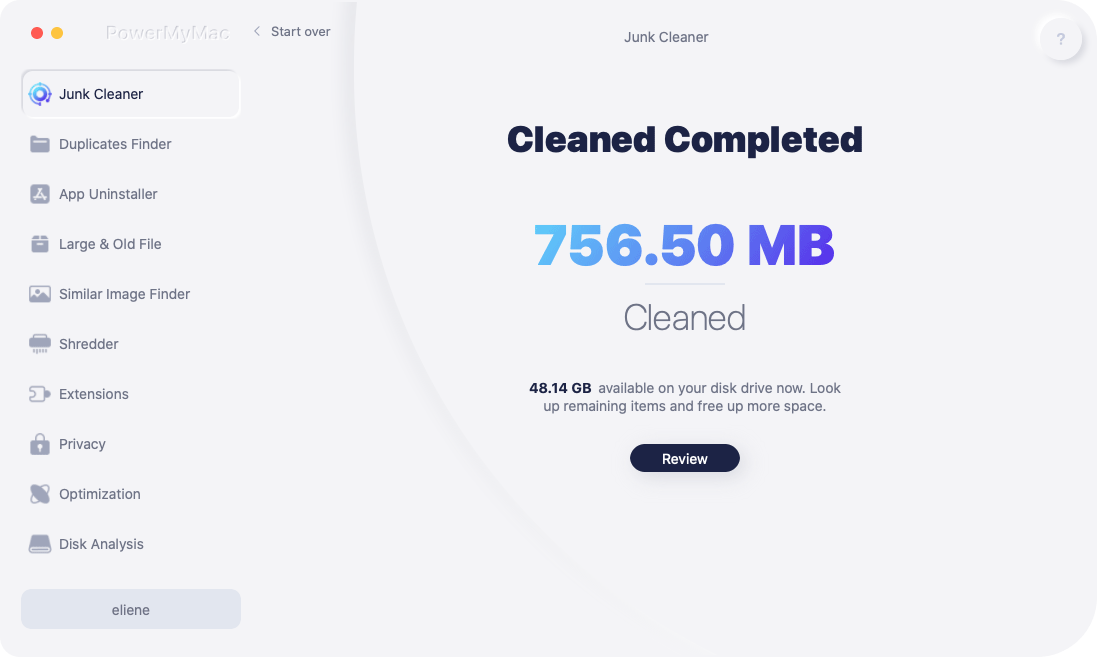
Step 4. Clean Up System Junk is Done
Wait for the cleaning process to be complete. After it is done, it will show Zero KB for folders you have deleted. Some folders will not be marked as such because these are auto-recreated folders.
After you have cleaned your Mac, it’s time to make a backup.
Part 3. How to creating A Backup Of Your Mac?
It is necessary to backup your Mac before upgrading to Yosemite in case of data loss.
- Go to the Folder named Applications.
- Choose Time Machine.
- Press the “Select Backup Disk”.
- Choose the location where you want to save your Mac’s backup file. The best option would be your external hard drive.
- On the left-hand side of the window, click the “On” button. This is to activate the Time Machine.
- On the right side of the screen, under the storage device’s name, you will see three lines that state: “Next Backup”, “Latest Backup”, and “Oldest Backup”. A backup will be scheduled and it will start within the next 5 minutes. After it’s finished, start installing OS X Yosemite.

Part 4. How to install OS X Yosemite?
Upgrading to Yosemite is not complicated, you can do this by installing Yosemite.
Here are the steps to installing OS X Yosemite:
- Visit the Mac App Store.
- Use the top-left search bar and look for OS X Yosemite.
- Press Download
- After the downloading process is finished, click “Install OS X Yosemite”.
- Follow the instructions prompted on the screen. Finish installing the said operating system.
- Restart your Mac device.
Apple always releases new versions of its operating system. One such upgrade is the OS X Yosemite. This operating system is filled with features and provides faster performance for your Mac device. Upgrading to OS X Yosemite is easy. It can be done in three simple steps.
You can upgrade to Yosemite, or upgrade Yosemite to Sierra, High Sierra, Big Sur, Catalina, etc. However, you have to make sure you clean your Mac up as part of the entire process. This can be done with PowerMyMac tool.
People Also Read:How to Update MacHow to Clean Up Mac Junk Files

