


Want to learn how to download photos from iPhone to Mac? We will give you various methods with step-by-step instructions on how to do so. Read on to learn more.
Tip: Here is an instruction on transferring photos from Mac to iPhone device, click and read if needed.
Article GuidePre-Tutorial Bonus Tip: Optimizing Your Mac’s PerformanceHow To Download Photos From iPhone To Mac Through iCloudHow To Export Images From Your Mac’s Photos AppWhat If The Photos You Take Are In HEIF Instead Of JPEG Format?How To Download Photos From iPhone To Mac Using AirDropTo Wrap It All Up
Pre-Tutorial Bonus Tip: Optimizing Your Mac’s Performance
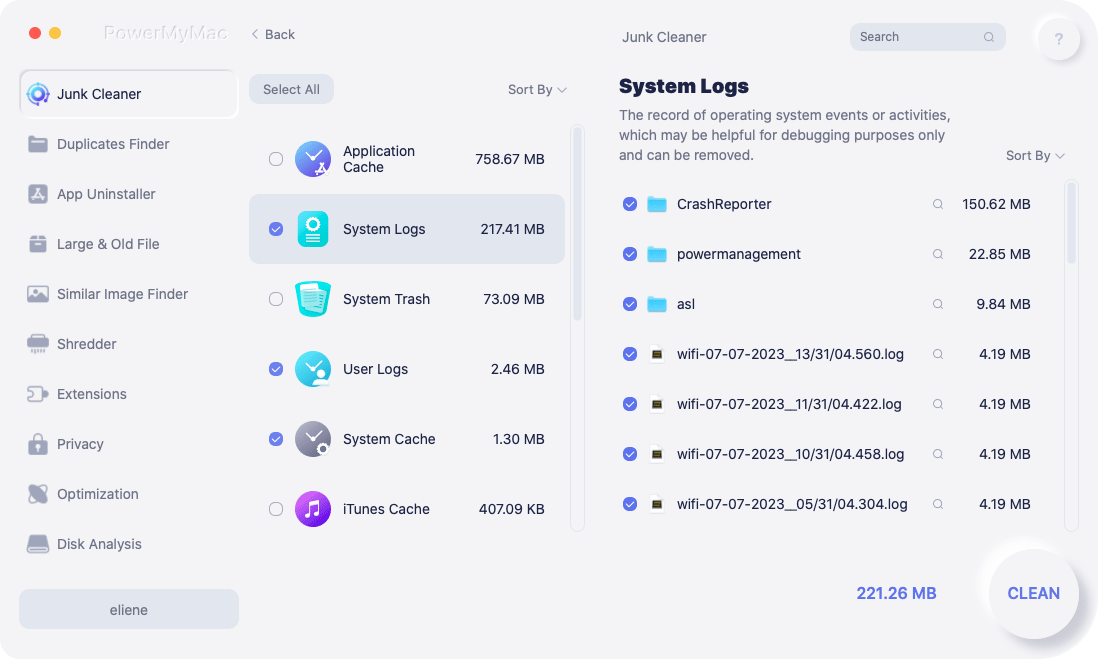
Why can't you transfer photos from iPhone to Mac? Does your Mac crash often? Is it too slow or does it lag all the time? We’ve got a solution for you, iMyMac PowerMyMac software. This multi-feature app provides a comprehensive solution to your Mac needs. It allows you to locate and delete unnecessary junk files within your system. Plus, the Uninstaller tool built into the software helps you remove unwanted Mac apps without leaving residual components behind.
This comprehensive tool is so powerful that it can help optimize your Mac computer’s performance by removing junk. With a few simple clicks, you can speed up your Mac, free up storage space, and protect your privacy.
Now, let’s move on to the meat of the article.
People Also Read:How to Sync iPhone to Mac?Tips: How to Back Up iPhone to Mac
How to Download Photos from iPhone to Mac through iCloud?
How do I transfer photos from iPhone to Mac instantly? iCloud Photos allows you to download photos from iPhone to Mac without the need for cables. You simply set it up once. Then, it automatically downloads photos you’ve taken through your iPhone to your Mac computer. Transferring of photos is done automatically with no hassle on your part. This is possible if you’re connected to a Wi-Fi network.
Here are the steps you should follow to download photos from iPhone to Mac using iCloud:
Step 01: Use your iPhone and visit Settings. Then, go to Photos. After which make sure iCloud Photos is activated (colored green).
Step 02: Use your Mac device and press the Apple icon. This is located in the top left part of the screen. Visit System Preferences and then go to iCloud.
Step 03: Make sure the box for Photos is checked. Then, click Options. A dialog box will be displayed. Check the box that says iCloud Photos (it is called iCloud Photo Library in versions earlier to macOS Mojave).
Step 04: Press Done. Exit the iCloud options window.
Now, your photos from your iPhone will automatically sync through iCloud and it will be copied to your Mac device. It is important to remember that both Mac and iPhone devices should be signed into the same Apple ID to automatically start syncing.
Step 05: Use your Mac computer and open the Photos app. Now, you will see the iPhone images on your Mac devices.
How to Export Images from Your Mac’s Photos App?
The Photos application gives you the ability to transfer images towards your Mac computer or external hard disk drive. In this way, you have a backup copy of your images. Changes made on the Photos app won’t affect this backup copy. Here’s how to download photos from iPhone to Mac step by step:
Step 01: Launch the Photos app using your Mac device.
Step 02: Select the images you wish to export. To select multiple images, you can press the Command key while clicking the image(s) you want.
Step 03: Press File and then go to Export. After this, click Export Photos.
Step 04: Set the specific export preferences that you wish. Or, you can leave the default settings as is.
Step 05: Press Export.
Step 06: Check out the left sidebar to find the location where you want the photos to be exported to.
Step 07: Finally, press Export.
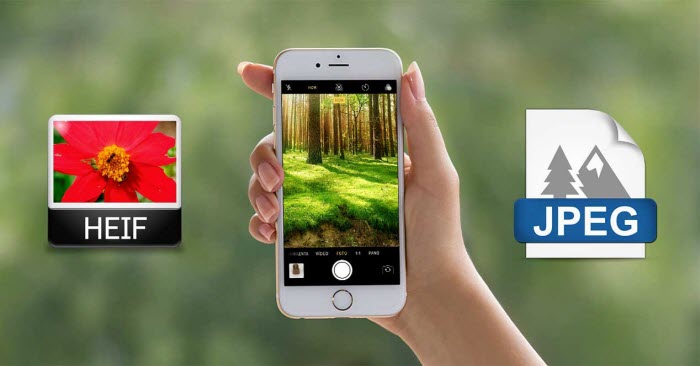
What If The Photos You Take Are In HEIF Instead Of JPEG Format?
First you should find out what version you iPhone is on. If your iPhone is on iOS 11 and later versions, you can choose either JPEG or HEIF format for taking photos. HEIF means High-Efficiency Image File. Photos taken in this format have a smaller file size. Thus, these photos take up less space on your Mac or iPhone.
If you are unsure if your iPhone is taking photos in HEIF or JPEG format, then use it to go to Settings. After this, go to Camera and press Formats. If it says High Efficiency, it means your iPhone is taking photos in HEIF format. When the options Most Compatible is activated, it is capturing photos and saves them in JPEG.
Sadly, not all devices (and software) can understand and recognize HEIF. For your Mac’s Photos app to recognize the said format, it must be running in at least macOS Mojave.
If you wish to export HEIF from Mac Photos app to another folder in your hard disk drive, go to the said app in your computer. Press File and then press Export. Then, click Export Unmodified Original. This helps to make sure that your HEIF files won’t be converted to JPEG upon export.

How to Download Photos from iPhone to Mac Using AirDrop?
How to import photos from iPhone to Mac without USB? This is one of the best methods of transferring photos to your Mac wirelessly. Different from iCloud, AirDrop doesn’t transfer images automatically through syncing. In this platform, you have to choose specific photos you wish to copy.
Another difference between iCloud and AirDrop is that the latter transfers the photos to your Mac’s hard drive instead of the Photos application. AirDrop is the perfect solution for transferring photos from your iPhone to your Mac device especially when you only need to move a few items.
Here are the steps on how to use it:
Step 01: Ensure that Bluetooth and Wi-Fi are enabled on your iPhone. These two can be activated through Settings.
Step 02: Use your Mac device and do the same thing, turning on your Bluetooth and Wi-Fi connections. These icons can be located at the top-right part of the screen.
Step 03: Ensure that you’re signed into iCloud on both devices. Both should be signed into the same Apple ID. You can check this on your iPhone by going to Settings > [Name] > iCloud. On your computer, visit System Preferences and then go to iCloud.
Step 04: Use your iPhone and launch the Photos application. Press Select and tap on the specific images you wish to transfer. Tap the share icon. This icon looks like a square with an up arrow inside it.
Step 05: Visit the AirDrop section and press the name of the Mac computer where you will transfer the photos. These images will be transferred to the Downloads folder of your Mac. To find this folder, simply open Finder and then press Downloads located towards the left.
If you wish to transfer photos to another folder, simply drag them to your desired location. It is important to note that if you are not using macOS Mojave (meaning, you’re using an earlier version), HEIF images you transfer through AirDrop will automatically be converted to JPEG.
To Wrap It All Up
Downloading photos from iPhone to Mac is possible through the use of iCloud and AirDrop. With these two methods, you transfer photos from one device to another wirelessly. Using a cable is not necessary. As such, you can simply follow the instructions above to help you on how to download photos from iPhone to Mac computer.

