


Capturing a screenshot on your computer sounds simple but the fundamentals of the process are unknown to many users. For starters, the screenshot goes to your desktop by default just like the pasteboard in Windows.
However, you can adjust the destination if these files clutter your desktop. Once you reconfigure the destination for your screenshots, you’ll have more flexibility to customize and revolutionize your collections.
In this piece, we’ll walk you through how to change screenshot location Mac. Whether you have macOS High Sierra or Mac OS Mojave, we’ve got clever ways to get the job done.
Tip: Ways to Take A Screenshot on Mac
Contents: Part 1. Where Can I Find Screenshots on Mac?Part 2. How to Reset the Default Location of Mac ScreenshotsPart 3. Other Alternatives to Change Screenshot Location on MacPart 4. Conclusion
Part 1. Where Can I Find Screenshots on Mac?
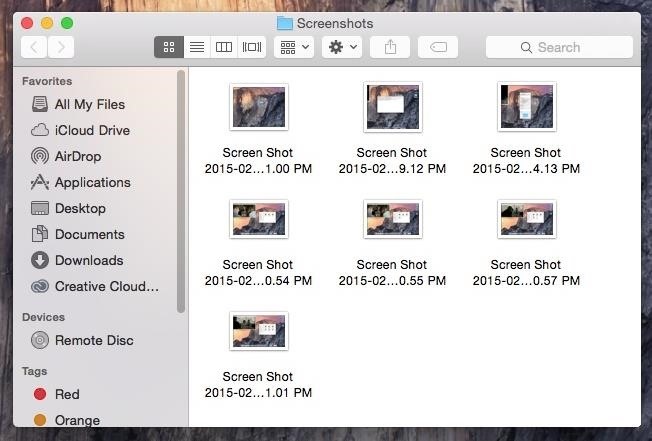
Macs save screenshots on the desktop by default and encode a name like ‘Screenshot 2020-01-28 at 13.20.55’, showing the date and time of the file.
Where do those screenshots store? Mac OS Mojave comes with a screenshotting app known as Grab. It’s accessible via the Utilities folder> Applications folder. Grab allows you to take screenshots but they have a tendency to relocate even after you save where you want. Grab stores screenshots in the Documents folder and if you don’t edit the name of the file, it’s saved as Untitled.
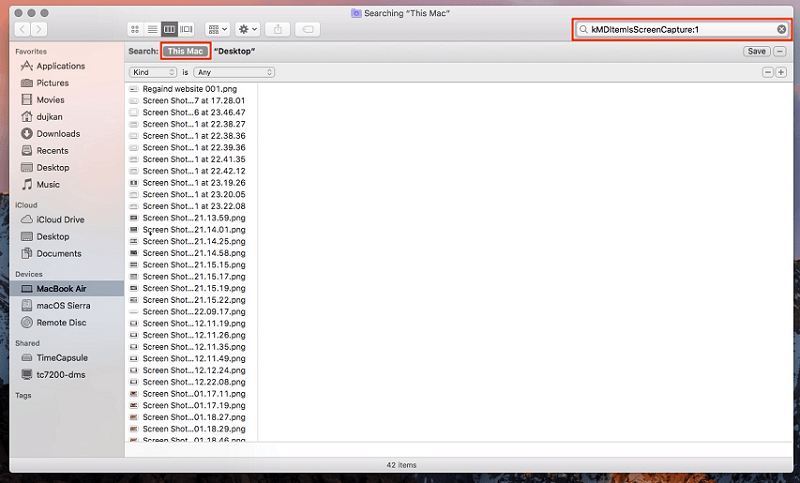
Pre-Mojave versions don’t have a direct way to command macOS to store screenshots elsewhere. You can change screenshot location on Mac to prevent them from messing your desktop. This way, you prevent screenshots from being loaded on iCloud Drive once you disable Documents or Desktop syncing in macOS High Sierra.
Part 2. How to Reset the Default Location of Mac Screenshots
Can I change my screenshot setting? There are two methods to set up another destination for your screenshots to avoid the default location. The simplest way is via the Screenshot app in Mojave. For mac OS High Sierra or previous, you have to invoke Terminal, an app for feeding command paths to control your Mac.
Note: By default, macs store screenshots as PNG files; they’re slightly larger than JPG versions. To archive a screenshot as a JPG, invoke the Terminal to overrule the default format set up.
Tip: How to Convert PNG to JPG on Mac
Mojave
If you’re running Mojave, it’s super-easy to change screenshot location on Mac.
- Hold down
Command + Shift+ 5. - Click Options.
- Next, either select a listed folder, or pick out Other Location.
- If you set up Other Location, you can go to the folder you want the screenshot to go to, or generate a fresh one.
- Your screenshot location is changed and that’s where your images will go until you reset it again.
Popular locations include Desktop, Documents, Clipboard, Preview, Messages, or Mail.
Mac OS High Sierra
You can change your macOS High Sierra’s screenshot default location by following the file path below.
- Click on Finder to launch a new window,
- Generate a directory via Finder by right-clicking on the window. Give it your desired name.
- Now launch Terminal (hold
cmd + spaceand type anything to invoke it) and then tap the icon to fire up the app. - In Terminal, enter the following:
defaults write com.apple.screencapture location~/Documents/Screenshots
Ensure you put a space after typing the location for this to work.
- Next, yank and drop the Screenshots folder over the Terminal window and it will directly feed the folder path.
- Hit Enter .
- Then type the following to enforce the changes you’ve made:
killall SystemUIServer - Don’t delete the directory you’ve just created.
- It’s still possible to access your screenshots via the desktop with a fresh folder. Simply identify the destination you configured in the Finder and then right-click on it.
- Select Create Alias.
- Next, yank and release the Alias to your Desktop.
- Take a few screenshots to confirm it’s working like clockwork.
To revert to the default screenshot destination, navigate to Terminal and fill in- defaults write com.apple.screencapture location ~/Desktop and press Enter . Now type "killall SystemUIServer" and press Enter.
These are exactly what you need to know about how to change screenshot location on Mac.
Bear in mind before you type the commands you need to manually set up a new folder known as Screenshots via Documents or other destination. On the contrary, it won’t do the trick and the screenshots will creep back on your desktop.
Part 3. Other Alternatives to Change Screenshot Location on Mac
Commands
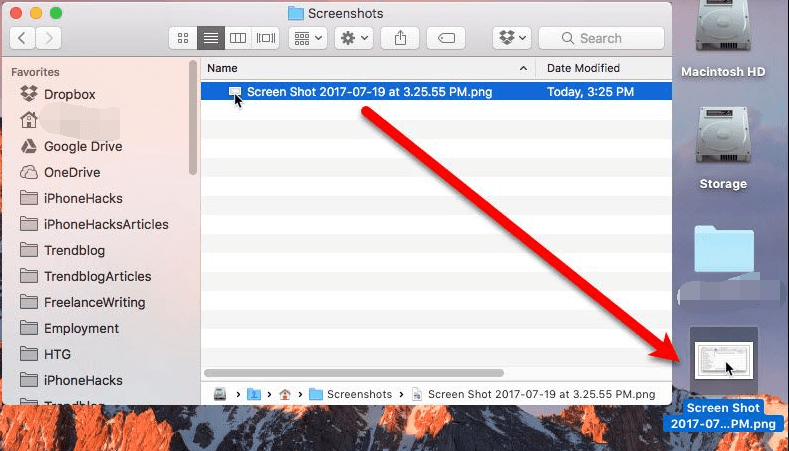
How do I save a screenshot directly to a folder on a Mac? When you type keyboard shortcuts such as Command + Shift + 3, all screenshots end up on your desktop. Alternatively, you can right-click on the floating thumbnail to store the screenshot in Documents or Clipboard.
Third-Party Apps
Third-party screenshot toolkits broaden your horizons beyond Apple’s native capabilities. You can invoke a destination folder as you take a screenshot as these apps allow you to predetermine location. You won’t have any problems with a cluttered desktop.
Screenshot Path
Screenshot paths let you set up the destination folder to avoid the user’s desktop default location. It comes in handy for those who stock dozens of images to configure a custom destination to steer clear of clutter. The tool accepts directories by yanking them onto the main window and sets the as the default destination. It's nifty for dummies unfamiliar with Terminal commands.
Mac Tip: Best Duplicate Finder for Mac
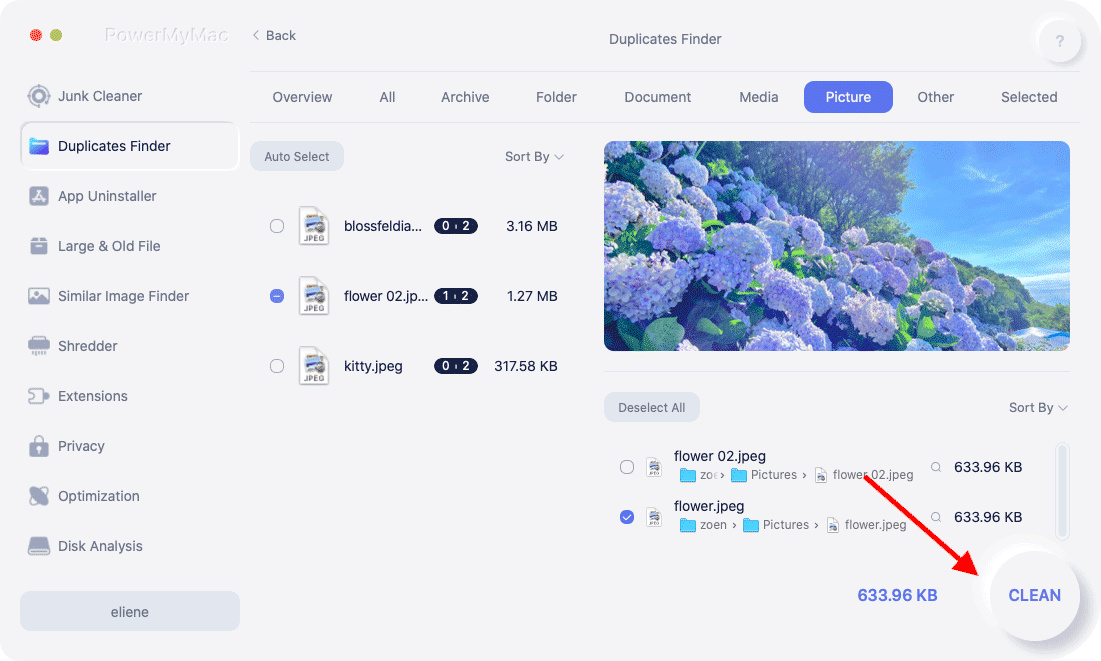
Duplicate Finder of iMyMac PowerMyMac, which specializes in optimizing Mac productivity. This application boasts fast-scanning algorithm, sifts through multiple folders or drives simultaneously.
Decluttering your system becomes easy as you hunt down and remove duplicate files with hairsplitting accuracy. Removing duplicate screenshots can be a laborious and messy chore. So, to circumvent the burden, try this smart tool and do the trick without scratching your head.
Part 4. Conclusion
Now that you know your onions on how to change screenshot location on Mac, you can personalize and enhance the way you handle screenshots. If you’re making a shift from Windows, you’ve to learn the new world by experimenting with different command prompts. Without this, you might end up with a messed desktop.
All Macs save screenshots on the desktop as PNG files. Mass screenshots may require a dedicated tool with features to manage, arrange and customize. Follow these ways to reset the default screenshot directory in tandem with your operating system.
Was this article helpful to your search?

